How to Cut Tight Square Holes in Porcelain Tile for Outlet Receptacles
Mastering the process of cutting tight square holes in porcelain tile for outlet receptacles is a vital skill for anyone looking to achieve a professional finish on a backsplash or wall renovation. Because porcelain is an exceptionally dense and brittle material, it requires a methodical approach to avoid cracking or chipping the surface.
By utilizing the right diamond-tipped tools and following a precise marking strategy, you can ensure your electrical plates fit snugly against the wall without unsightly gaps. This guide provides the practical steps and expert techniques needed to achieve clean, accurate results every time you approach the challenge of cutting tight square holes in porcelain tile for outlet receptacles.
Measuring and Marking Your Porcelain Tile
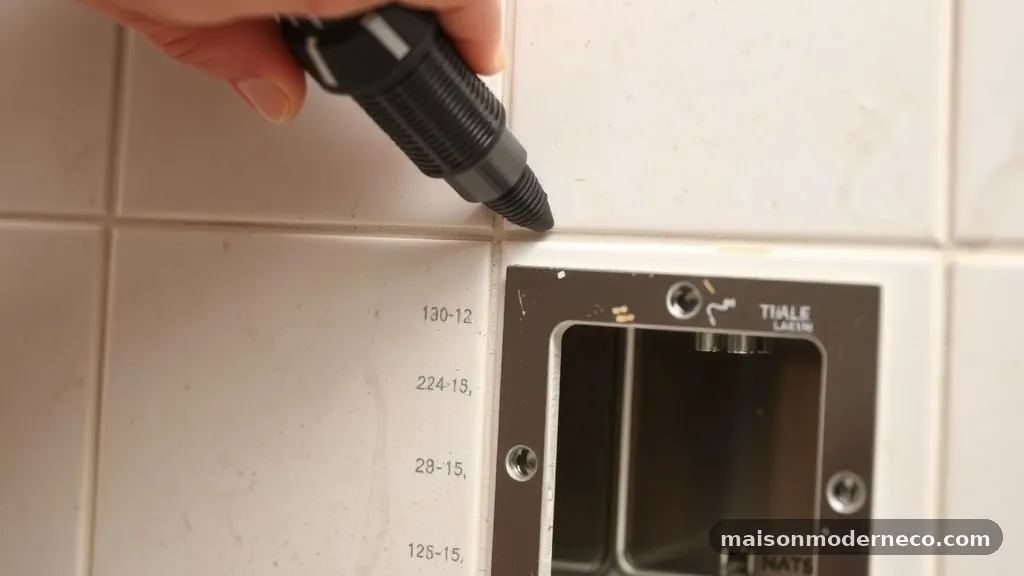
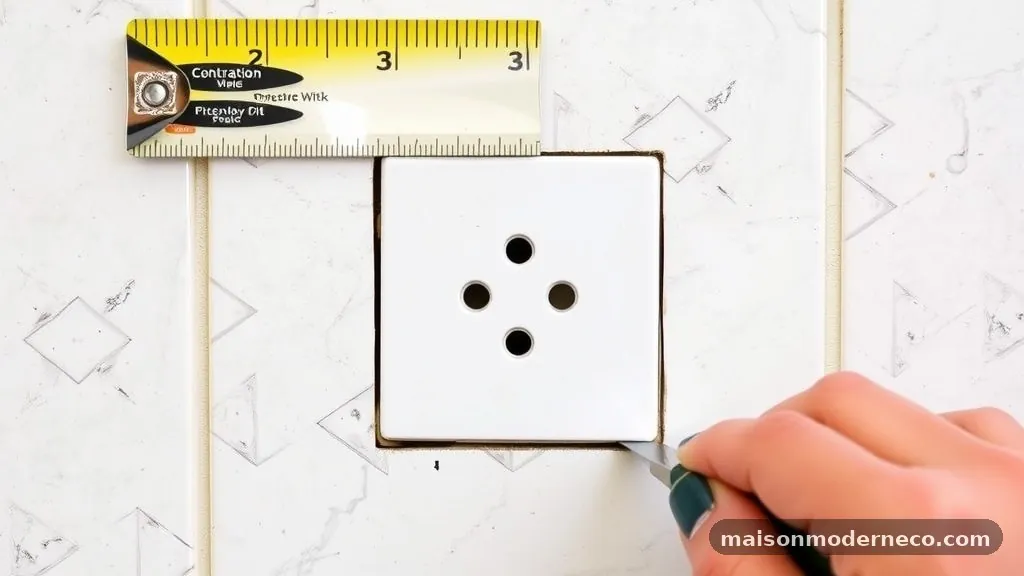
Accuracy begins long before you touch a power tool. When preparing to install an outlet, you must first determine the exact position of the box behind the tile. Hold your piece of tile up to the wall, aligning it with the surrounding layout, and use a carpenter’s square to transfer the location of the outlet box edges onto the front of the tile.
Always account for the thickness of your mortar bed and any spacers you are using to maintain consistent grout lines. A common mistake is failing to account for the thickness of the tile itself when measuring from the adjacent wall or cabinet edge. If you mark the tile while it is lying flat on the floor, ensure you have accounted for the orientation of the piece.
Use a wax pencil or a fine-tip permanent marker to draw your lines, as these are easy to see and clean off later. Double-check these measurements against the outlet box before you make your first cut, as porcelain is unforgiving once material has been removed.
Selecting the Right Diamond Tools
Porcelain is significantly harder than standard ceramic, which means you cannot rely on cheap, general-purpose cutting discs. You need a high-quality diamond blade designed specifically for porcelain to prevent the material from shattering or burning. For square holes, an angle grinder equipped with a thin-kerf diamond blade is the most effective tool for the task.
The diamond blade should be segmented or continuous-rim, depending on your preference for speed versus smoothness of the edge. A continuous-rim blade generally provides a cleaner cut with less chipping, which is critical when you are aiming for a tight fit. Before beginning, ensure the blade is securely attached to your grinder and that the guard is in place.
Never remove the guard to gain better visibility, as this creates a significant safety hazard. Investing in a professional-grade blade will save you time and prevent the frustration of ruined tiles.
Creating the Initial Layout Lines
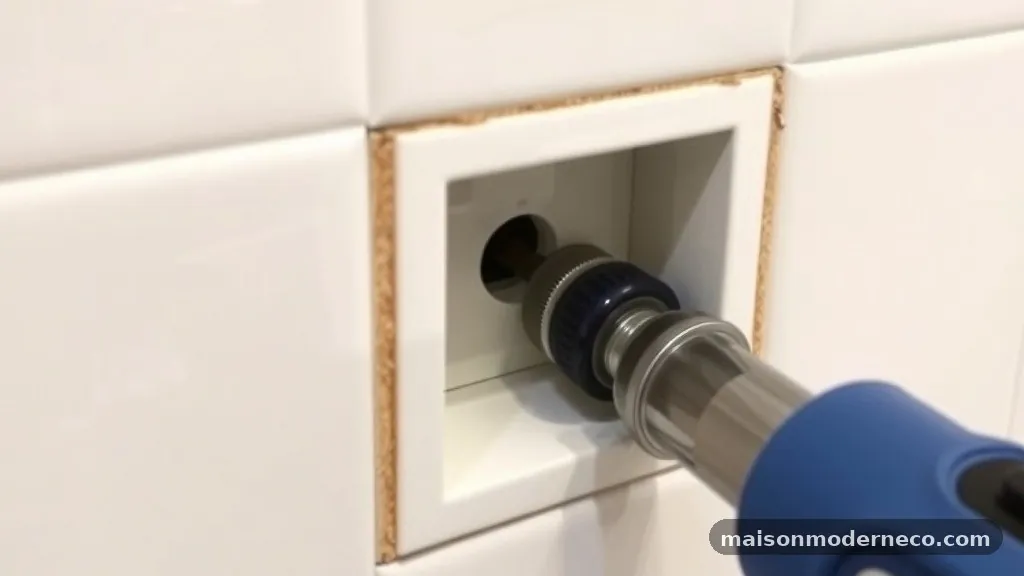
Once your measurements are verified, use a straight edge to scribe the lines clearly on the surface of the tile. If you are using a dark-colored tile, a white wax pencil will show up much better than a standard marker. Extend your lines slightly past the corners of the square to help you orient the blade when you begin the plunge cut.
When drawing these lines, remember that the outlet box will sit inside the hole. If you cut exactly on the line, the hole might be slightly too small due to the width of the blade. It is often better to mark your lines about one-sixteenth of an inch larger than the box perimeter.
This provides a small margin for error without creating a gap that the outlet cover plate cannot hide. Always verify that your square is truly square; even a slight deviation will become glaringly obvious once the cover plate is installed.
Securing the Tile for Stability
You cannot successfully cut a precise square hole if the tile is vibrating or moving during the process. Place the tile on a stable, flat surface, such as a workbench or a piece of sacrificial plywood. Using clamps to hold the tile down is an excellent way to prevent shifting, but be careful not to overtighten them, as porcelain can crack under concentrated pressure.
If you are working on a job site, ensure your setup is clear of debris. Dust accumulation under the tile can create uneven pressure points, leading to breakage.
Some professionals prefer to place the tile on a piece of foam insulation board, which supports the entire surface while allowing the blade to pass through without hitting a hard surface underneath. This also helps dampen the noise and vibration that occur during the cutting process.
Executing the Plunge Cut Technique
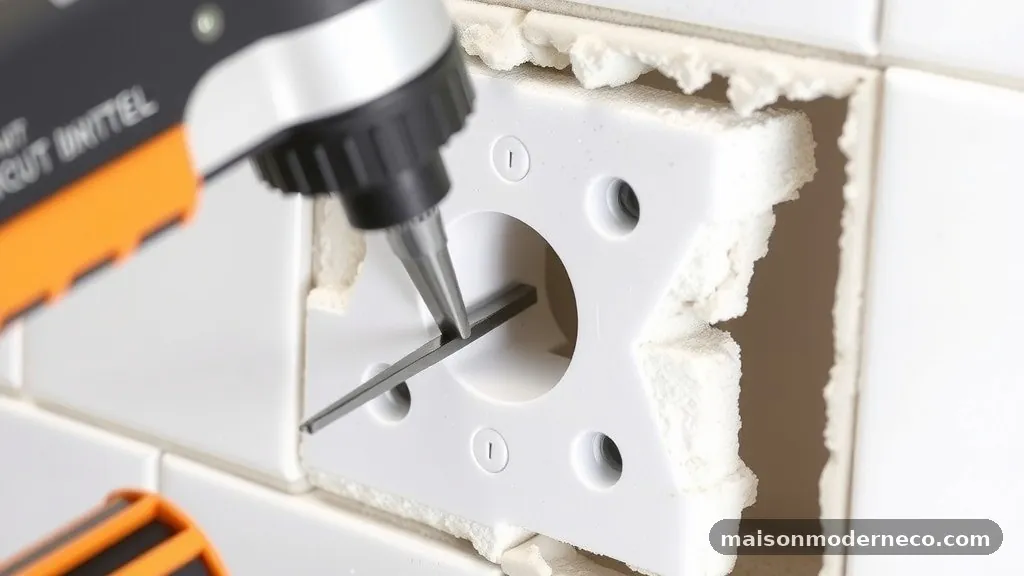
The plunge cut is the most delicate part of the process. Hold your angle grinder firmly with both hands, keeping your wrists locked to maintain a consistent angle.
Carefully lower the spinning blade into the tile, starting on one of your marked lines. Do not force the tool; let the weight of the grinder and the speed of the diamond blade do the work.
As you reach the corners of the square, stop the blade and lift it out. It is nearly impossible to cut a perfectly sharp corner with a round blade without overcutting the back of the tile.
Instead, stop the cut just before you hit the corner and finish the final bit by hand using a diamond file or a small hand-held rasp. This approach prevents the blade from wandering into the visible area of the tile, which is a common mistake that ruins the aesthetics of the finished installation.
Managing Dust and Cooling the Blade
Cutting porcelain generates a tremendous amount of fine silica dust, which is harmful to inhale and can coat your entire workspace. Always wear an N95 respirator and safety goggles. If possible, have a helper hold a vacuum hose near the blade to capture dust at the source.
In addition to dust, heat is a major factor. Porcelain is extremely hard, and the friction from the blade can cause the tile to stress-crack if it gets too hot. Periodically stop cutting to let the blade cool down, or use a spray bottle to apply a fine mist of water to the cutting path.
If you are using a wet-cutting tile saw for the bulk of the work, keep the water reservoir topped off. For more information on maintaining a safe workspace, consult the OSHA guidelines on crystalline silica.
Refining the Edges with Diamond Files
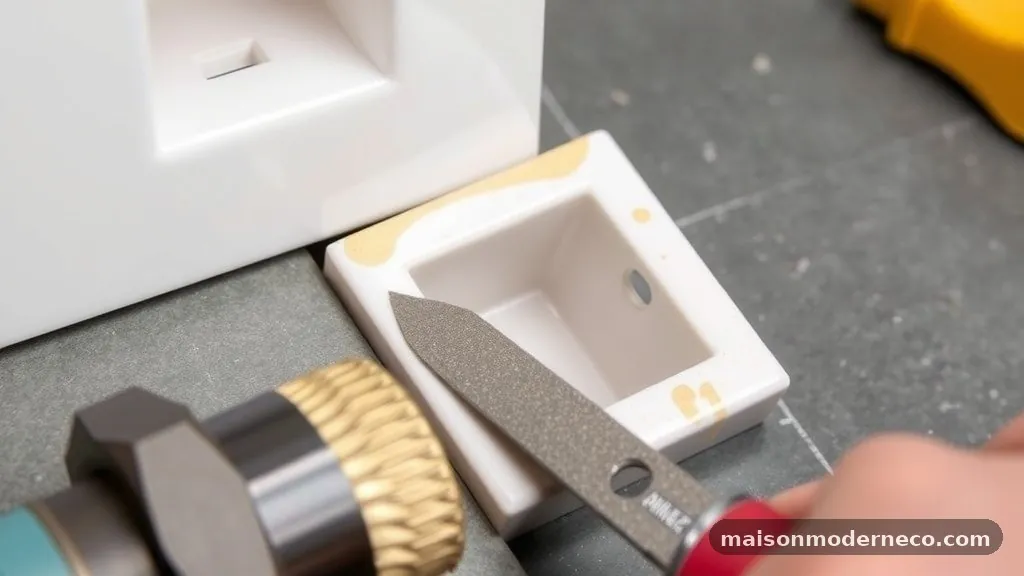
After you have removed the center of the square, the edges will likely be rough and potentially jagged. This is where your finishing work makes the difference between an amateur job and a professional result. Use a diamond hand file or a sanding block to smooth the inside edges of the square.
Work slowly, checking the fit against the outlet box frequently. It is much easier to remove a tiny bit of material than it is to fix a hole that is too large.
If you find a small chip on the finished side of the tile, you can sometimes camouflage it with a bit of color-matched caulk during the final installation. However, prevention remains the best medicine, so keep your file movements steady and consistent.
Checking the Fit Against the Outlet Box
Before you apply thinset to the wall, do a dry fit of the tile over the outlet box. The tile should slide over the box with minimal resistance, but it should not be so loose that it rattles. If the tile hits the box on one side, identify the high spot and file it down.
If you are installing multiple outlets in a row, ensure they are all leveled correctly before you finish the tile cuts. A misaligned box will make it impossible to get a tight, square hole.
Use a torpedo level to check the orientation of the outlet box after you have secured it to the studs. If the box is crooked, your tile cut will look crooked, regardless of how well you performed the work.
Addressing Challenges with Large Format Tiles
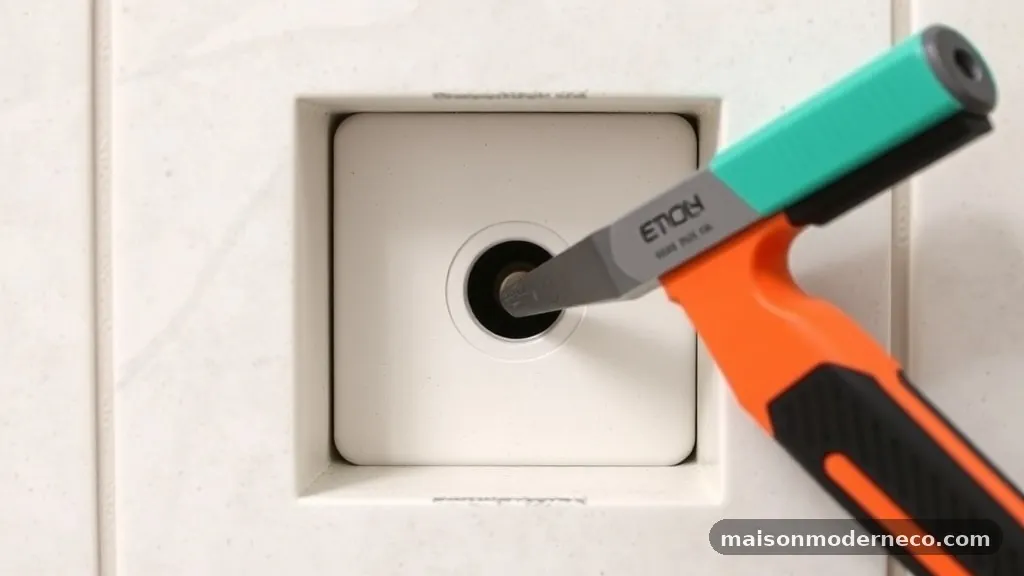
Large format tiles are increasingly popular, but they present unique challenges when cutting for outlets. Because these tiles are often heavy and prone to flexing, they can snap unexpectedly if you try to cut a hole in the middle of a large sheet. Support the tile fully across its entire back surface before you begin.
If you are cutting a large tile, consider making a cardboard template of the outlet box first. Place the template on the tile, trace it, and then cut.
This allows you to verify your measurements without risking the expensive tile material. If the hole is located near the edge of a large tile, you may want to reinforce the back of the tile with mesh tape and epoxy before cutting to prevent the thin strip of porcelain from breaking off.
Common Mistakes to Avoid
The most frequent error is rushing the cut. When you try to push the angle grinder through the porcelain too quickly, you risk binding the blade, which can cause the tile to jump or crack. Another common issue is failing to account for the width of the grout line when measuring the hole location.
Always remember that once you cut the tile, you cannot put the material back. If you are unsure about a measurement, take the time to measure three times.
Avoid using a standard masonry blade, as it will cause excessive chipping and create a dangerous amount of flying debris. Stick to high-quality diamond blades and take your time to ensure a clean, sharp edge that looks seamless once the cover plate is installed.
Frequently Asked Questions
Is it better to use an angle grinder or a wet tile saw for this job?
For cutting tight square holes, an angle grinder with a small diamond blade is usually superior because it allows for better maneuverability and plunge cuts. A wet tile saw is excellent for straight, through cuts on the edge of a tile, but it is very difficult to perform internal square cutouts on a stationary saw.
How do I stop the porcelain from chipping at the edges?
Chipping usually happens when the blade is dull, the speed is too high, or you are forcing the tool. Always use a high-quality, continuous-rim diamond blade, keep the blade speed consistent, and avoid pushing the tool forward too aggressively. Finishing the final millimeter of the cut with a diamond file also significantly reduces the risk of visible chips.
Can I use a jigsaw to cut the hole?
While some specialized jigsaw blades are marketed for tile, they are generally not recommended for hard porcelain. They tend to vibrate excessively, which can lead to cracking, and the process is significantly slower than using an angle grinder.
What should I do if I accidentally cut the hole too large?
If the gap is small, you can often hide it with a slightly larger outlet cover plate or a decorative wall plate. If the gap is substantial, you may need to use a small amount of color-matched silicone caulk to fill the void, though this is a last resort and rarely looks as good as a proper, tight-fitting cut.
How do I handle the dust if I am working indoors?
Working indoors requires a strict dust management plan. Use a high-efficiency particulate air (HEPA) vacuum attached to the tool, seal off the room with plastic sheeting, and wear a proper respirator. Even with these precautions, it is best to perform the actual cutting outdoors if the tile size allows for it.
Conclusion
Achieving a clean result when cutting tight square holes in porcelain tile for outlet receptacles is a matter of patience, the right equipment, and careful preparation. By measuring twice, using a high-quality diamond blade, and finishing your edges with a file, you can create an installation that looks like the work of a seasoned professional. Remember to prioritize safety by managing dust and wearing proper protection throughout the process.
As you gain more experience, you will find that these precise cuts become much easier to manage. If you have any specific concerns about your next project, feel free to reach out or consult your local tile supplier for recommendations on the best blades for your specific porcelain type. With a steady hand and the right approach to cutting tight square holes in porcelain tile for outlet receptacles, your renovation will surely look fantastic.