How to End a Herringbone Tile Pattern Neatly Against an Open Wall Edge
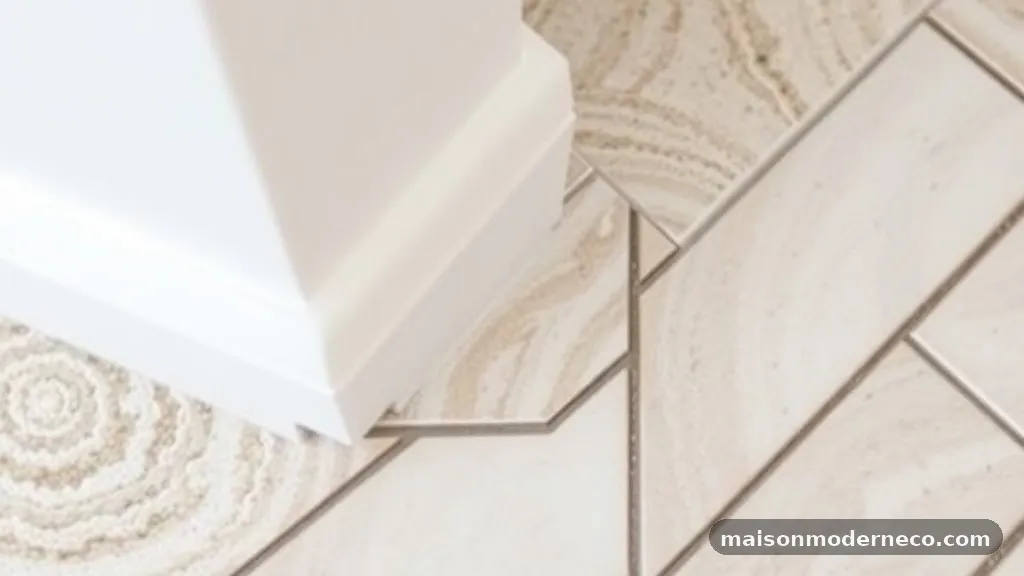
Successfully ending a herringbone tile pattern neatly against an open wall edge requires careful planning and precision during the layout phase. Many DIY enthusiasts struggle with the jagged, triangular gaps that naturally occur when this classic design meets a vertical boundary. By mastering the geometry of your cuts and choosing the right transition materials, you can achieve a professional, finished look that highlights your craftsmanship rather than hiding mistakes.
Whether you are working with stone or ceramic tiles, understanding how to transition from the pattern to the wall is essential for a high-quality result. This article provides the actionable steps needed to ensure your installation looks intentional and polished from start to finish.
Planning Your Layout for Edge Alignment
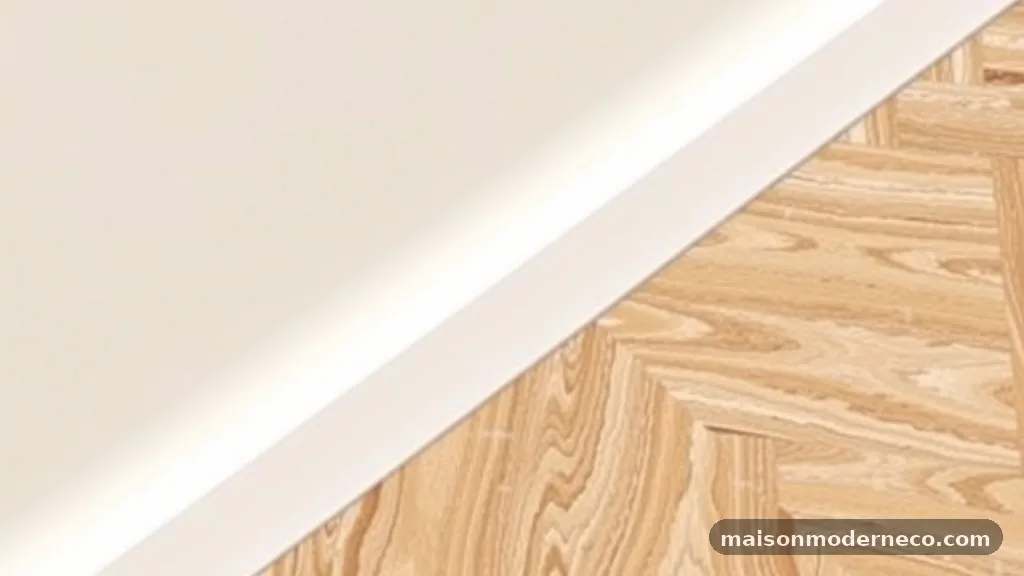
The secret to a successful installation is avoiding thin, sliver-like pieces at the edges of the wall. Before you apply any thin-set mortar, you must dry-lay your tiles to understand how the herringbone pattern hits the boundary. If your layout results in a tiny, fragile triangle of tile at the wall edge, it will be difficult to cut and even harder to install without breaking.
Adjust your starting point by shifting the entire pattern left or right until the pieces meeting the edge are at least half the width of a full tile. This adjustment makes the final cuts much more manageable and creates a balanced visual appeal.
Always use a laser level to ensure your primary axis is perfectly vertical, as even a slight tilt will become glaringly obvious once you reach the wall. Remember that the herringbone pattern is highly sensitive to alignment errors; a small deviation at the start will multiply as you move across the room.
Measuring and Marking Tiles for Precision
Once your layout is locked in, you need to transfer the exact dimensions of your wall boundary onto the tiles. Place a tile directly over the last full piece in the row, ensuring it aligns perfectly with your established pattern. Use a spacer against the wall to account for the necessary expansion gap, which is usually between 1/8 and 1/4 of an inch depending on the material.
Mark the cut line on the tile using a carpenter’s square and a pencil. Double-check your measurements before making any permanent alterations to your material.
It is often helpful to number the back of each cut piece with a piece of painter’s tape, corresponding to its position on the wall. This organizational step prevents confusion during the installation phase and ensures that every piece fits into its intended spot exactly as you planned.
Cutting Tiles for Consistent Angles
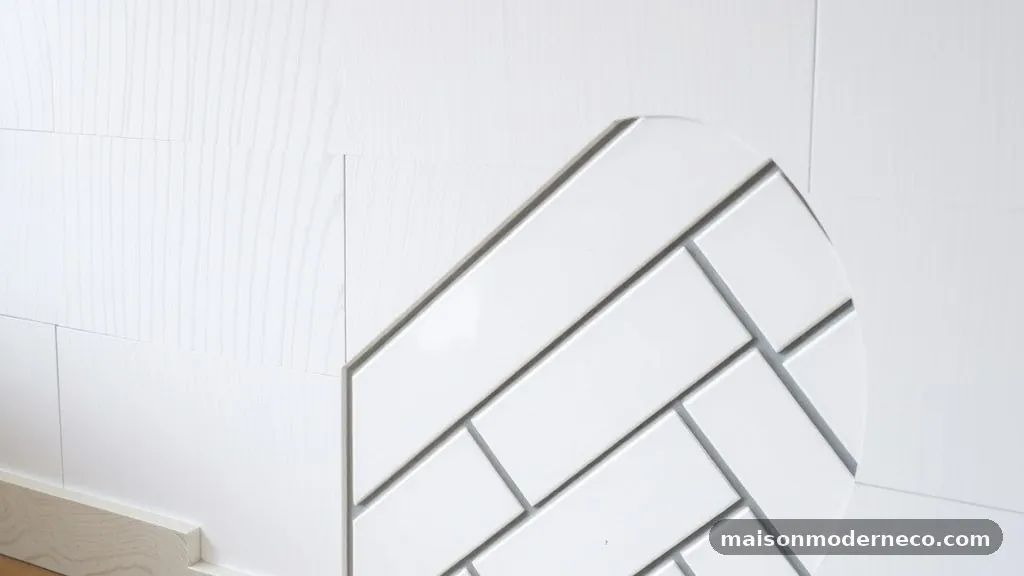
Achieving a clean edge depends heavily on the quality of your cuts. For most ceramic or porcelain tiles, a high-quality wet saw is the gold standard for creating sharp, chip-free edges. If you are working with natural stone, ensure your blade is specifically rated for the material to prevent cracking or premature wear.
When cutting the triangular pieces required for the herringbone perimeter, take your time to feed the tile into the blade slowly. Pushing the material too hard can cause the blade to wander, leading to uneven angles that will disrupt the flow of the pattern.
If you notice small chips along the cut edge, you can smooth them out with a diamond sanding pad. This small investment of time significantly improves the final look of the transition, making the edge appear crisp and intentional.
Selecting the Right Edge Trim
When you are ending a herringbone tile pattern neatly against an open wall edge, the transition between the tile and the drywall is often the most visible point. Raw tile edges are rarely attractive, especially if the body of the tile is a different color than the surface glaze. Metal, plastic, or stone trim profiles are excellent solutions for covering these exposed sides.
Metal profiles, such as those made from anodized aluminum or stainless steel, offer a modern, clean look that complements contemporary designs. They come in various finishes, including matte black, brushed nickel, and polished chrome. For a more traditional or rustic aesthetic, consider using bullnose tiles or matching stone pencils.
These pieces are specifically manufactured with a rounded edge, providing a soft transition that looks like a natural extension of the wall. Always install these profiles before you lay the final row of tiles, as they act as a guide for your cuts.
Installing the Border Pieces Correctly
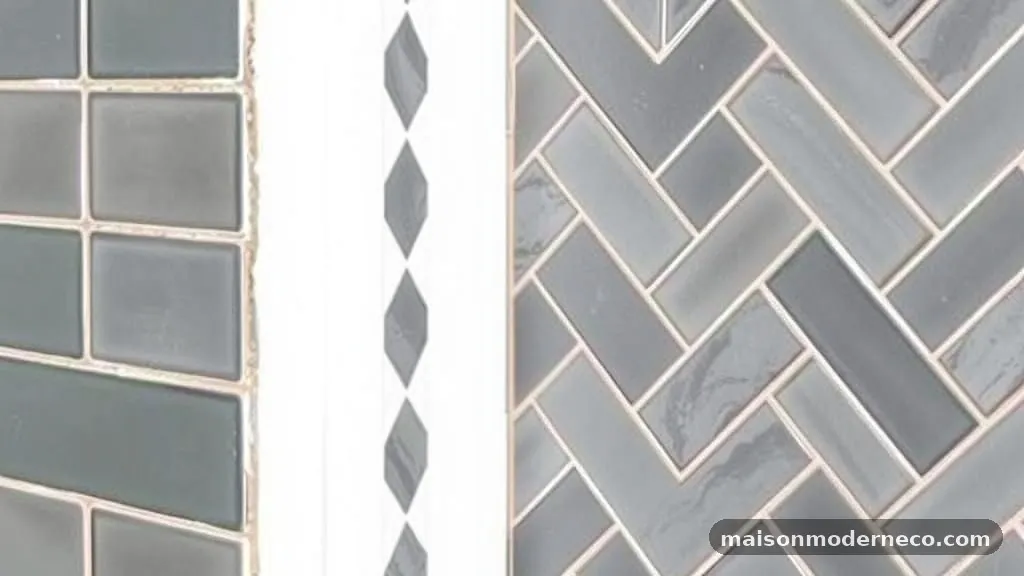
The installation of edge tiles requires a slightly different approach than the main field of your wall. Because these pieces are cut to fit a specific space, they may not have the support of surrounding tiles on all sides. Apply a thin, even layer of mortar to the back of the cut piece, ensuring full coverage to prevent future cracking.
Press the tile firmly into place, checking that the top edge aligns perfectly with your trim profile. If you are using a metal edge trim, ensure that the flange of the profile is fully embedded in the mortar behind the tile.
This creates a secure, structural bond that prevents the trim from pulling away from the wall over time. Use tile spacers to maintain a consistent gap between the cut tile and the trim, which will later be filled with grout.
Managing Expansion Gaps and Caulk
One of the most common mistakes is grouting the joint between the tile and the wall. Tiles and walls expand and contract at different rates due to temperature and humidity changes. If you fill this joint with rigid grout, it will almost certainly crack over time, leading to an unsightly mess.
Instead, leave a small gap between the tile and the adjacent wall or trim, and fill this space with a high-quality, color-matched silicone caulk. Silicone is flexible, allowing for minor movement without compromising the integrity of the seal. When applying the caulk, use a smoothing tool to create a clean, concave bead.
This not only looks professional but also prevents water from seeping behind the tile, which is especially critical in bathrooms or kitchens. For more technical guidance on material compatibility, you can refer to the Tile Council of North America standards for industry-approved installation practices.
Working with Different Tile Materials
The material you choose will dictate the tools and techniques you need to finish your edges. Ceramic tiles are generally easier to cut and can be finished with a standard wet saw.
However, they are prone to chipping if the blade is dull. Natural stone, such as marble or travertine, requires more care as it is brittle and can fracture along hidden veins.
If you are using glass tiles, be aware that they are notoriously difficult to cut without breaking. Use a specialized glass-cutting blade and consider scoring the back of the tile before making the final cut.
Regardless of the material, always test your cutting method on a scrap piece first. This helps you calibrate your saw speed and pressure, ensuring that your final, visible pieces are cut with confidence and precision.
Grouting the Perimeter for a Uniform Look
Once all your tiles are set and the mortar has cured, it is time to grout. The perimeter where your herringbone pattern meets the trim or the wall requires special attention. Ensure that the grout lines are clean and free of excess mortar, as any debris will prevent the grout from seating properly.
Use a grout float to push the material into the gaps, working at a 45-degree angle to the joints. Wipe away the excess grout with a damp sponge, taking care not to pull the material out of the joints.
For the transition between the tile and the edge trim, ensure the grout line is uniform. If the gap between the tile and the trim is wider than the standard grout line, you may need to use a color-matched caulk instead of grout to maintain the aesthetic consistency.
Common Mistakes to Avoid During Installation
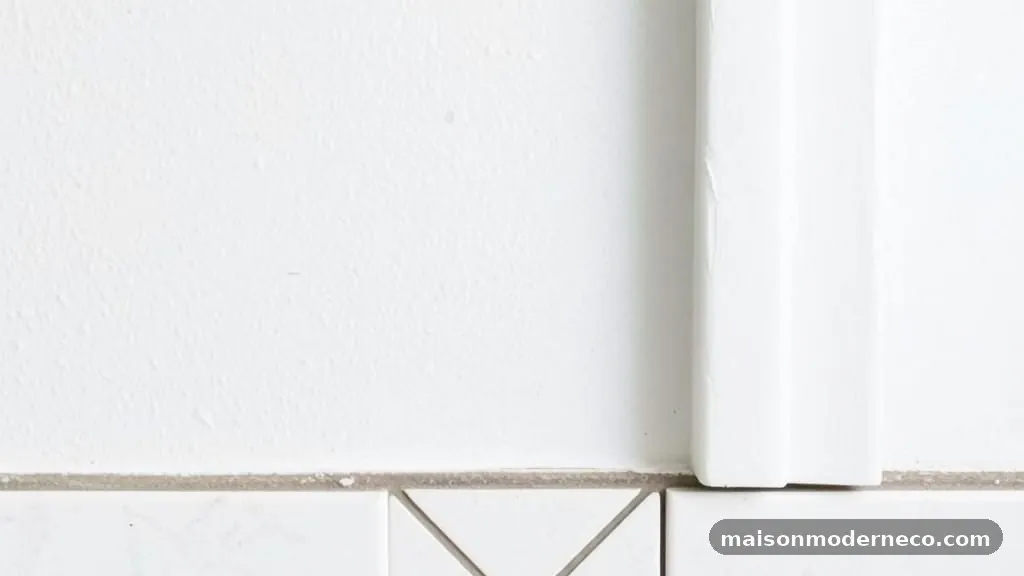
The most frequent error is neglecting to plan the layout, which leads to awkward, thin slivers at the edge of the wall. Another common pitfall is failing to account for the thickness of the trim profile when measuring for the perimeter pieces. If you don’t factor in the 1/8-inch thickness of a metal profile, your tiles will be cut too long and won’t fit against the wall.
Avoid rushing the drying time. If you apply pressure to the edge tiles before the mortar has fully set, you risk shifting the entire pattern and ruining the alignment you worked so hard to achieve.
Finally, never skip the back-buttering process for edge pieces. Because they are often cut into irregular shapes, they need extra adhesive to ensure they remain firmly attached to the wall surface for years to come.
Maintaining Your Herringbone Edge Over Time
Proper maintenance is the final step in ensuring your work stands the test of time. Periodically inspect the silicone caulk along the edges for any signs of peeling or separation. If you notice gaps, carefully remove the old caulk, clean the area with isopropyl alcohol, and apply a fresh bead.
Keep the surface of your tiles clean using a pH-neutral cleaner, especially if you are using natural stone, which can be sensitive to acidic substances. By addressing minor issues promptly, you can keep your herringbone wall looking as good as it did on the day you finished the installation. Taking care of the details at the edge of the wall is what separates a standard DIY project from a truly professional-grade renovation.
Frequently Asked Questions
Should I use a border tile with a herringbone pattern?
Using a border tile is a personal design choice, but it can significantly simplify the process of ending a herringbone pattern. A border creates a visual frame that separates the busy herringbone field from the wall edge, allowing you to cut your field tiles into straight lines against the border rather than the wall itself. This often results in a cleaner, more deliberate look that is easier to execute.
Can I finish a herringbone edge without using any trim?
It is possible to finish an edge without metal or plastic trim, but it requires much higher precision. You will need to use bullnose tiles or hand-sand the edges of your cut tiles to create a smooth, rounded finish. This process is labor-intensive and generally only recommended for experienced installers who have the tools to polish stone or ceramic edges.
How do I calculate the extra tile needed for a herringbone pattern?
Because herringbone involves many triangular cuts at the edges, you will experience more waste than with a standard grid layout. It is standard practice to add at least 15% to your total square footage calculation. This extra buffer ensures you have enough material to account for cutting errors and the specific geometry of the perimeter pieces.
What is the best way to handle an uneven wall?
If your wall is not perfectly plumb, your herringbone pattern will quickly become misaligned as you move toward the edge. In this scenario, it is best to use a wider trim profile that can hide the discrepancy between the wall and the tile. Alternatively, you can scribe your edge tiles to follow the contour of the wall, though this requires significant skill and patience.
Is it necessary to back-butter tiles at the wall edge?
Yes, back-buttering is essential for perimeter tiles. Since these pieces are often cut into unique shapes, they may not have the same surface area contact with the wall as a full tile. Applying mortar directly to the back of the tile ensures it adheres securely to the substrate, preventing the edge from becoming a weak point in your installation.
Ending a herringbone tile pattern neatly against an open wall edge is a task that rewards patience and careful preparation. By focusing on your initial layout, using the correct cutting tools, and selecting the right trim profile, you can achieve a result that looks sophisticated and intentional. Remember that the transition between the tile and the wall is one of the most visible parts of the installation, so it pays to take your time with the final perimeter pieces.
Whether you are using a metal profile or a natural stone bullnose, the goal is to create a secure, clean, and durable finish. If you have questions about your specific project or run into a tricky corner, take a step back, re-measure, and proceed with confidence.