
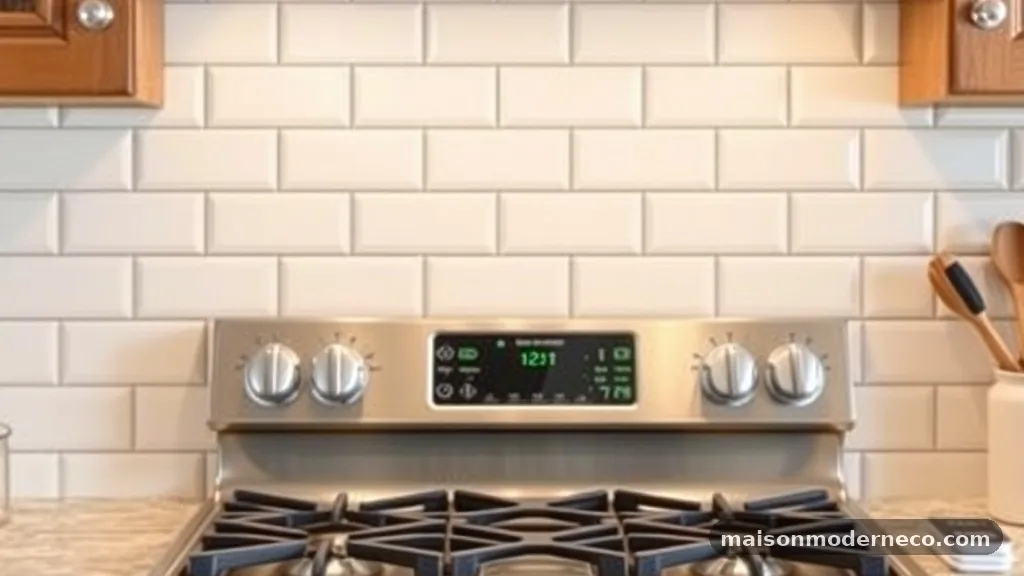
What Size Subway Tile Looks Balanced Behind a 30-Inch Kitchen Range?
Determining which size subway tile looks balanced behind a 30-inch kitchen range is a common challenge for homeowners seeking a cohesive kitchen aesthetic. Because a 30-inch stove serves as a visual anchor in most cooking areas, the surrounding backsplash must complement its scale without overwhelming the eye or appearing cluttered. Choosing the right proportions involves balancing your personal style with the physical dimensions of your workspace.
By understanding how different dimensions influence the perception of depth and width, you can confidently select the perfect finish for your home. This guide explores the relationships between tile scale, grout lines, and visual harmony to help you achieve a professional, polished result that elevates your kitchen design.
Evaluating the Standard 3×6 Subway Tile
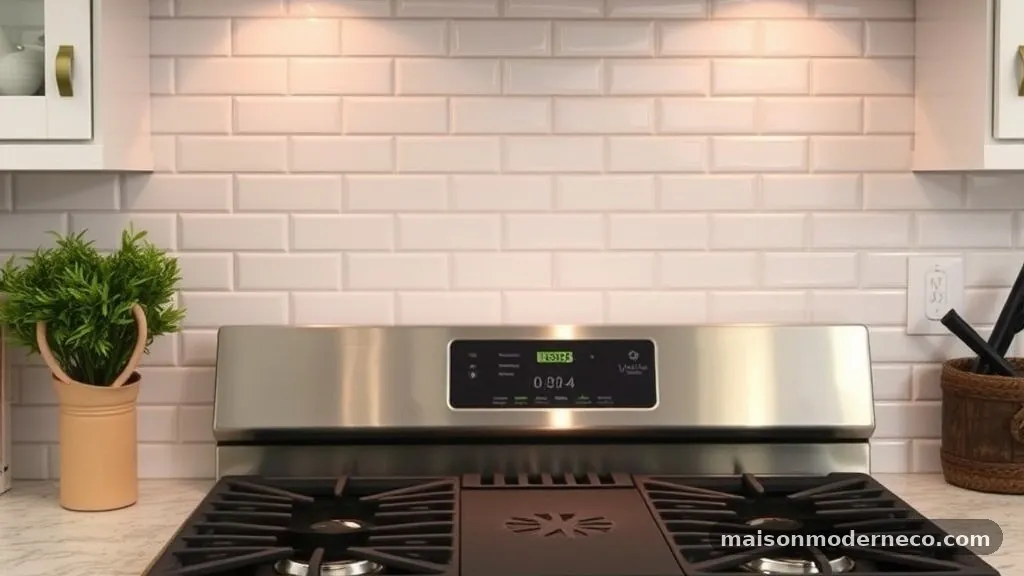
The traditional 3×6-inch subway tile remains the gold standard for a reason. Its proportions are rooted in history, specifically the early 20th-century New York City transit systems, which created a sense of clean, uniform order.
When applied to a 30-inch kitchen range, this size provides a reliable, predictable rhythm. Because a standard range width is 30 inches, five 6-inch tiles fit perfectly across the span if laid horizontally, minimizing the need for awkward cuts at the edges of the stove area.
This symmetry is incredibly pleasing to the human eye. When you use a 3×6 tile, the grout lines create a grid that feels familiar and grounded.
If your kitchen features shaker cabinets or other traditional elements, this size reinforces that classic look. It doesn’t fight for attention with your appliances, but rather acts as a supporting layer that ties the countertops to the cabinetry.
However, one common mistake is failing to account for the thickness of the grout. Even a small variance in grout width can throw off the alignment over a 30-inch span.
To avoid this, always dry-lay your tiles before applying mortar. This allows you to adjust the spacing slightly so that your pattern hits the edges of the range symmetrically, ensuring the layout feels intentional rather than accidental.
Considering Modern Large-Format Options
Large-format subway tiles—typically measuring 4×12 or even 4×16 inches—have surged in popularity for modern kitchens. These options can make a space feel significantly larger by reducing the total number of grout lines. Behind a 30-inch range, larger tiles create a cleaner, more minimalist appearance that works exceptionally well in contemporary or industrial-style homes.
The primary advantage here is the reduction of visual noise. With fewer grout lines to interrupt the flow, the color and texture of the tile itself take center stage.
If you have chosen a bold color or a high-gloss finish, a 4×12 tile allows those features to shine without being chopped up by a busy grid. This can make the area behind your stove feel more like a cohesive slab or a single piece of art.
Be aware, however, that larger tiles can be harder to install in smaller kitchens. If your range is flanked by narrow shelving or tight corners, cutting a 12-inch or 16-inch tile to fit can lead to significant waste.
Always measure the distance from the edge of your stove to the nearest cabinet or corner. If that space is less than 6 inches, you may find yourself with tiny slivers of tile that look messy and poorly planned.
The Role of Grout Lines in Visual Balance
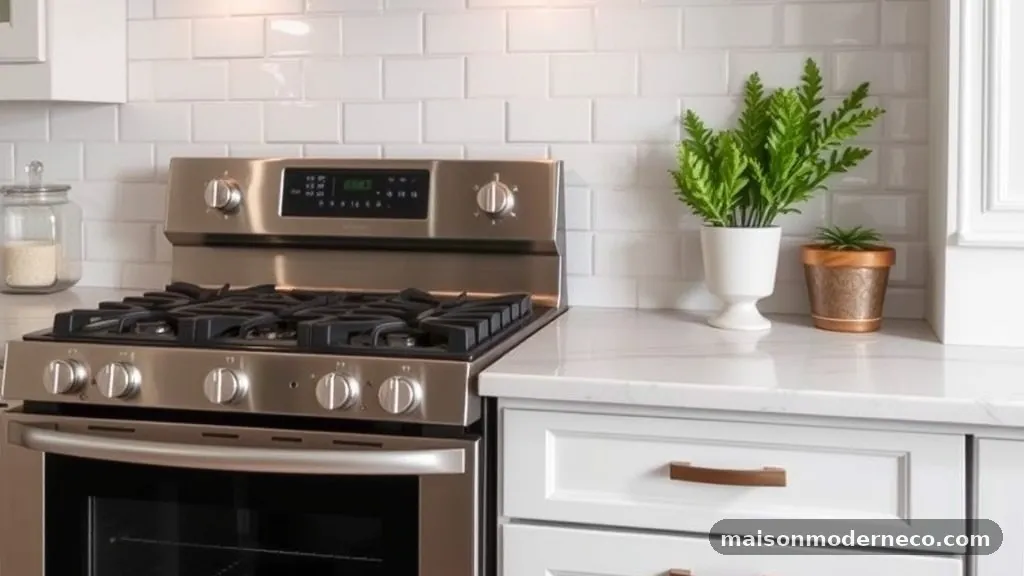
The way you treat your grout lines is just as important as the tile size itself. Grout is not merely a functional necessity; it is a design element that dictates the “look” of your backsplash.
A high-contrast grout, such as dark grey or black against white tiles, emphasizes the pattern. This can be a great way to introduce a graphic, modern element to your cooking area.
Conversely, matching your grout color to the tile creates a seamless, monolithic appearance. If you want the size of your subway tile to look balanced behind a 30-inch kitchen range without making the wall feel like a checkerboard, go for a near-perfect color match. This softens the transitions and makes the wall appear as a unified surface.
A common mistake is selecting a grout width that is either too thick or too thin for the scale of the tile. As a general rule, larger tiles require slightly wider joints to prevent cracking and to allow for natural expansion.
Consult the manufacturer’s recommendations for your specific material, as glass tiles often require different spacing than ceramic or porcelain options. You can find more technical information regarding installation standards at the Tile Council of North America.
Choosing the Right Orientation
Orientation changes everything regarding how we perceive space. Most people instinctively lay subway tiles horizontally, which emphasizes the width of the 30-inch range.
This is an excellent choice if you want to make a narrow kitchen feel wider. It draws the eye from left to right, creating a sense of expansiveness along the back wall.
Vertical orientation, by contrast, adds height. If you have low ceilings or want to create a more dramatic, architectural look, stacking your subway tiles vertically can be highly effective.
This style feels fresh and unexpected, moving away from the traditional “brick” layout. Behind a stove, a vertical stack can make the backsplash feel like a deliberate focal point that reaches upward toward the range hood.
When deciding, consider the other lines in your kitchen. If you have strong horizontal lines from open shelving or long drawer pulls, a horizontal tile pattern will reinforce that direction. If your kitchen lacks verticality, a vertical tile layout can introduce a much-needed sense of height, preventing the room from feeling squashed.
The Impact of Color and Finish
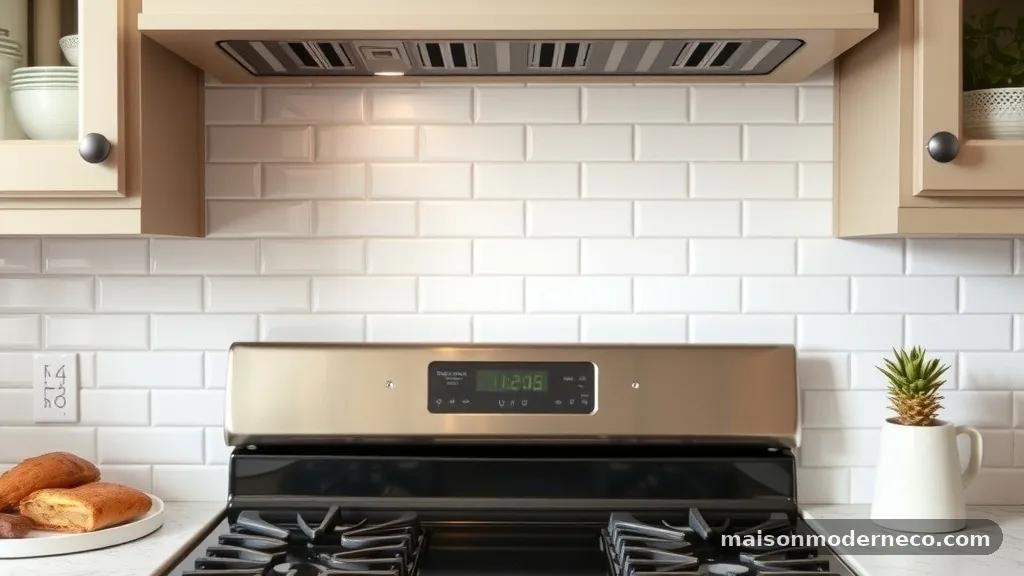
While size is the primary focus, the color and finish of your tiles interact with size to determine how the final wall feels. White tiles are the most common choice, as they reflect light and make the cooking zone feel bright and hygienic. However, a small 3×6 white tile creates a very different vibe than a large 4×16 white tile.
Glossy finishes bounce light around the room, which is beneficial in kitchens that lack natural light. If you are using a smaller tile, a glossy finish can make the backsplash look like a sparkling mosaic.
If you prefer a more subdued, organic look, consider a matte or satin finish. These finishes tend to hide water spots and grease splatters better than high-gloss surfaces, which is a practical consideration for the wall directly behind a 30-inch range.
Remember that dark colors absorb light and can make a space feel smaller or more intimate. If you choose a deep navy or charcoal tile, a larger size often works better. It prevents the wall from looking like a dark, busy blur, allowing the color to read as a solid, sophisticated block behind your stainless steel or matte black appliances.
Working with Mosaic and Mini-Subway Styles
Sometimes, the standard subway proportions just aren’t enough. Mosaic or “mini” subway tiles—often sized at 1×2 or 2×4 inches—offer a highly textured, intricate look.
These are fantastic if you want to add a sense of luxury or craftsmanship to your kitchen. They break up the space in a way that feels intentional and highly detailed.
The challenge with smaller tiles behind a 30-inch range is the sheer volume of grout lines. If you are not meticulous about cleaning, these grout lines can become a magnet for cooking grease and splatters.
Use a high-quality, stain-resistant grout sealer if you go this route. You will need to treat the backsplash as a surface that requires regular maintenance to keep it looking fresh.
Despite the maintenance, the visual payoff of small tiles can be immense. They add a rhythmic, repeating pattern that creates a sense of depth. This is particularly effective in kitchens that are otherwise very plain or utilitarian, as the texture of the tiles provides a necessary visual “pop” that prevents the room from feeling sterile.
Designing for the Stove-to-Hood Transition
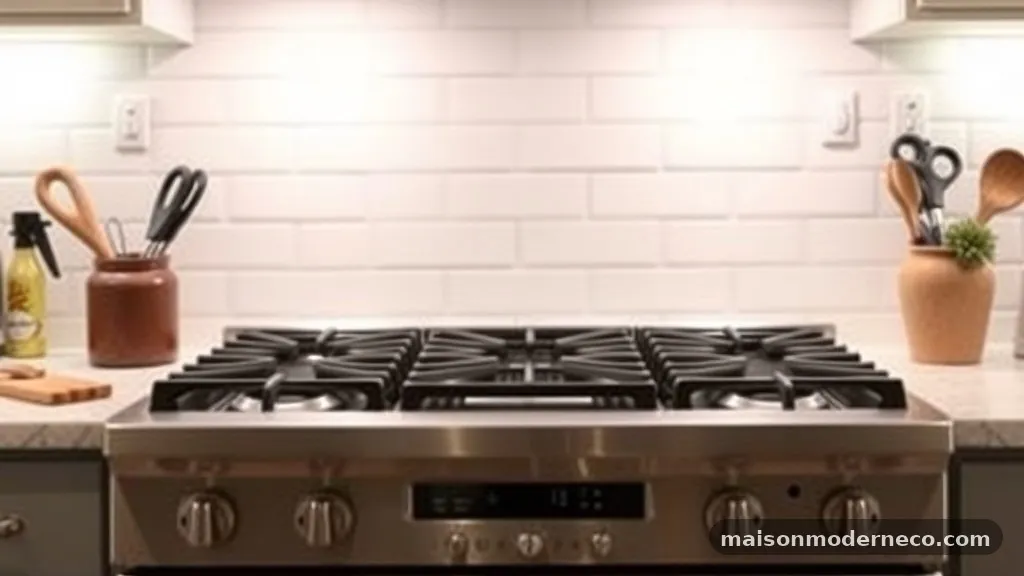
The area behind the range isn’t just a flat wall; it is the space between your stove and your range hood. This vertical rectangle is the most important part of your backsplash design. When thinking about what size subway tile looks balanced behind a 30-inch kitchen range, consider how many full tiles will fit vertically between the top of the stove and the bottom of the hood.
If you have a 30-inch gap, you want to avoid a layout that results in a tiny, one-inch sliver of tile at the top or bottom. This looks like a mistake.
Instead, try to calculate your layout so that the tiles meet the hood and the stove with either full tiles or at least half-tiles. This requires measuring the specific height of your backsplash area before you buy your materials.
Sometimes, you may need to adjust the height of your range hood slightly to accommodate a full-tile pattern. This is a common professional trick that makes the difference between a “DIY-looking” kitchen and a high-end designer space. Taking the time to map out the vertical stack ensures that the scale feels perfectly calibrated to your specific appliances.
Balancing Pattern and Complexity
Beyond the simple horizontal or vertical stack, consider how the tile pattern itself affects the balance. A classic running bond (or brick pattern) is the most common, but it can look a bit busy if the tile size is too small. If you find that a 3×6 tile looks too frantic, consider a “stacked” or “grid” pattern where the corners meet perfectly.
The grid pattern is inherently more modern and ordered. It emphasizes the structural nature of the tile, making the 30-inch range feel like it is framed by a precise, mathematical grid.
This is a fantastic way to balance the space if you are using a tile that has a lot of natural variation or a handmade, rustic look. The order of the grid helps ground the irregularity of the tile.
Avoid overly complex patterns like herringbone behind a 30-inch range unless you are prepared for a very busy look. Herringbone is beautiful, but it draws a lot of attention. If your stove is a high-end, professional-grade appliance, you might want the backsplash to be a quiet background rather than a competing visual element.
Accounting for Kitchen Scale and Proportions
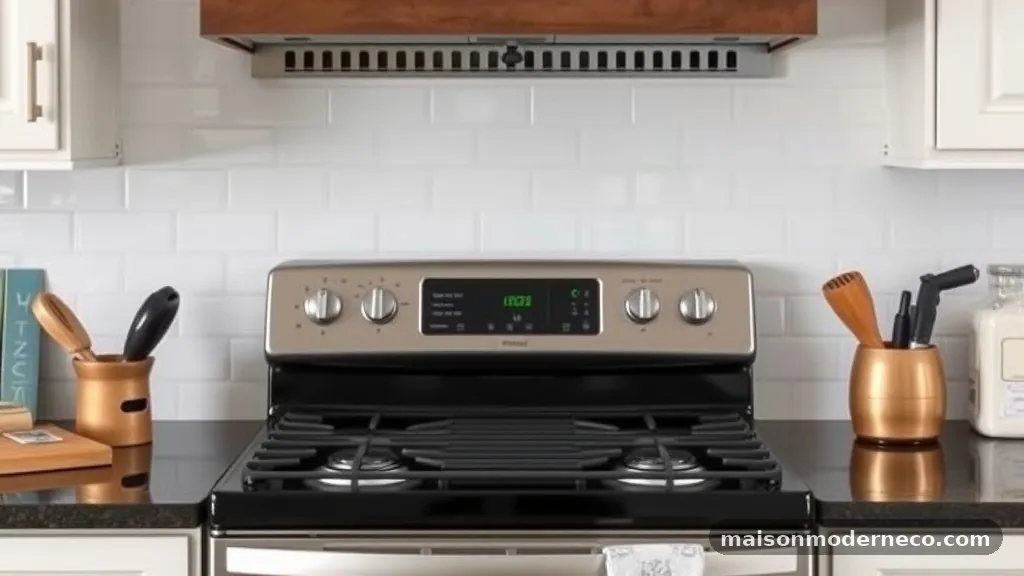
The size of your kitchen dictates the size of your tile. In a small, compact kitchen, massive 4×16 tiles can actually make the space feel smaller by overwhelming the wall. Conversely, in a large, open-concept kitchen, small 2×4 tiles can look like a cluttered mess that gets lost in the expansive room.
Think about the “visual weight” of your backsplash. A 3×6 tile is the most versatile option because it sits right in the middle of the spectrum.
It is large enough to feel substantial but small enough to provide the detail that makes a backsplash interesting. If your kitchen is medium-sized, this is usually the safest and most balanced bet.
If you have a large kitchen with high ceilings, don’t be afraid to go bigger. Larger tiles can hold their own against the scale of the room. They prevent the backsplash from disappearing into the wall, ensuring that the range remains the focal point of the cooking area.
Common Mistakes to Avoid
One of the biggest mistakes people make is choosing a tile size based solely on a photograph without considering the actual dimensions of their range. A tile that looks great in a magazine might require 40% of the tiles to be cut in your specific kitchen. Before ordering, calculate the number of tiles needed for the width and height of your stove area.
Another frequent error is ignoring the edge treatment. Subway tiles often have a rounded or unfinished edge. If you are not using a border tile or a metal trim piece, those raw edges will be visible at the sides of your stove.
Plan how you will finish the edges early in the process. Many homeowners use a matching “bullnose” tile to create a clean, finished look that keeps the transition from the tiled area to the painted wall looking professional.
Finally, don’t underestimate the impact of lighting. Under-cabinet lighting is standard in modern kitchens, and it will shine directly onto your backsplash.
If your tiles are textured or have a high-gloss finish, the light will cast shadows or create bright reflections that change the appearance of the tile size. Always test a sample tile in your kitchen’s actual lighting conditions before making a final decision.
Frequently Asked Questions
Is it necessary to use the same size subway tile for the entire kitchen?
Not at all. While using one size throughout creates a unified look, many designers use a standard size for the main backsplash and a different, perhaps more decorative or larger, size specifically behind the range. This can turn the area behind the stove into a “feature wall” or focal point.
How do I know if a tile size will look too busy behind my stove?
If the tiles are very small (like 1×2 or 2×4) and you use a high-contrast grout, the result will be very busy. If you want to avoid a cluttered look, choose a larger tile size or use a grout color that closely matches the tile. This creates a smoother, more unified surface that doesn’t compete with other elements in the kitchen.
What is the most timeless choice for a 30-inch range?
The 3×6 white subway tile in a standard running bond pattern is widely considered the most timeless choice. It has been used for over a century and continues to look fresh, clean, and appropriate in almost any style of home. It provides a balanced, neutral backdrop that allows your range and cabinetry to stand out.
Does the range hood affect which tile size I should choose?
Yes, the height and style of your hood matter. If you have a large, heavy hood, a larger tile size can help balance the visual weight of the appliance. If your hood is sleek and minimalist, a smaller or standard-sized tile can complement that simplicity. Always ensure your tile pattern aligns well with the bottom edge of the hood for a professional finish.
Conclusion
Selecting the ideal tile size for your kitchen involves balancing the physical dimensions of your range with the overall aesthetic of your home. Whether you opt for the classic 3×6 format, a modern large-format tile, or a delicate mosaic, the key is to ensure the pattern feels intentional and well-proportioned. By carefully considering your grout, orientation, and finish, you can create a space that feels both functional and visually harmonious.
Remember to dry-lay your tiles before finalizing the installation, as this small step prevents common layout errors and ensures that the size subway tile looks balanced behind a 30-inch kitchen range. With these considerations in mind, you are ready to transform your cooking area into a beautifully designed centerpiece. We invite you to share your project photos or ask further questions about your specific kitchen layout below.