
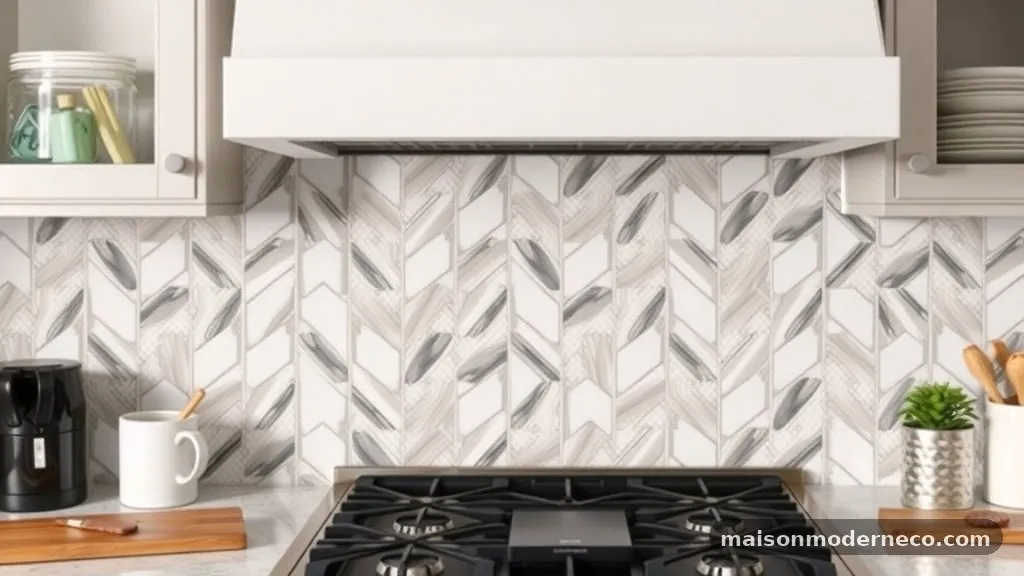
How to Find the Exact Center Point When Starting a Herringbone Backsplash
Finding the exact center point when starting a herringbone backsplash is the most critical step to ensuring your final layout looks professional rather than lopsided. If your pattern starts off-center, the cuts at the left and right ends of the wall will be uneven, drawing the eye to the mistake immediately.
By taking the time to calculate the true middle of your installation area, you create a balanced foundation that allows the herringbone pattern to flow symmetrically across the kitchen wall. This precise preparation saves you from wasted materials and the frustration of having to tear out tiles that don’t align correctly as you work toward the corners.
Understanding the Importance of Symmetrical Layouts
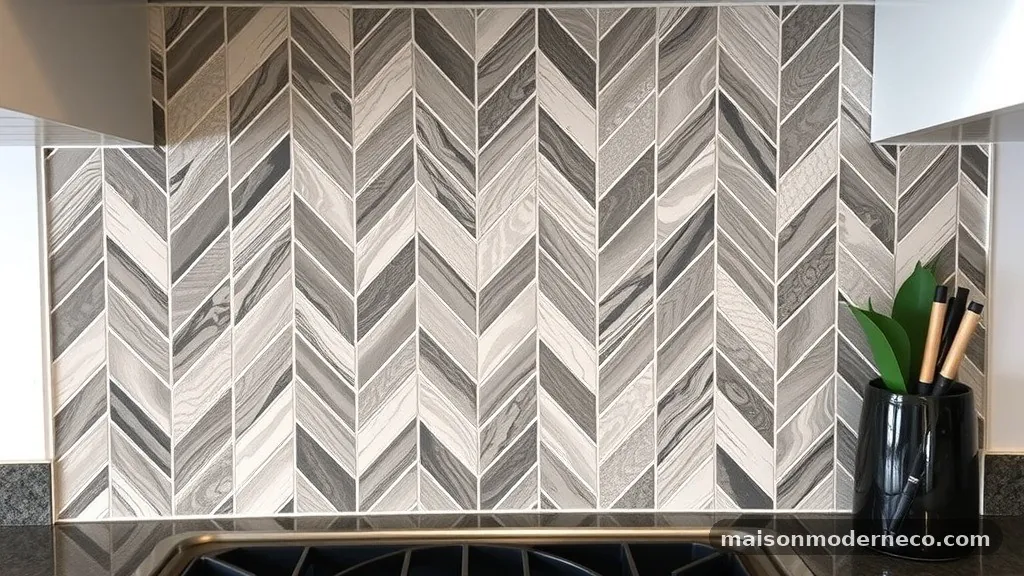
A herringbone pattern is notoriously unforgiving when it comes to alignment. Because the tiles are set at 45-degree angles, any deviation from the centerline is magnified as you progress outward.
When you fail to establish a perfect center, the “V” shapes in your pattern will appear tilted or skewed, which ruins the geometric harmony that makes this design so popular. Achieving symmetry is not just about aesthetics; it is about structural consistency across the surface.
When you start from a corner, you rarely end up with an equal amount of tile on both sides. This creates a cluttered look where one side has full tiles and the other has tiny, awkward slivers. By centering the pattern, you ensure that the cuts at both the left and right ends of the backsplash are identical in size and shape.
This “bookend” effect provides a crisp, intentional finish that frames your kitchen design perfectly. It requires more planning before you apply any adhesive, but the visual payoff is significant.
Measuring the Wall for Your Centerline
Before you touch a single piece of tile, you must treat your wall as a mathematical grid. Use a reliable tape measure to find the total width of the backsplash area.
If you are tiling between two cabinets, measure the distance between them at the bottom, middle, and top of the wall. Walls are rarely perfectly square, so taking three measurements helps you identify if the walls are plumb or if they bow inward.
Once you have your width, divide it by two to find the exact middle. Mark this point clearly with a pencil or a piece of painter’s tape. It is essential to use a long level or a laser level to draw a vertical line from this center mark from the countertop all the way up to the top of the backsplash area.
This vertical line acts as your primary guide. If you don’t have a laser, a high-quality spirit level is a reliable tool to ensure that your vertical line is perfectly perpendicular to the countertop. You can find detailed tips on ensuring your walls are prepared for tiling at the Tile Council of North America website to ensure you have the right foundation for your project.
Accounting for Grout Lines in Your Calculation
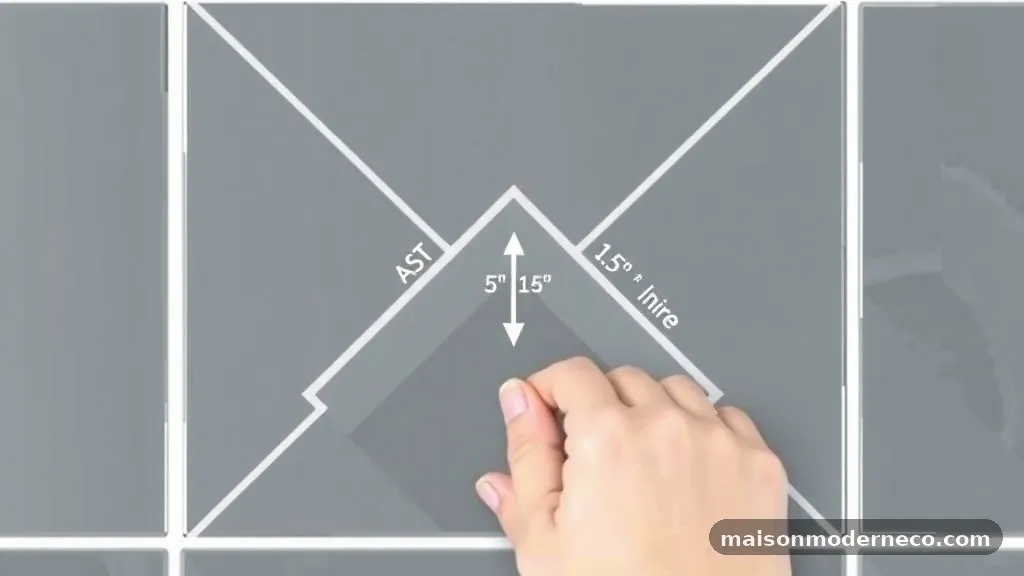
Many beginners forget that grout lines actually take up space. If you are using 3×12 subway tiles in a herringbone pattern, a 1/8-inch grout line between every tile adds up quickly over a long run.
If you calculate your center point based solely on the width of the tiles, your pattern will drift as you move across the wall. To avoid this, you should perform a dry layout on the floor before you commit to the wall.
Lay out a row of tiles with spacers in between them to see how the pattern occupies the space. This allows you to visualize how the grout affects the total run.
If your calculation shows that you will end up with a tiny, one-inch sliver of tile at the corners, you might want to shift your center point by half a tile width. Shifting the center often results in larger, more manageable cut pieces at the ends of the wall, which are much easier to install and look far more professional.
Creating a Guide for the Herringbone Angle
The herringbone pattern relies on tiles meeting at 45-degree angles. Once you have your vertical centerline, you need to establish the baseline for the first row of tiles. Place your first two tiles so that their corners meet exactly on the vertical centerline.
Use a speed square to ensure that the 45-degree angle is consistent. If this first “V” is off by even a fraction of a degree, the entire wall will look crooked.
This is the most common point of failure for DIYers. They draw the line but fail to check the angle of the first few tiles. Use a small piece of painter’s tape to hold the first tiles in place before you spread any thin-set.
Step back and look at the alignment from across the room. If it looks correct, you are ready to proceed. If the angle feels slightly off, adjust the tiles now, as it is impossible to fix once the mortar sets.
Managing the Bottom Edge and Countertop Gap
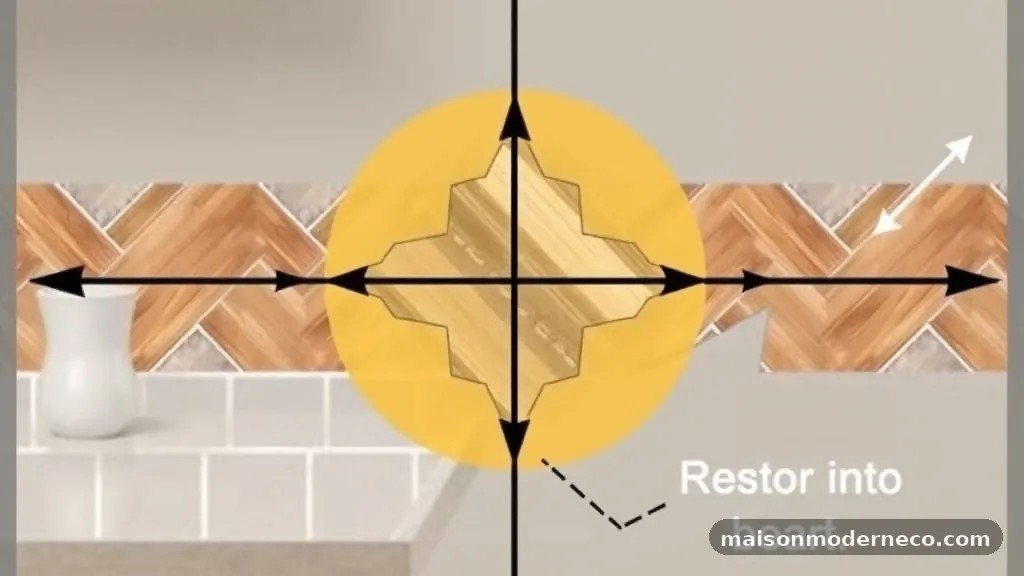
Most backsplashes sit on a countertop, but countertops are rarely perfectly level. If you start your herringbone pattern directly on the counter, you might find that your pattern starts to slope as you move across the room.
To prevent this, calculate your starting height by finding the lowest point of your countertop. Use that point as your reference line for the bottom of your first row of tiles.
Leave a consistent gap—usually 1/8 inch—between the countertop and the bottom of the tiles to allow for a flexible silicone caulk joint. This expansion gap is vital for preventing cracking if the house settles or the countertop moves slightly.
Use plastic shims or tile spacers to maintain this gap consistently across the entire length of the kitchen. Do not rely on the countertop surface to keep your tiles level; rely on your level and your measured guide lines.
Dry Laying the Pattern to Avoid Surprises
A dry layout is your best insurance policy against mistakes. Before you mix your adhesive, lay the tiles out on a flat surface or the floor in front of the wall.
This gives you a true sense of how the pattern will look once it is on the wall. You will quickly see if your center point needs adjustment or if you are going to end up with awkward cuts that you hadn’t anticipated.
During the dry layout, try to visualize the “cut tiles” that will meet the cabinets or corners. If you see that you are going to have to cut a piece that is only a quarter-inch wide, shift your center point.
A wider cut is much easier to make with a manual tile cutter and will be significantly more durable than a tiny, fragile sliver. Taking this extra hour to dry lay can save you an entire day of frustration during the actual installation.
Selecting the Right Tools for Precision
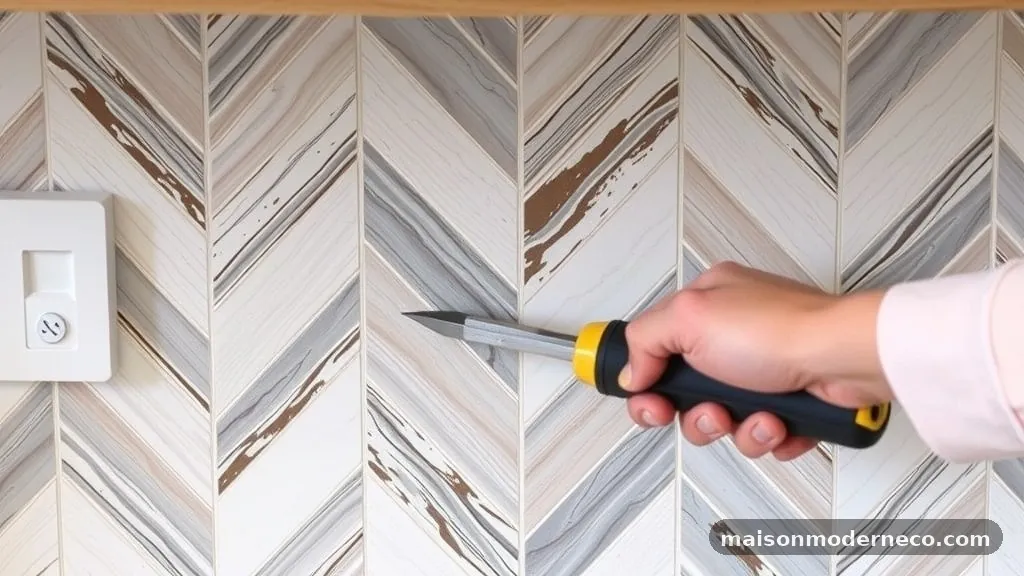
Precision requires the right equipment. For a herringbone project, a high-quality manual snap cutter is usually sufficient for standard ceramic or porcelain subway tiles.
However, if you are working with glass or stone, you might need a wet saw to prevent chipping. Make sure your measuring tools are accurate; a cheap tape measure can be off by a sixteenth of an inch, which is enough to ruin a herringbone alignment over a wide wall.
Additionally, use high-quality tile spacers. Don’t eyeball the gaps. Whether you use a classic cross spacer or a leveling system, consistent spacing is what makes the pattern look clean.
If the grout lines vary, the herringbone pattern will look messy, no matter how perfectly you centered it. A leveling system can also help keep the face of the tiles flush with each other, which is particularly important with larger format tiles.
Handling Obstacles Like Outlets and Switches
Obstacles like electrical outlets are the enemy of a smooth, centered herringbone pattern. When your pattern hits an outlet, you have to cut the tiles to fit around the box.
This is why it is so important to have your center point established early. If you know exactly where the pattern lands relative to the outlet, you can plan your cuts to minimize small, difficult-to-cut pieces.
Try to avoid having the narrowest part of a tile land right on the edge of an outlet box. If you see this happening during your dry layout, shift your center point slightly.
Sometimes a shift of just half an inch can turn a difficult, complex cut into a much simpler, cleaner one. Always turn off the power to the outlets before you begin tiling, and use a diamond blade in an angle grinder to make precise, clean cuts around the outlet boxes.
Securing the Tiles with Adhesive
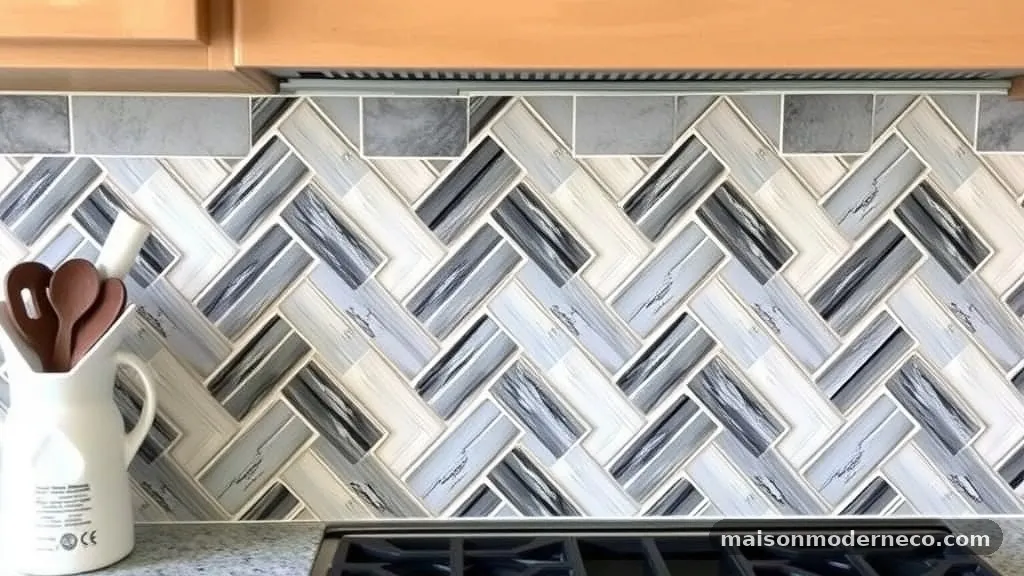
Once you have your center point and your layout finalized, it is time for the adhesive. Use a notched trowel that is appropriate for the size of your tiles. For most subway tiles, a 1/4-inch by 1/4-inch square notch trowel is standard.
Apply the adhesive to the wall in straight, horizontal lines rather than swirls. This helps the air escape when you press the tile into the mortar and ensures even coverage.
Work in manageable sections, starting from your center line and moving outward. Periodically check your progress against your vertical center line. It is very easy for the pattern to “drift” as you add more rows.
If you notice a slight deviation, you can gently nudge the tiles into place while the adhesive is still wet. Do not wait until you have finished a whole section to check your alignment, as it will be too late to make adjustments.
Avoiding Common Pitfalls During Installation
The most common mistake is failing to clean the excess mortar out of the grout lines as you go. If mortar dries in the gaps, it will be visible through the grout, which ruins the look of the backsplash.
Use a damp sponge to wipe away any adhesive that squeezes out of the joints immediately. Don’t let it sit, as it becomes much harder to remove once it skins over.
Another error is ignoring the “sag” that can happen with heavy tiles. If you are using natural stone or large tiles, they may slide down the wall before the adhesive sets.
Use small wedges or spacers to support the weight of the tiles until the mortar has had time to grab. Also, ensure you are not using too much mortar; if it pushes out from under the tile, it means you are applying too much or your angle of the trowel is too steep.
Frequently Asked Questions
How do I keep the herringbone pattern from drifting as I move up the wall?
The best way to prevent drift is to use a laser level to periodically check your vertical and horizontal alignment. Additionally, ensure you are using consistent spacers throughout the installation. If you notice a slight deviation, correct it immediately by gently adjusting the tiles while the thin-set is still pliable.
Is it better to start the herringbone pattern from the center or a corner?
Always start from the center. Starting from a corner almost guarantees that you will have an uneven, lopsided pattern by the time you reach the other side of the wall. Centering the pattern ensures that the cut tiles at both ends of the wall are symmetrical, which is the hallmark of a professional installation.
What should I do if my wall is not perfectly plumb?
If your wall is out of plumb, you will need to prioritize either the countertop line or the vertical center line. Most pros choose to prioritize the center line to keep the pattern balanced, which means the cuts at the edges might vary slightly. Use a high-quality caulk that matches your grout color to hide any minor gaps at the edges where the wall meets the cabinets.
How do I calculate the starting point if I have a window in the middle of the backsplash?
Treat the window as a break in the wall. You may need to center your pattern based on the largest, most visible section of the wall. Sometimes, you can “wrap” the pattern around the window, but this requires very careful planning and dry laying. If the window is perfectly centered, you can use the center of the window as your primary vertical reference line.
Can I use a tile leveling system with a herringbone pattern?
Yes, a leveling system is highly recommended for herringbone patterns. It helps keep the edges of the tiles flush with one another, which is critical because the 45-degree intersections can easily become uneven. Just be sure to choose a system compatible with the thickness of your specific tiles and the width of your grout lines.
Finalizing Your Professional Backsplash
Achieving a perfect result when installing a herringbone backsplash comes down to patience and precision. By finding the exact center point when starting a herringbone backsplash, you establish a balanced, professional aesthetic that will stand the test of time. Don’t rush the layout phase, as this is where the most important decisions regarding symmetry and fit are made.
Once your center is marked and your dry layout is verified, the installation process becomes much more straightforward. If you take your time with the cuts and maintain consistent grout lines, you will end up with a beautiful, custom-looking kitchen feature that you can be proud of for years to come.
If you run into trouble, remember that even the pros rely on their tools and measurements rather than their eyes. Take a deep breath, keep checking your levels, and enjoy the transformation of your space.