Where Should Backsplash Tile Stop When Upper Cabinets End Early?
Deciding where to make your backsplash tile stop when upper cabinets end early is a common design dilemma during a kitchen remodel. You want a professional, intentional look that doesn’t leave your walls feeling unfinished or awkward. By analyzing the relationship between your countertop edge, the cabinet line, and the surrounding architecture, you can create a clean transition that protects your wall while enhancing the room’s aesthetic.
Understanding these spatial dynamics ensures you don’t end up with a disjointed design that draws the eye to the wrong places. Follow these steps to determine the perfect stopping point for your tile installation and achieve a polished, cohesive result in your home.
Aligning Tile with the Countertop Edge
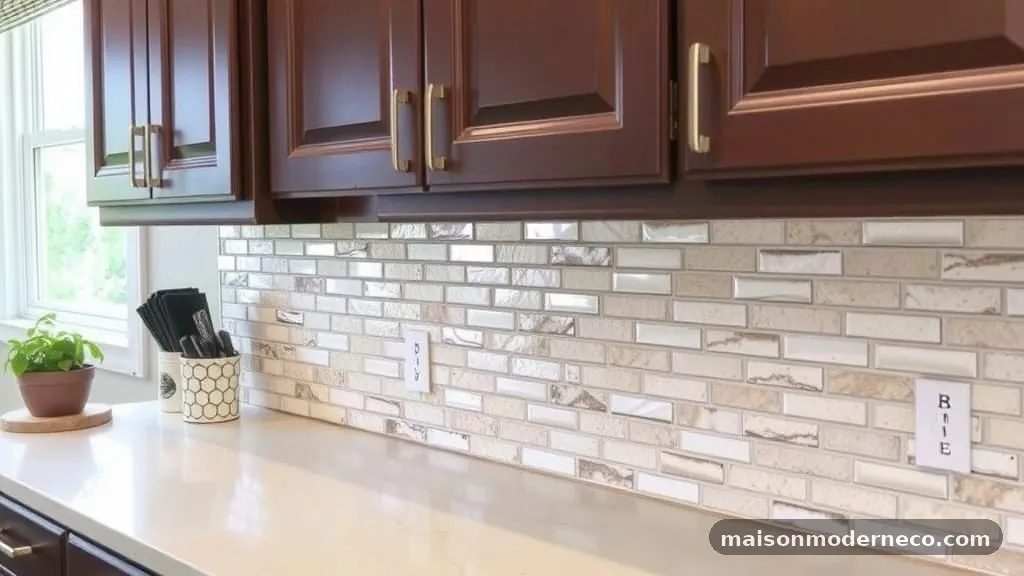
The most common and visually grounded approach is to carry your backsplash tile all the way to the end of the countertop. When your upper cabinets terminate before the counter does, ending the tile at the counter edge creates a strong, geometric anchor.
This choice works exceptionally well in modern and transitional kitchens where clean lines are a priority. By treating the entire length of the counter as your “work zone,” you establish a clear boundary that makes sense to the eye.
One major advantage of this method is that it protects the entire wall area that is most likely to experience splashes, food splatters, and moisture from countertop appliances. If you have a coffee station or a toaster sitting on the extra space beyond the cabinets, having that backsplash protection is incredibly practical. It prevents grease and liquids from soaking into drywall or paint, which is notoriously difficult to clean once stains set in.
However, a common mistake is failing to consider the vertical termination. If you stop the tile at the edge of the counter, you are left with a vertical edge of tile that needs to be finished properly.
You should use a bullnose tile, metal Schluter trim, or a pencil liner to create a professional edge. Leaving raw, cut edges of ceramic or stone exposed is a recipe for a sloppy appearance that detracts from the quality of your National Kitchen and Bath Association-approved kitchen design.
Creating a Vertical Drop from the Cabinet Line
Sometimes, extending tile to the end of the counter feels like “too much” wall coverage, especially if the counter extends significantly past the upper cabinets. In these cases, you might choose to drop the tile vertically from the bottom of the last upper cabinet down to the countertop.
This creates a boxy, framed appearance that highlights the cabinetry itself. It is a great way to define the kitchen zone if your cabinets are floating or if the kitchen layout is open-concept.
This design choice effectively creates a “contained” splash area. By stopping the tile directly under the edge of the cabinet, you keep the focus on the cabinetry and the functional cooking area.
This approach can make a small kitchen feel less cluttered because you aren’t drawing the eye across the entire length of the wall. It also saves on material costs since you are using fewer tiles.
The pitfall here is that the wall space between the cabinet edge and the end of the counter can look barren or incomplete. If you choose this route, be prepared to decorate that remaining wall space with artwork, floating shelves, or a different paint color to ensure it doesn’t look like you simply ran out of tile. Without intentional styling, this gap can look like an oversight rather than a deliberate design decision.
Handling Windows and Architectural Obstacles
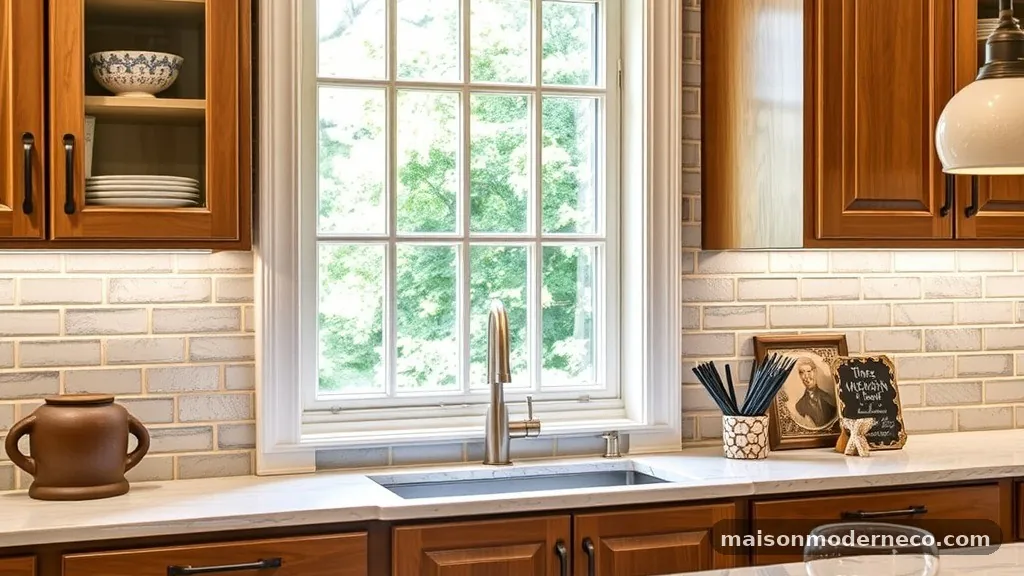
Windows often complicate the question of where a backsplash tile should stop when upper cabinets end early. If your counter extends past the cabinet and hits a window frame, you have a natural stopping point.
Running the tile into the window casing or up to the window trim creates a finished, architectural look. Most designers recommend stopping the tile at the window trim rather than trying to wrap it inside the window frame unless you are tiling the entire wall.
When you have an awkward space between the end of a cabinet and a window, the best solution is often to tile the entire stretch. This prevents a “floating” strip of wall that can look like a mistake.
By integrating the window into the backsplash zone, you create a cohesive, wrap-around effect that feels intentional. It ties the kitchen elements together, making the transition from tile to paint feel smooth rather than abrupt.
Avoid the temptation to stop tile mid-wall just because you ran out of room. If you find yourself with a three-inch gap between your tile and a window, it is almost always better to fill that gap.
A tiny, awkward sliver of painted wall between tile and trim is a high-traffic area for dirt and is visually distracting. Consistency is key when dealing with tight architectural constraints in a kitchen remodel.
Utilizing Floating Shelves to Bridge the Gap
If your upper cabinets end early but you still have a long run of countertop, installing floating shelves can solve your backsplash dilemma. By running the tile to the end of the counter and installing shelves above it, you create a visual bridge that connects the cabinetry to the rest of the wall. The tile acts as a backdrop for the shelves, providing a sense of depth and purpose to that extra counter space.
This technique is particularly effective in farmhouse or rustic-modern kitchens. You can use the shelves to display glassware or plants, which softens the transition from the tiled area to the plain wall.
The tile provides the necessary protection for the backsplash area, while the shelves prevent the wall from feeling too empty or cold. It turns a potential design problem into a functional, beautiful storage solution.
Be careful not to over-crowd the shelves, though. If you put too many items on them, the wall will look cluttered.
The goal is to create an intentional space that feels like part of the overall kitchen design rather than an afterthought. When you use this strategy, ensure your tile installation is perfectly plumb, as the shelves will draw attention to the alignment of your tiles.
Considering the Full-Wall Backsplash Option
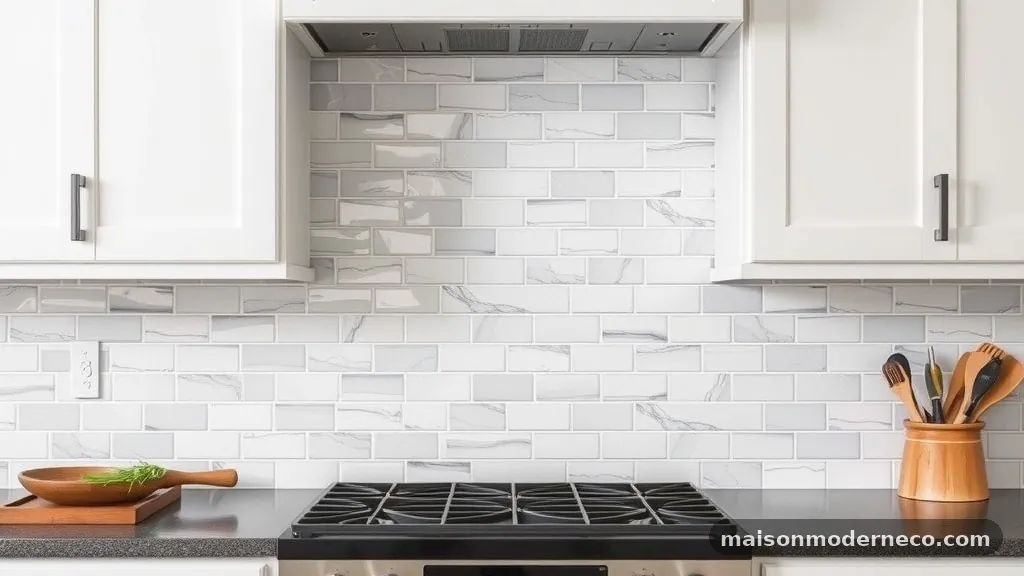
Sometimes, the most straightforward answer is to tile the entire wall from the countertop to the ceiling. If your upper cabinets end early, a full-wall backsplash can provide a high-end, custom look that makes a kitchen feel larger and more luxurious. This approach eliminates the need to worry about where to stop the tile because the boundary is already defined by the ceiling and the corners of the room.
This is a fantastic option if you have an open floor plan where the kitchen wall is visible from the living or dining area. A full-wall tile installation adds texture and color that acts as a focal point. It removes the “stair-step” effect that often occurs when cabinets end and the tile stops abruptly, which can make a wall look broken up.
The downside is the cost and the commitment. Tiling an entire wall requires significantly more material and labor, which increases your budget.
You also need to ensure that your electrical outlets and light switches are integrated properly into the tile layout. When done correctly, however, a floor-to-ceiling backsplash provides a timeless, elegant finish that avoids all the typical problems associated with partial-wall tiling.
Finishing the Edges for a Professional Look
Regardless of where you choose to stop your backsplash, the finish of the edge is what separates a DIY project from a professional installation. Never leave raw tile edges exposed, as they are sharp, prone to chipping, and look unfinished. There are several ways to manage this, and your choice should reflect the overall style of your kitchen.
Metal trim pieces, such as Schluter strips, are a popular choice for contemporary spaces. They come in various finishes like brushed nickel, matte black, or gold, allowing you to coordinate with your hardware.
These strips provide a clean, thin line that protects the edge of the tile and gives a crisp, modern finish. They are easy to install and create a very durable edge that won’t crack or peel over time.
Alternatively, you can use bullnose tiles, which are designed with a rounded, finished edge. These are ideal for traditional or classic kitchens where a softer look is preferred.
Pencil liners or quarter-round trim pieces are also excellent options for adding a decorative touch to the edge. The most important thing is to select a finish that complements your tile choice and ensures the transition to the painted wall is smooth and deliberate.
Accounting for Countertop Overhangs
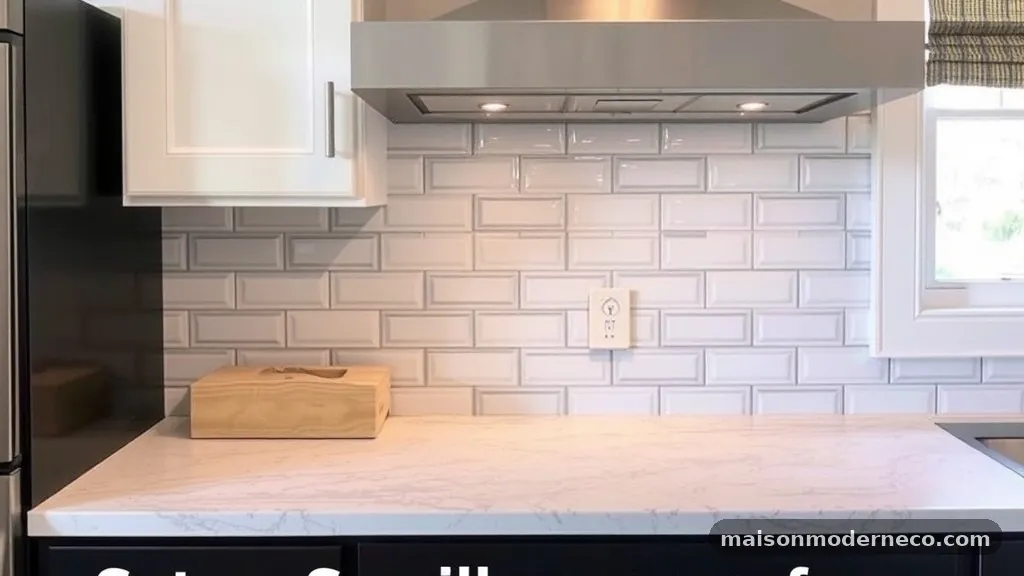
Many people forget that countertops often have an overhang that extends beyond the base cabinets. If you are trying to align your tile with the base cabinet, you might find that the tile stops short of the actual counter edge.
This creates an awkward visual gap where the counter sticks out further than the wall covering. Generally, you should align your tile with the edge of the countertop, not the base cabinet.
If your counter has a significant overhang, it acts as a visual boundary. Stopping the tile at the edge of this overhang creates a flush, clean line that respects the geometry of the kitchen. If you stop the tile at the cabinet edge, you create a “shelf” of exposed wall that is difficult to clean and looks like the design was truncated.
Always measure your countertop depth carefully before placing your tile order. If you have a waterfall edge on your counter, the tile should stop where the countertop material turns down toward the floor. This creates a natural, logical end-point that feels integrated with the cabinetry and the counter, preventing the backsplash from feeling like a separate, disconnected element.
Managing Electrical Outlets and Switches
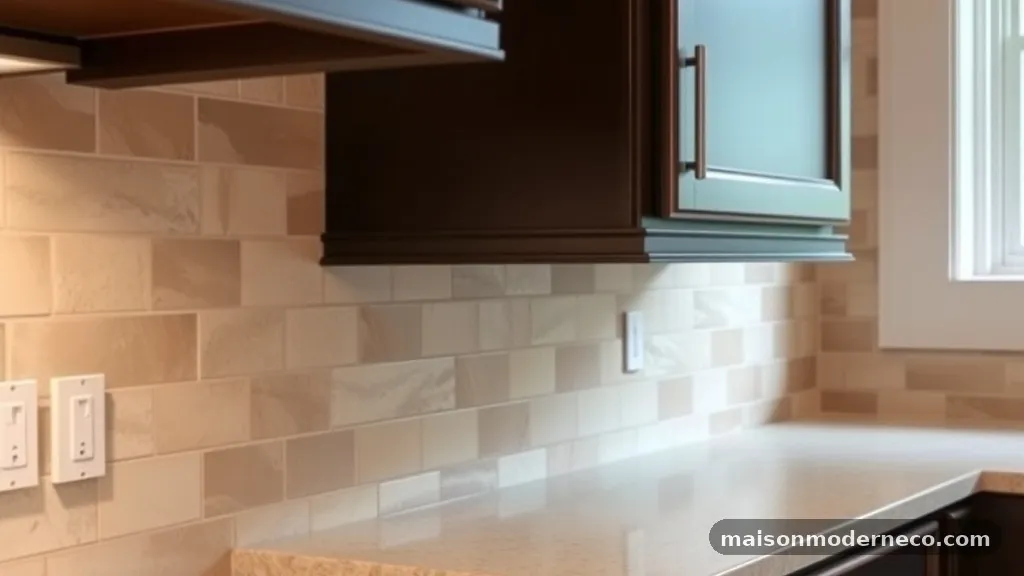
Electrical outlets are one of the biggest challenges when determining where to stop your backsplash. If your tile stops in the middle of a wall, you might be left with an outlet sitting right on the edge of the tile or just outside of it.
It is always better to extend the tile slightly past an outlet to provide a solid background for the faceplate. Having an outlet half on tile and half on paint is a major aesthetic mistake that is very difficult to correct.
If you have a run of outlets, try to plan your backsplash length so that the outlets are fully contained within the tiled area. If this isn’t possible, consider moving the outlets or using decorative covers that match the tile color. You want to avoid any situation where the backsplash ends in a way that makes the electrical hardware look like an afterthought.
Planning your tile layout to account for these fixtures early in the process is essential. If you are doing a remodel, talk to your electrician about the possibility of shifting outlets slightly to align with your desired tile stopping point. While it adds a bit of work, it results in a much cleaner, more professional look that you will appreciate every time you use your kitchen.
The Impact of Color and Contrast
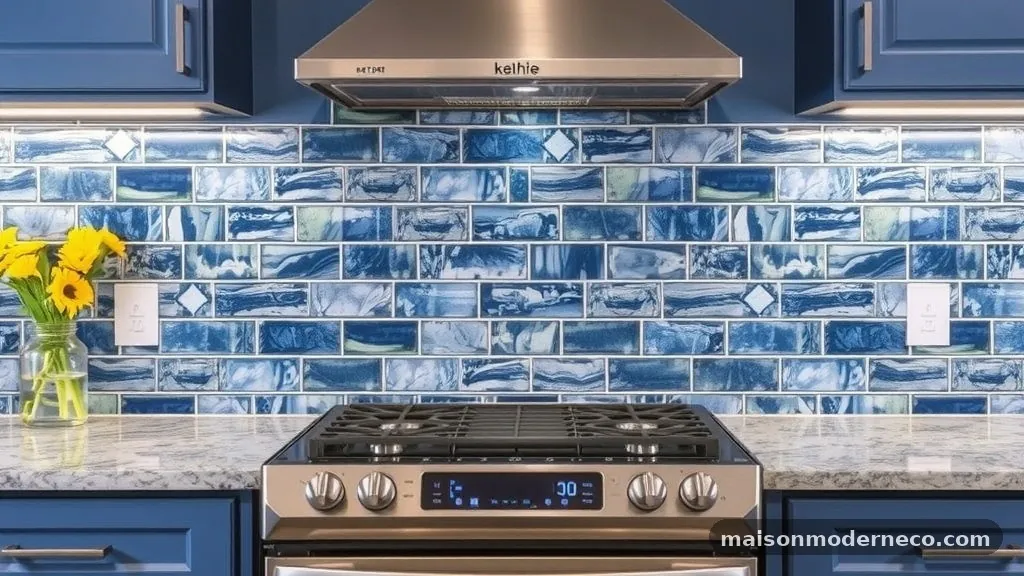
The color of your tile relative to your wall paint significantly impacts how “noticeable” the stopping point is. If you use a high-contrast tile, such as dark blue or black against white walls, the end of the backsplash will be very apparent. In this case, you need to be extra careful with your edge finishing, as any imperfections will be highlighted.
If you choose a low-contrast tile that is close in color to your paint, the transition is much more forgiving. The eye won’t be drawn to the end of the tile as strongly, which can make the space feel more harmonious. This is a good strategy if you are worried about the backsplash stopping in an awkward place; blending the tile with the wall color minimizes the visual impact of the break.
Think about the “weight” of your material as well. Natural stone or heavy, textured tiles have a much stronger presence than simple white subway tiles.
A heavy material requires a very clean, deliberate ending point, while a lighter, more subtle tile can be more flexible. When in doubt, lean toward a design that blends with the surrounding environment rather than one that forces a sharp, high-contrast stop.
Common Mistakes to Avoid During Installation
The most common mistake people make is not planning the tile layout before they start thin-setting. Many installers just start from one corner and work their way across, only to realize at the end that they have a tiny, sliver-like piece of tile that looks terrible.
Always dry-lay your tiles or use a layout plan to ensure that your cuts are balanced. A small sliver of tile at the end of a run is a hallmark of an amateur job.
Another frequent error is failing to account for the thickness of the tile and the mortar. If you are tiling up to a window frame or a cabinet edge, make sure you have enough clearance for the thickness of the tile plus the thin-set. If you don’t account for this, you may end up with a tile that protrudes past your trim, which looks messy and catches dust.
Finally, don’t ignore the importance of caulking the transitions. Wherever your tile meets a wall, counter, or cabinet, you should use a high-quality, color-matched caulk rather than rigid grout.
Grout will crack at these transition points due to the natural expansion and contraction of the house. Caulk provides a flexible, long-lasting seal that keeps your backsplash looking perfect for years to come.
Frequently Asked Questions
Should the backsplash stop at the cabinet or the counter?
Generally, you should stop the backsplash at the edge of the countertop. This provides a more balanced and functional look. Stopping at the cabinet can leave an awkward, unprotected gap of wall if the counter extends further than the upper cabinets.
What should I do if my backsplash stops in the middle of a wall?
If your backsplash must stop mid-wall, you should ensure the edge is finished professionally with trim, such as a metal profile or bullnose tile. Avoid leaving raw, cut edges exposed, as this looks unfinished and is prone to damage.
Can I tile the entire wall if my cabinets end early?
Yes, a full-wall backsplash is an excellent way to create a seamless, high-end look. It avoids the problem of deciding where to stop the tile and provides a cohesive aesthetic that can make a kitchen feel larger and more intentional.
How do I handle electrical outlets near the edge of the tile?
You should plan your backsplash layout so that outlets are either fully inside or fully outside the tiled area. If an outlet falls on the edge, it is usually best to extend the tile slightly past the outlet so the faceplate rests on a flat, consistent surface.
What is the best way to finish the exposed edge of a backsplash?
Using a metal Schluter trim or a coordinating bullnose tile is the best way to achieve a clean, professional edge. These materials protect the tile from chipping and provide a crisp transition line between the tile and your painted wall.
Achieving a Balanced Kitchen Design
Deciding where to make your backsplash tile stop when upper cabinets end early is a critical step in achieving a professional finish during a kitchen remodel. Whether you choose to align the tile with the edge of your countertop, create a vertical drop, or commit to a full-wall installation, the key is to prioritize consistency and intentionality. By avoiding common pitfalls like leaving raw edges or creating awkward slivers of tile, you ensure the space feels well-planned rather than haphazard.
Remember to use quality trim for clean transitions and consider how your color choices affect the overall visual impact of your design. Taking the time to map out these details will result in a functional, beautiful kitchen that stands the test of time. Feel free to experiment with these layouts to find the best fit for your home.