Best Tile Sizes for a Tight Backsplash Herringbone (2×6 vs 2×8)
Deciding between 2×6 and 2×8 dimensions often defines the final character of a kitchen renovation, making it essential to understand the best Tile Sizes for a Tight Backsplash Herringbone (2×6 vs 2×8) before purchasing materials. The scale of your tile relative to the wall surface dictates the rhythm of the pattern and how busy the space feels.
While both sizes share the same classic subway tile proportions, the 2×6 offers a denser, more intricate texture, whereas the 2×8 provides a slightly more relaxed, modern aesthetic. By evaluating how these dimensions interact with your specific kitchen layout, you can ensure your chosen pattern complements the room’s overall design intent without overwhelming the backsplash area.
Evaluating the Visual Impact of Tile Scale
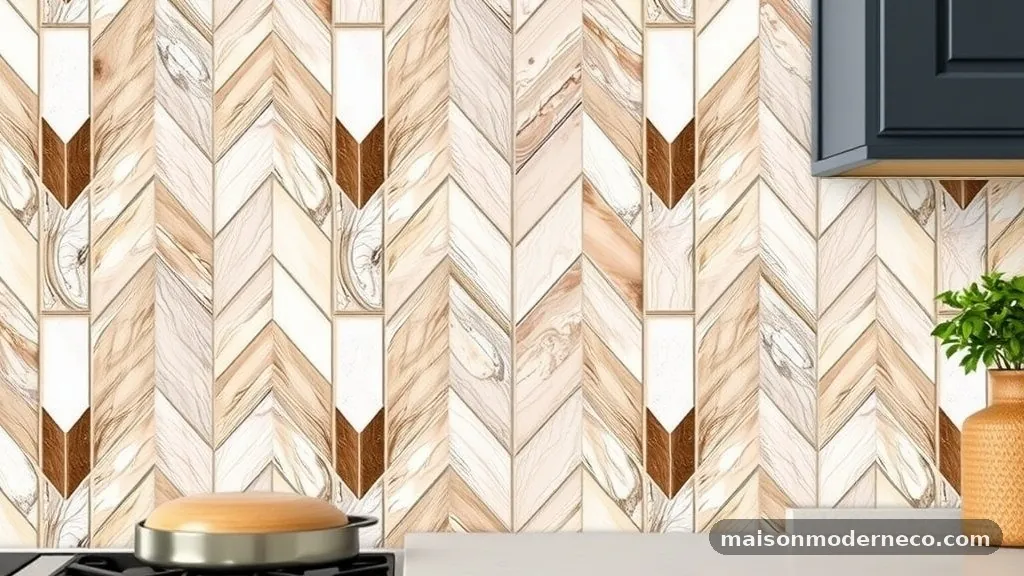
The visual impact of a herringbone pattern relies heavily on how many “V” shapes fit into the visible area. A 2×6 tile creates a significantly higher frequency of grout lines compared to a 2×8 tile. This density can make a backsplash feel more intricate and handcrafted, which is often desirable in smaller kitchens where you want to add texture without needing bold colors.
When you use smaller tiles, you effectively create a mosaic-like effect that draws the eye toward the pattern itself. If your kitchen features simple cabinetry, the 2×6 tile acts as a primary design element.
Conversely, the 2×8 tile reduces the total number of grout lines in a given square foot. This creates a cleaner, more contemporary look that feels less “busy” to the casual observer.
The choice between these two sizes often comes down to the size of the room. In a compact kitchen, 2×6 tiles can sometimes make the space feel smaller due to the high volume of visual information.
However, if you have a massive wall to cover, the 2×8 might look more proportional and less repetitive. It is important to visualize the scale by laying out a few dry tiles against your counter before committing.
Understanding the Mechanics of Herringbone Layouts
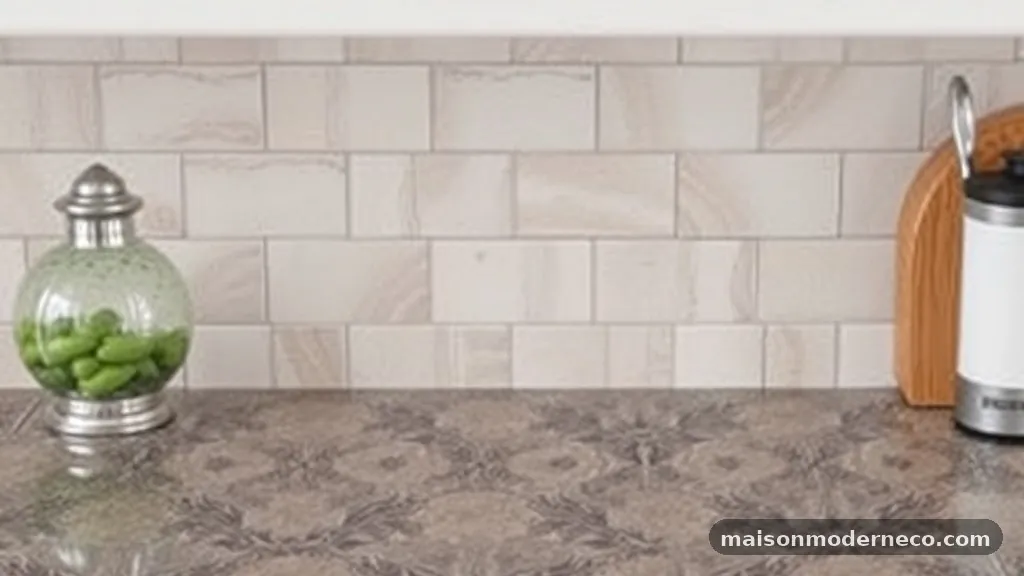
A herringbone pattern is essentially a series of 45-degree angles interlocking to create a continuous zig-zag. Because the tiles meet at right angles, the precision of your installation is paramount. The smaller 2×6 tiles are often easier to manage when navigating tricky corners or outlets because the individual units are shorter.
When working with 2×8 tiles, the longer length means that each “V” shape occupies more physical space on the wall. This can lead to more complex cuts when you reach the edges of the backsplash. If your wall has many interruptions like switches, outlets, or window frames, you will find yourself making more difficult cuts with the longer 2×8 tiles to maintain the integrity of the pattern.
Many installers prefer the 2×6 for tight spaces because the pattern repeats more frequently. This frequency can actually hide minor imperfections in the wall or the layout better than longer tiles. If the wall is slightly out of plumb, a 2×8 tile will highlight that deviation much faster, as the long edge acts like a straightedge revealing the slope.
The Role of Grout Lines in Defining the Look
Grout is not just a functional necessity; it is a design feature that outlines your chosen tile. In a herringbone layout, the grout lines are arguably as important as the tile color itself. With 2×6 tiles, you will have significantly more linear feet of grout to maintain and clean over the years.
If you choose a high-contrast grout color, such as charcoal lines against white tile, the 2×6 option will result in a very bold, graphic look. This can be stunning, but it requires a very steady hand during installation to ensure every intersection is perfectly aligned. Using 2×8 tiles with high-contrast grout creates a more architectural, linear feel that feels less like a woven fabric and more like a series of clean strokes.
Consider the maintenance aspect of your backsplash. More grout lines mean more surface area that can trap grease and moisture.
If you are a frequent cook, you might prefer the 2×8 size simply because there is less grout to scrub. You can learn more about proper maintenance and material selection for long-term durability in tiled surfaces to ensure your kitchen remains beautiful.
Accounting for Kitchen Cabinetry and Sightlines
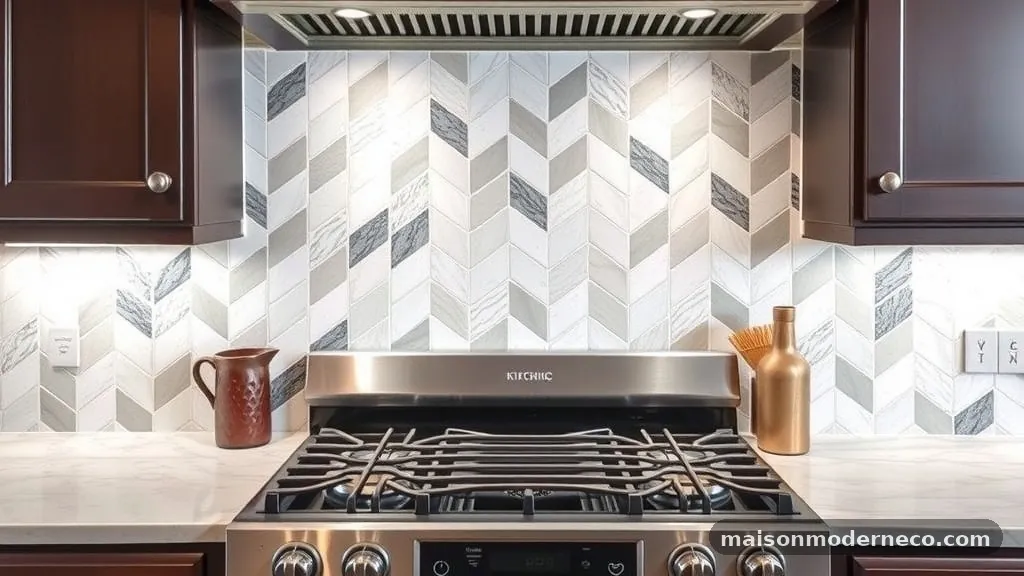
Your backsplash does not exist in a vacuum; it is framed by upper cabinets, lower counters, and often a range hood. The “best Tile Sizes for a Tight Backsplash Herringbone (2×6 vs 2×8)” debate is often settled by the distance between your countertop and your upper cabinets. If you have a standard 18-inch clearance, you need to see how many rows of herringbone will fit.
With 2×6 tiles, you might fit exactly three or four full pattern repeats vertically, which looks balanced. If you use 2×8 tiles, you might end up with a partial pattern at the top or bottom that looks cut off. Always measure your vertical space and calculate the height of the herringbone “V” to see which size results in a cleaner finish at the edges.
Sightlines also matter. If you are standing at the kitchen island, you see the backsplash from a distance. If you are working at the stove, you see it up close.
A 2×6 pattern looks great from both distances because of its balanced scale. A 2×8 pattern can look slightly stretched when viewed from afar, which might not be the look you want if you are aiming for a classic, tight-knit aesthetic.
Balancing Color and Texture
Color significantly alters how we perceive size. A dark, matte 2×6 tile will recede into the wall, making the pattern look subtle and sophisticated. A glossy white 2×8 tile will catch the light, emphasizing the length of the tiles and making the space feel brighter and more open.
If you are using a handmade, irregular tile, the 2×6 size is often safer. Handmade tiles often have slight variations in length and width, which can compound into a crooked pattern when using 2×8 tiles. The smaller size allows for minor adjustments during the thin-set application, helping you keep the herringbone centered and square.
When selecting your color, think about the “look” of the room. If the design is traditional, a 2×6 white subway tile is a timeless choice. If you are going for a modern, minimalist vibe, a longer 2×8 tile in a neutral gray or soft green can feel more intentional and less like a standard subway grid.
Calculating Waste and Installation Complexity
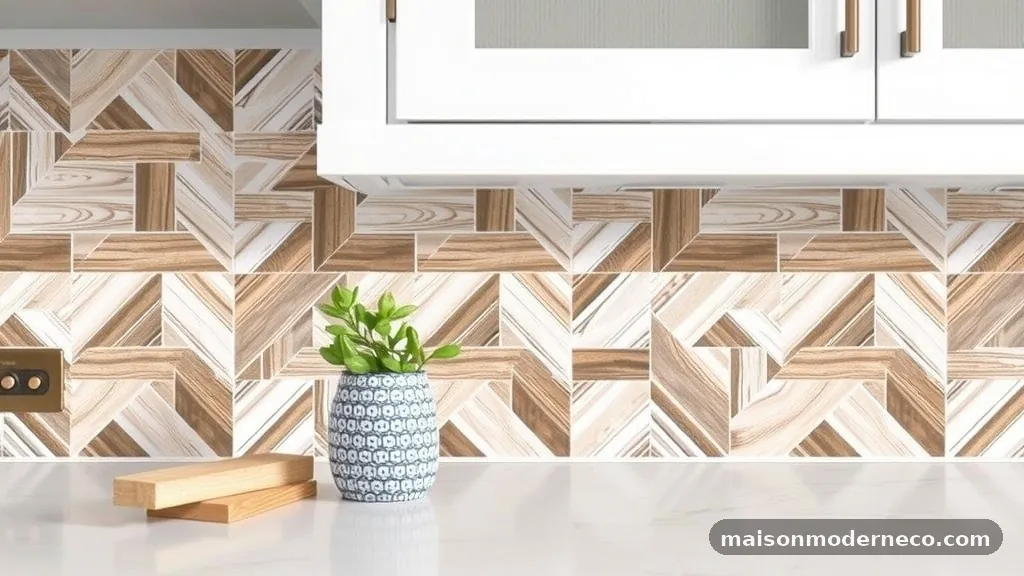
Herringbone is a high-waste pattern. Because you are cutting tiles at 45-degree angles to finish the top, bottom, and side edges, you will inevitably end up with off-cuts that cannot be reused. Most professionals suggest ordering 15% to 20% extra tile for a herringbone layout.
The 2×8 tile often leads to more waste because the pieces are longer, and a single bad cut ruins a larger portion of the tile. Conversely, 2×6 tiles are easier to “nip” and shape. If you are doing this as a DIY project, the 2×6 is generally more forgiving for beginners who might make a few mistakes on the wet saw.
Think about the physical weight of the tiles as well. 2×8 tiles are heavier, which means they are more prone to “slippage” before the thin-set cures.
You will need to use spacers and perhaps some painter’s tape to hold the longer tiles in place while they set. 2×6 tiles are lighter and tend to stay put once pressed into the mortar, making the installation process smoother and less stressful.
The Impact of Lighting on Your Backsplash
Lighting plays a critical role in how the pattern is perceived. Under-cabinet lighting is standard in modern kitchens, and it casts a direct beam across your backsplash.
This light will highlight the relief of your tiles. If your tiles have a beveled edge, the 2×6 will create a much more dramatic shadow play because there are more edges to catch the light.
If you have a flat, rectified tile, the lighting will emphasize the grout lines. With a 2×8 tile, the light will travel across a longer, uninterrupted surface, which can look sleek and expensive. If you have a high-gloss finish, the 2×8 will reflect light better, essentially acting like a mirror that bounces light around the kitchen, which is excellent for smaller or darker rooms.
Do not ignore the texture of the tile itself. If you are using a textured or crackle-glaze tile, the 2×6 size can look very busy under bright LED lighting. If you prefer a calm, serene environment, the 2×8 size in a satin or matte finish provides a more muted, sophisticated backdrop that won’t compete with your countertop or cabinetry hardware.
Common Mistakes to Avoid During Planning
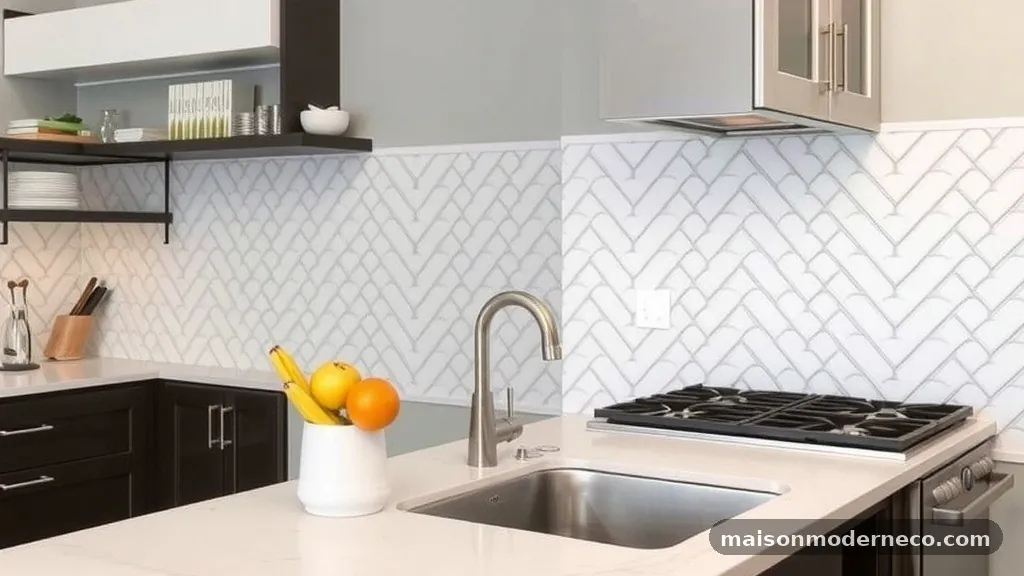
One of the biggest mistakes people make is failing to account for the transition at the corners. If you are tiling an inside corner, you need to decide if the herringbone pattern continues around the corner or if you will use a vertical trim piece. Trying to wrap a 2×8 herringbone pattern around a corner is notoriously difficult to get perfectly level.
Another common error is ignoring the thickness of the tile. If you are mixing materials, ensure your 2×6 or 2×8 tiles are all the same thickness.
Even a 1/16th of an inch difference will be glaringly obvious in a herringbone pattern, as the tiles meet edge-to-edge. Always dry-fit a section of your chosen size to ensure your grout lines are consistent and your pattern is tracking straight.
Avoid the temptation to use a very wide grout line with small tiles. If you use 2×6 tiles with a 1/4-inch grout line, the grout will visually dominate the tile, making the wall look like a grid of lines rather than a pattern of tiles. Stick to 1/8-inch or even 1/16-inch spacers for a tight, professional look that allows the beauty of the tile to shine through.
Determining the Best Layout for Your Space
When you are ready to start, begin by finding the center point of your backsplash wall. A herringbone pattern must be perfectly centered to look balanced. If your pattern is off-center, one side of the room will look “tighter” than the other, which will be immediately noticeable.
Use a long level to draw a vertical center line. This is your anchor. Start your first “V” at the bottom center and work your way up.
As you move outward, check that your tiles remain at a 45-degree angle. It is incredibly easy for the pattern to “drift” as you move across a long wall.
If you find that your chosen tile size creates a tiny, sliver-like cut at the ends of the wall, you might need to shift your center point. Adjusting the starting point by even half an inch can often eliminate those awkward, skinny cuts at the edges, resulting in a much more polished and intentional design.
FAQ
Is a herringbone backsplash considered outdated?
No, a herringbone pattern is a timeless design choice that has been used for centuries. While trends in color and tile finish come and go, the geometric appeal of the herringbone layout remains a staple in both traditional and modern kitchen designs.
Can I mix 2×6 and 2×8 tiles in the same herringbone pattern?
It is generally not recommended to mix these sizes in a single herringbone pattern unless you are a highly skilled professional. The difference in length will disrupt the geometry of the “V” shapes, making it nearly impossible to maintain consistent grout lines and alignment.
Which tile size is easier to install for a beginner?
The 2×6 tile is often easier for beginners to handle. The smaller size is lighter, easier to cut on a wet saw, and more forgiving if you need to make minor adjustments to keep your pattern straight across a wall.
How do I calculate how much tile I need for a herringbone pattern?
Calculate the total square footage of your backsplash area and add at least 15% to 20% for waste. Because herringbone requires many angled cuts at the top, bottom, and sides, you will lose more material than you would with a standard horizontal subway tile layout.
Does tile size affect how big my kitchen looks?
Yes, tile size impacts perceived scale. Smaller 2×6 tiles can make a small kitchen feel more textured and cozy, while larger 2×8 tiles can make a space feel more open and streamlined. The choice depends on whether you want the backsplash to be a focal point or a subtle background element.
Conclusion
Choosing between 2×6 and 2×8 tiles for your backsplash comes down to the specific aesthetic you want to achieve. The 2×6 offers a classic, intricate texture that works beautifully in traditional settings, while the 2×8 provides a cleaner, more modern look that simplifies the visual weight of the wall. By considering the size of your kitchen, the complexity of your layout, and your personal tolerance for grout maintenance, you can confidently select the best Tile Sizes for a Tight Backsplash Herringbone (2×6 vs 2×8).
Take your time during the dry-fit phase to ensure your layout is centered and square, as this will pay off with a professional result that enhances your home for years to come. Feel free to reach out if you need more advice on your kitchen renovation journey.