
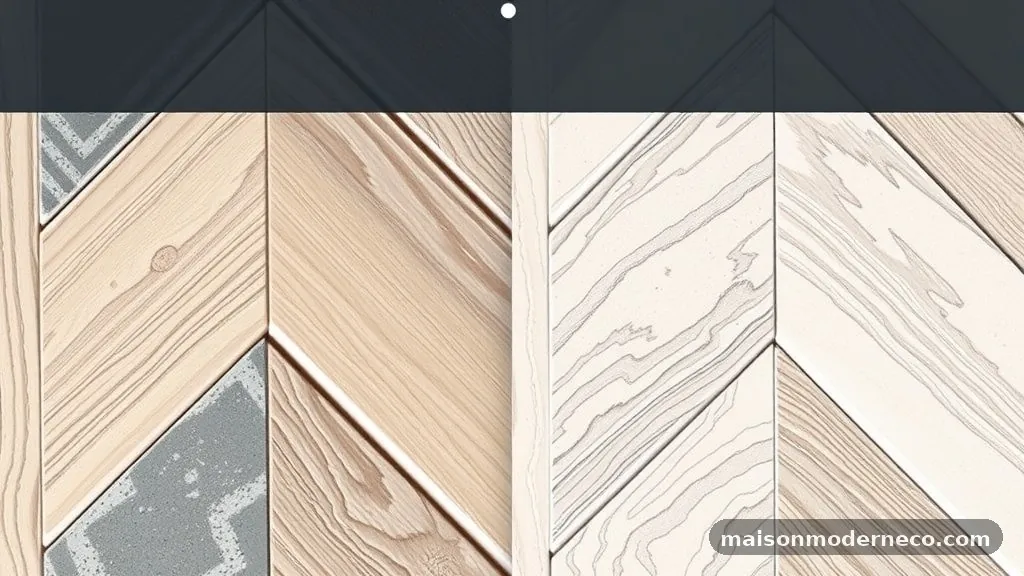
45-Degree vs 90-Degree Herringbone Tile: Which Is Easier to Cut for DIYers?
Deciding between a 45-degree vs 90-degree herringbone tile layout often comes down to how much patience you have for complex cuts. While both patterns create a beautiful, timeless look, the orientation of the tiles significantly changes your workflow and the number of waste pieces you will generate.
Understanding the geometry behind these patterns helps you predict the difficulty of your project before you commit to a specific design. This article breaks down the practical differences in installation, cutting requirements, and layout challenges to ensure your project succeeds.
Understanding the Geometry of Herringbone Patterns
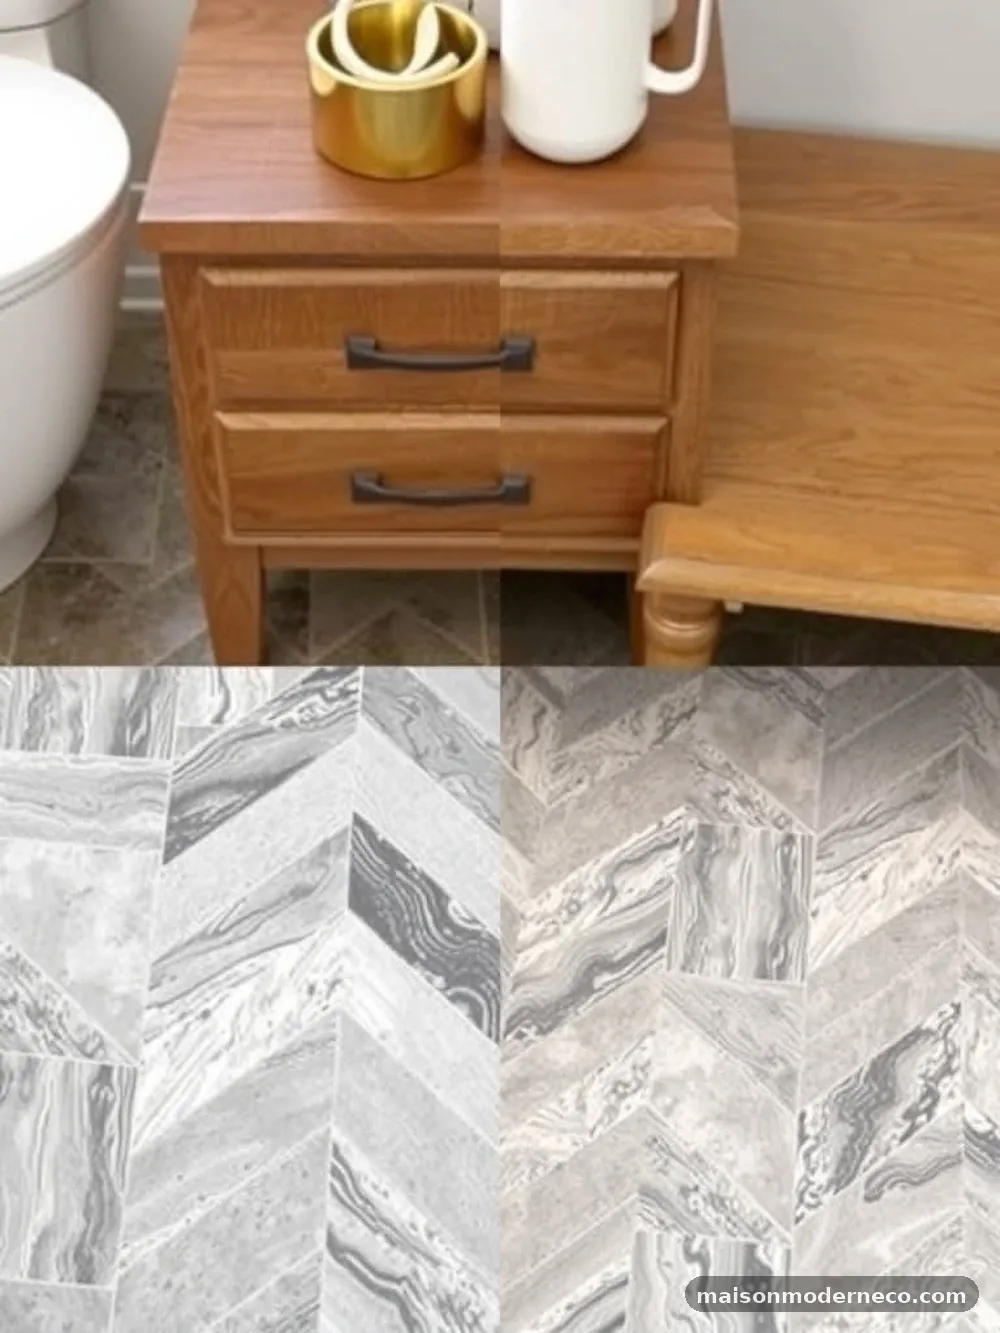
The primary distinction between these two layouts is the angle at which the tiles meet the wall or the floor perimeter. A standard 45-degree herringbone pattern, often confused with chevron, features tiles laid at an angle to the wall.
This orientation creates a classic, sophisticated aesthetic but requires a significant number of diagonal cuts along every single edge of your workspace. You are essentially cutting every end tile at a 45-degree angle to meet the border, which increases the time spent at the wet saw.
In contrast, a 90-degree herringbone pattern—sometimes called a straight-set herringbone—aligns the spine of the pattern parallel to the main wall. This alignment means that for many of your perimeter edges, the tiles meet the wall at a 90-degree angle.
While you still need to handle corner finishes, the repetitive, uniform nature of these cuts is generally less prone to error. Understanding these geometric differences is vital for anyone planning a DIY installation, as it directly impacts your tile consumption and the learning curve of your project.
Why the 45-Degree Layout Challenges DIYers
The 45-degree layout is popular for its dynamic movement and traditional appeal, yet it presents a steep learning curve for the average homeowner. Because the tiles are angled, you cannot rely on simple straight cuts for the perimeter.
Every single tile that hits the wall, the floor transition, or a corner must be precisely measured and cut at an angle. This increases the likelihood of “slippage” where the pattern drifts away from your chalk lines, potentially causing a major misalignment halfway across the room.
Another major hurdle is the waste factor. When you cut tiles at a 45-degree angle, you often end up with triangular offcuts that are too small to be reused elsewhere.
This means you need to buy 15% to 20% more material than the actual square footage of your space to account for the inevitable mistakes and unusable pieces. For a beginner, the pressure of making perfect diagonal cuts on expensive porcelain or stone can be overwhelming, leading to frustration and wasted budget.
Simplifying the Installation with a 90-Degree Layout
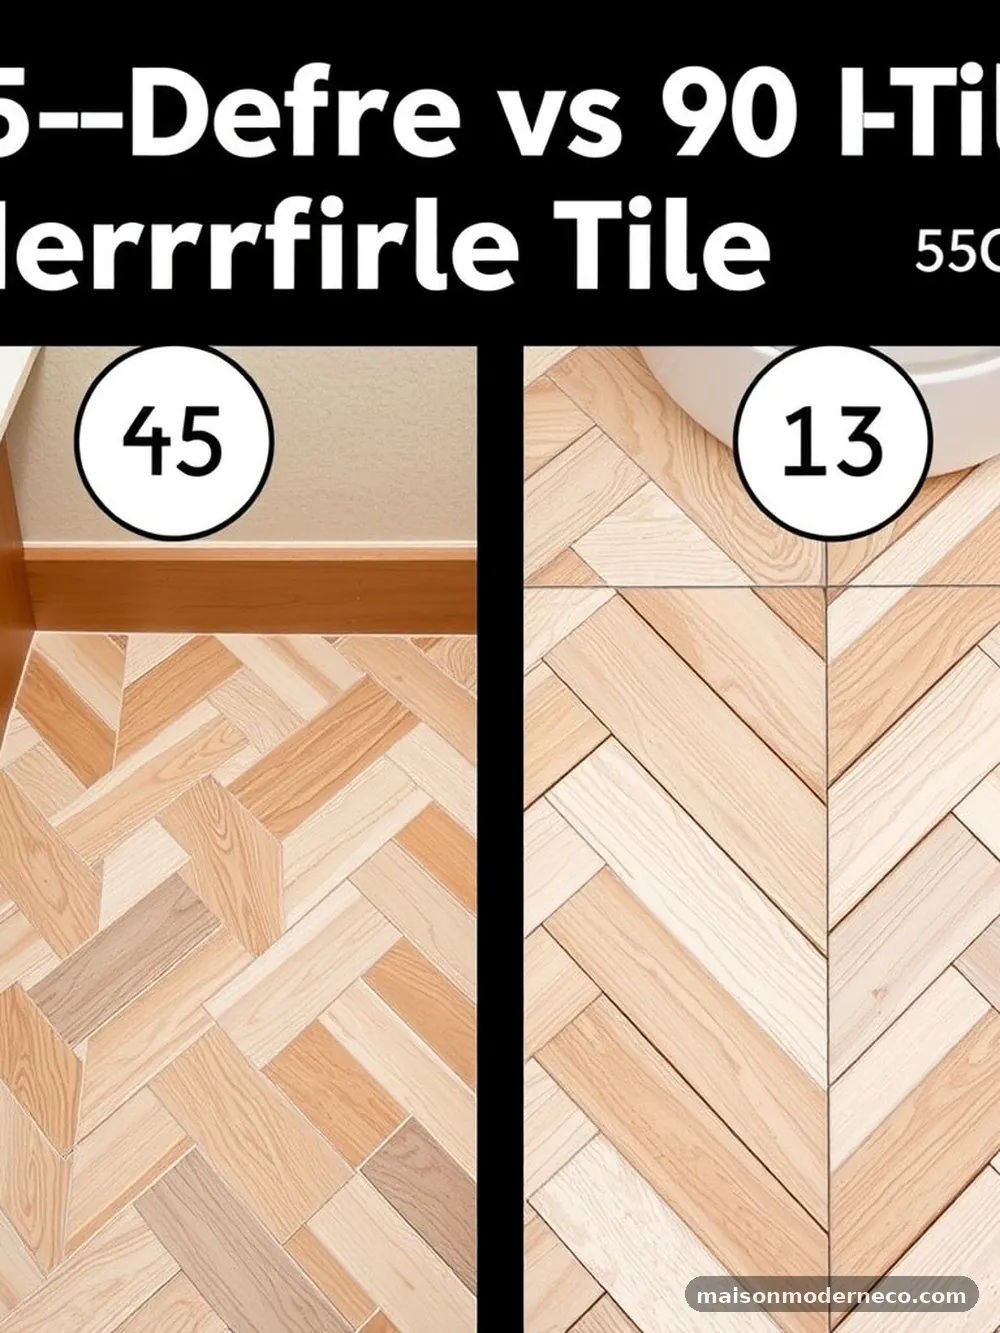
Choosing a 90-degree orientation often feels more intuitive because it allows you to utilize the natural straight edges of your room. When you align your primary rows with a long wall, you create a stable foundation that is easier to maintain. Most of your perimeter cuts will be simple, clean lines that can be handled with a standard manual snap cutter, which is much faster and cleaner than setting up a wet saw for every piece.
This layout also provides a more forgiving experience for those new to tiling. If your walls aren’t perfectly square—which is common in most homes—a 90-degree pattern is easier to adjust.
You can hide minor imperfections in the wall by slightly adjusting your grout lines or using a trim piece. By minimizing the number of complex, angled cuts, you reduce the time your tile stays in the wet saw, which keeps your workspace drier and safer throughout the installation process.
Preparing Your Surface for Any Herringbone Pattern
Regardless of the angle you choose, the success of your project hinges on a perfectly flat and clean surface. Before you lay a single piece, ensure your subfloor or wall is primed and free of debris.
If you are installing on a floor, consider using a self-leveling compound to address any dips or high spots. A Tile Council of North America guide on installation standards emphasizes that a flat surface is non-negotiable for ensuring that your tiles don’t crack under pressure.
You should also invest time in snapping clear, accurate layout lines. Even if you are an experienced DIYer, don’t try to “eyeball” the herringbone pattern. Start by finding the center of your room or wall and snapping a perpendicular line.
Use this as your spine. If you start crooked, the error will compound with every row, turning a simple task into a visual nightmare. Taking the extra hour to verify your lines pays dividends when you reach the perimeter.
The Role of the Tile Cutter in Your Project
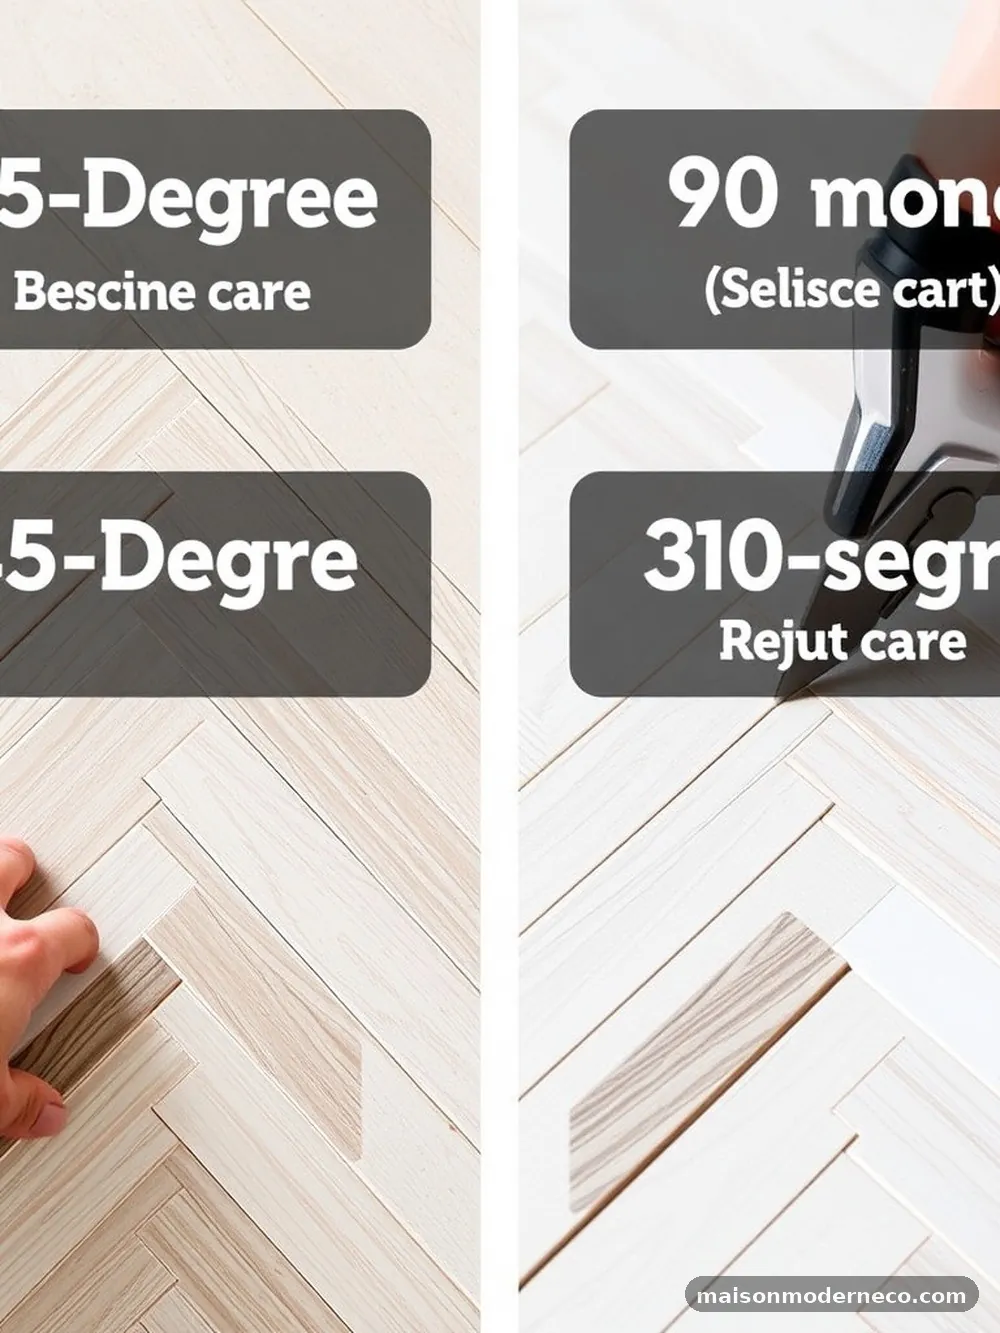
Your choice of tools significantly influences the difficulty of your project. A high-quality manual snap cutter is essential for 90-degree cuts, providing clean, straight edges with minimal effort. However, for the 45-degree layout, a wet saw is non-negotiable.
You will be making many complex, angled cuts that a manual cutter simply cannot handle without shattering the tile. If you don’t own a wet saw, renting a professional-grade model for the weekend is a smart move.
When using a wet saw, always keep your blade clean and ensure there is a constant flow of water. A dull blade can chip the edges of your tiles, which is particularly visible in a herringbone pattern where joints are prominent.
Practice on your scrap pieces first to get a feel for how the tile reacts to the blade. If you are using porcelain, remember that it is much harder than ceramic and requires a diamond-tipped blade specifically designed for that material to prevent cracking.
Managing Grout Lines and Pattern Consistency
Grout is not just a filler; it is a design element that dictates how your herringbone pattern looks once finished. Because herringbone creates a “broken zigzag” effect, your grout lines will be highly visible.
If your spacing is inconsistent, the entire pattern will look messy, regardless of how straight your cuts were. Use high-quality plastic tile spacers to ensure that every joint is identical throughout the space.
Consistency is key when you are working through the middle of the room. As you place each tile, check the alignment against your center line. A common mistake is to push the tile too hard, which can squeeze the thin-set mortar into the gap and ruin your grout line width.
Take a damp sponge and clean out any excess thin-set from the joints as you go. Waiting until the end to clean the joints is a recipe for disaster, as dried mortar is incredibly difficult to remove without damaging the tile surface.
Dealing with Corners and Complex Perimeter Cuts
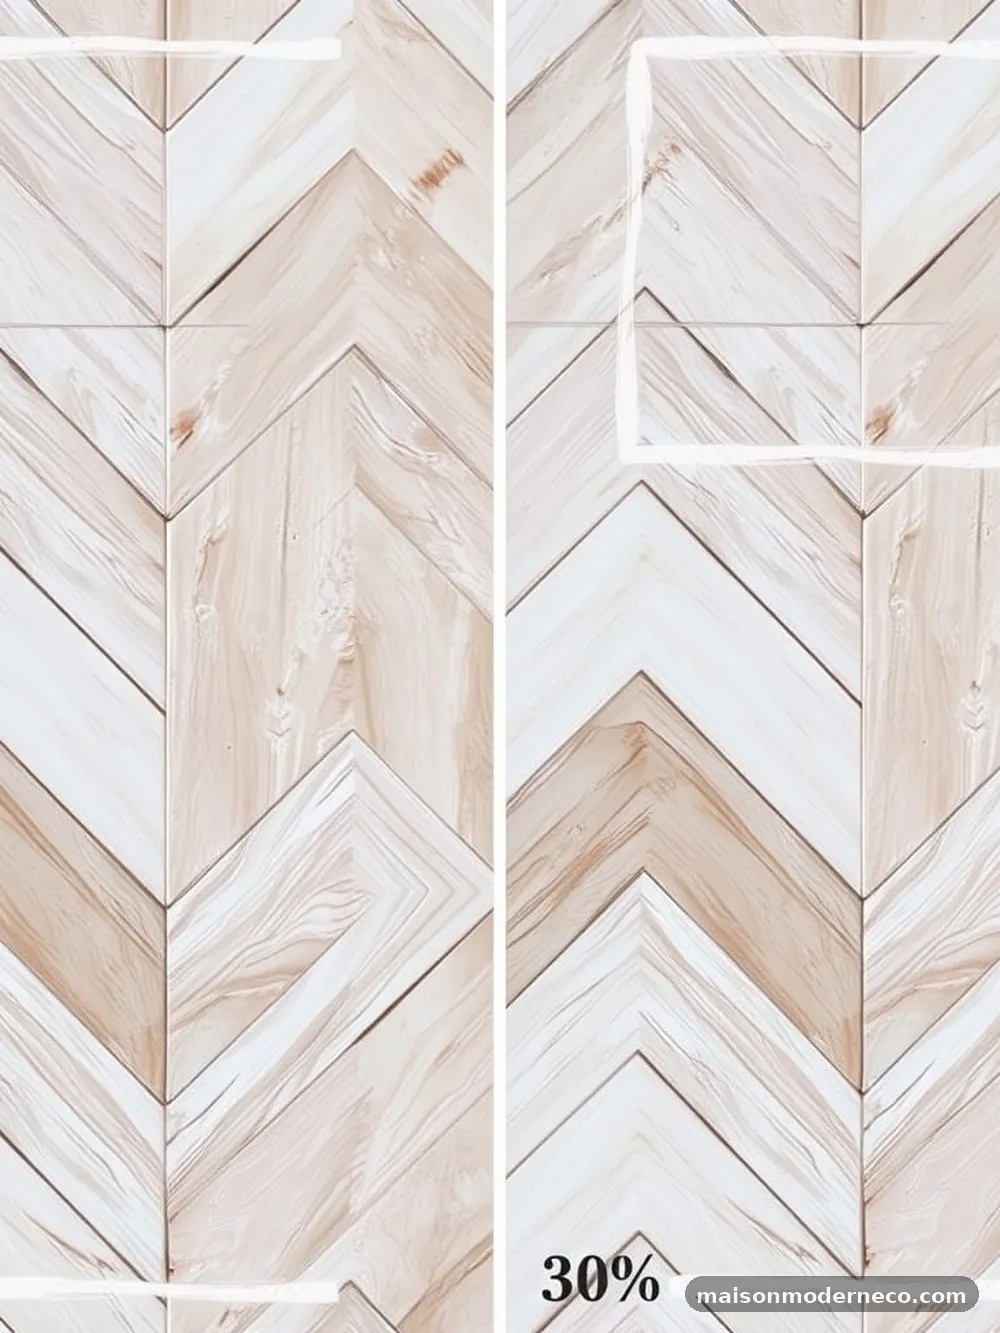
The most intimidating part of any tiling project is the perimeter. When you reach a corner, your 45-degree vs 90-degree herringbone tile choice becomes critical.
With a 45-degree layout, you are essentially forced into a “triangle puzzle” where you must carefully measure and cut the end of every row to meet the wall. This is where most DIYers run into trouble, as the measurements must be extremely precise to avoid a visible gap between the tile and the wall.
For a 90-degree layout, the perimeter is much more manageable. You can often use a full tile or a simple half-cut to finish the edge. If you are working on a backsplash, you can use a matching bullnose or metal trim piece to cover the cut edges, which hides any minor imperfections.
Always plan your perimeter cuts in advance by dry-laying a small section of the pattern. Seeing how the tiles interact with the corner before you apply the thin-set will save you from making irreversible mistakes.
Preventing Common Installation Mistakes
One of the biggest mistakes beginners make is failing to account for “lippage,” where the edges of adjacent tiles are not flush. This happens when the thin-set is applied unevenly or when the substrate has minor undulations.
To prevent this, use a leveling system—a set of clips and wedges that hold the tiles in place while the mortar dries. This is especially important for large-format tiles, which are more prone to bowing.
Another common error is rushing the drying process. After you finish laying the tiles, leave them alone for at least 24 to 48 hours before you attempt to grout.
Walking on a floor or applying pressure to a wall before the thin-set has fully cured can shift the tiles, ruining your hard work. Always check the manufacturer’s instructions on your thin-set bag for specific cure times, as these can vary based on temperature and humidity.
Choosing the Right Tile Material for Your Pattern
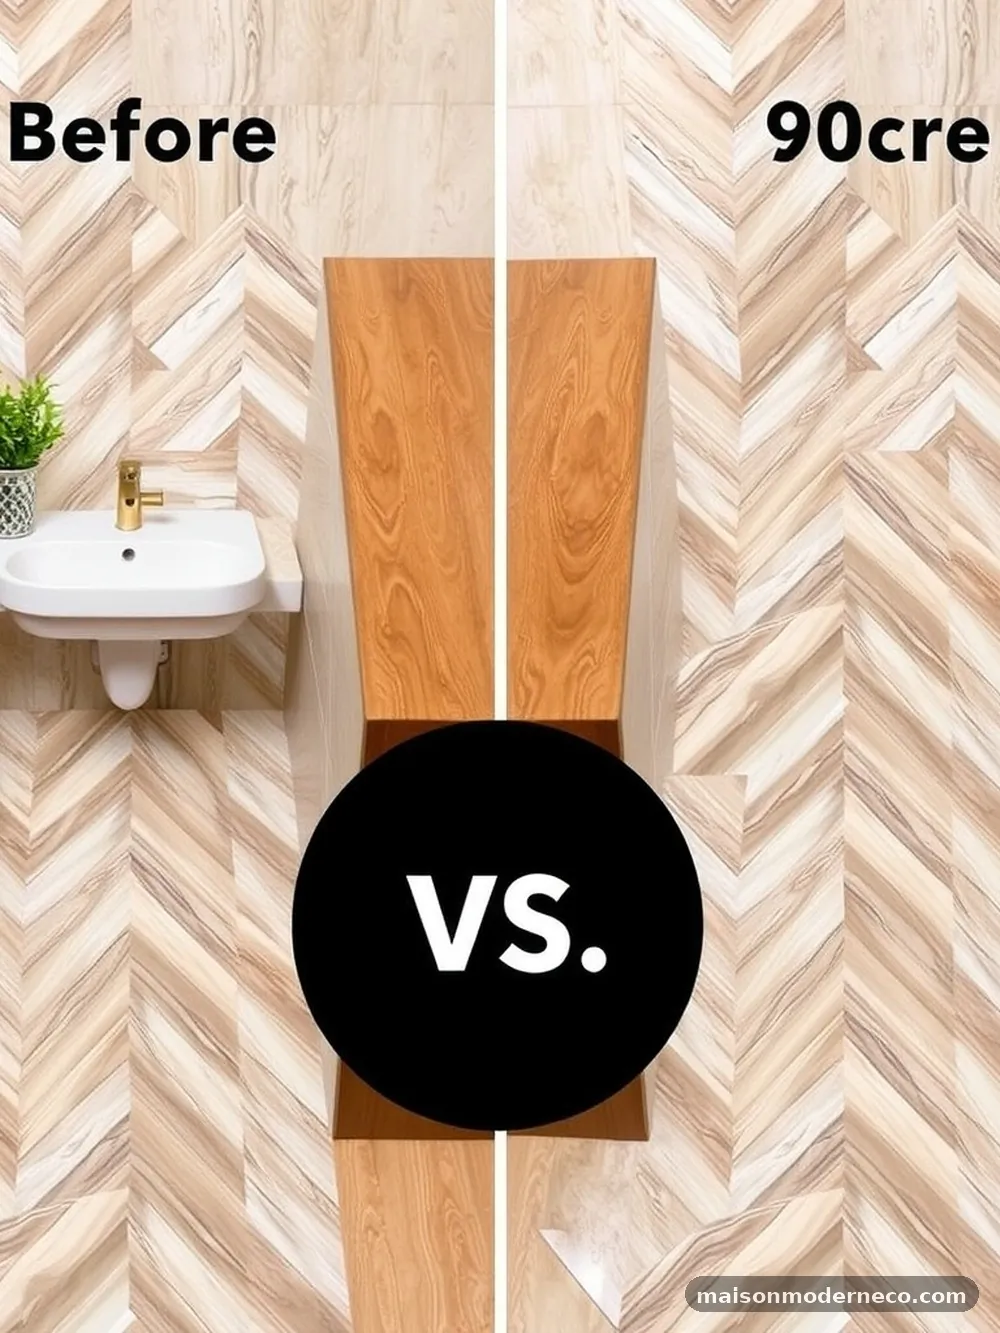
The material you choose will affect how difficult it is to cut and install. Natural stone, such as marble or travertine, is beautiful but can be brittle and prone to cracking during a difficult 45-degree cut.
Porcelain is arguably the best choice for a DIY project because it is dense, durable, and comes in a wide variety of finishes that look like stone or wood. Ceramic is easier to cut but is more prone to chipping at the edges.
If you are a beginner, consider using mesh-mounted herringbone sheets. These are pre-assembled on a backing, which eliminates the need to place every single tile individually. While these are more expensive, they drastically reduce the time and effort required to maintain the pattern.
You simply cut the sheets to size rather than cutting individual tiles. This is a massive advantage for someone who wants the look of a complex herringbone pattern without the headache of manual alignment.
The Impact of Lighting on Your Finished Design
Lighting plays a massive role in how the herringbone pattern is perceived. If you have a large room with bright, natural light, the dimensional quality of the herringbone will be amplified.
This can be a double-edged sword, as it will also highlight any uneven grout lines or slight misalignments in your cuts. If your space has lots of natural light, prioritize perfect alignment over speed.
For smaller, dimly lit spaces, you can get away with slightly more variation in your grout lines. The pattern will still provide a nice texture, but the eye won’t be drawn to minor flaws as easily. Regardless of the lighting, try to use a grout color that complements your tile.
A high-contrast grout will make the pattern pop, which is great for a 45-degree layout, but it also makes every single mistake much more obvious. If you want a more subtle, elegant look, choose a grout color that closely matches your tile.
Frequently Asked Questions
Is a herringbone pattern considered outdated in 2026?
Not at all. The herringbone pattern is a classic design staple that has been used for centuries. While trends in tile size and color shift, the geometric appeal of the herringbone remains a popular choice for both modern and traditional interiors.
What is the most difficult tile pattern to install for a beginner?
Generally, any pattern that requires continuous diagonal cuts—like a 45-degree herringbone or a complex basketweave—is considered more difficult than a straight-set or brick-joint pattern. The extra effort required for perimeter cuts and the precision needed to keep the pattern straight are the main reasons for this difficulty.
What is the best tile size for a herringbone pattern?
There is no single “best” size, but smaller tiles (like 2×8 or 3×12) are often easier to work with for a herringbone layout because they create more visual interest and are easier to fit into smaller areas. Large-format tiles can work, but they require a perfectly flat surface to avoid lippage.
How do I start a herringbone pattern on a wall?
The best approach is to find the vertical center of your wall and snap a chalk line. Start your first two tiles at the top of that line, forming a “V” shape. Work your way down and outward from that center point, checking for level and square every few rows to ensure the pattern doesn’t drift.
Can I use tile sheets to make the job easier?
Yes, mesh-mounted sheets are an excellent way to simplify the process. They allow you to install several tiles at once, maintaining the correct spacing and angle without having to set each piece individually. They are particularly helpful for backsplashes where the space is confined.
Final Thoughts on Your Tiling Journey
Choosing between a 45-degree vs 90-degree herringbone tile layout essentially balances your desire for visual drama against the reality of your DIY skill level. While the 45-degree orientation offers a classic, high-end aesthetic, the 90-degree version provides a much more manageable path for those new to the craft. By carefully prepping your surface, investing in the right tools, and taking your time with the layout lines, you can achieve a professional result regardless of the angle you select.
Remember that patience is the most important tool in your kit. If you feel yourself getting frustrated, take a break rather than forcing a cut.
With the right preparation, you will be able to enjoy your beautiful new floor or wall for years to come. Feel free to share your progress or ask more questions as you get started on your renovation.