How Much Extra Waste Percentage Should You Buy for Herringbone Cuts?
Determining how much extra waste percentage you should buy for herringbone cuts is a critical step in any tiling or flooring project. Because this pattern requires frequent diagonal cuts at the perimeter of the room, you will inevitably lose more material than you would with a simple straight lay. Failing to account for this extra margin often leads to mid-project delays and potential color-matching issues if you are forced to order a second batch of material.
By accurately calculating your wastage allowance upfront, you ensure the installation process remains smooth and your budget stays intact. Understanding these nuances helps you avoid the common pitfalls that trap many DIY enthusiasts and professional installers alike.
Understanding the Geometry of Herringbone Patterns
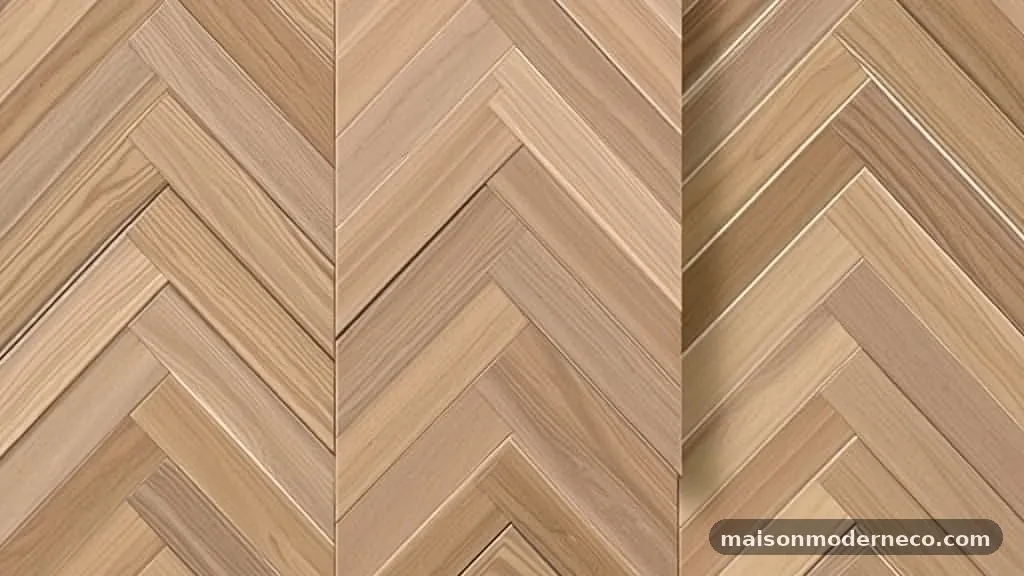
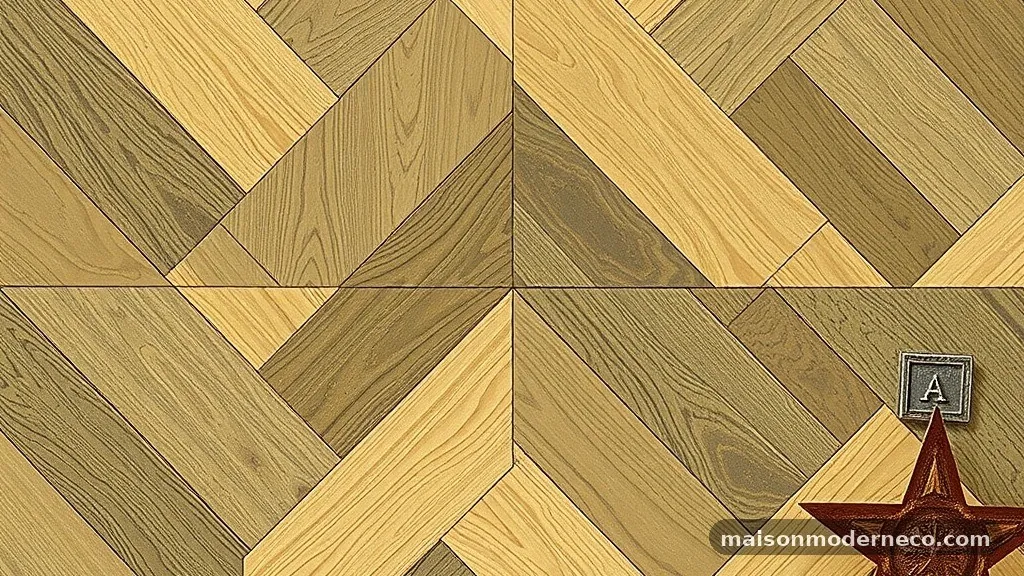
The herringbone pattern is visually striking because it creates a sense of movement and depth, but that beauty comes at a cost in terms of material efficiency. Unlike a standard grid where tiles align with the walls, herringbone requires every single tile that hits an edge to be cut at a 45-degree angle. These small, triangular off-cuts are frequently unusable for other parts of the room, essentially becoming scrap the moment they are sliced.
When you analyze a floor, you are not just measuring the square footage; you are mapping out how many times that pattern will intersect with your boundaries. In a large, open-concept space, the percentage of waste might be lower because the number of perimeter cuts is smaller relative to the total area.
Conversely, in small, complex rooms with many corners or pillars, the number of cuts increases exponentially. This is why you cannot rely on a single, universal percentage for every project you undertake.
Calculating Your Base Square Footage

Before you add any waste percentage, you must have an accurate measurement of your floor space. Start by calculating the total square footage of the room by multiplying the length by the width.
If the room has an irregular shape, break it down into smaller rectangles and sum them up to get a precise number. You should always add an additional 5% to this base number to account for simple breakage, shipping damage, or minor errors, regardless of the pattern you choose.
Once you have your base area, you can then layer on the specific requirements for the herringbone design. Many professionals suggest that for a standard herringbone installation, you should increase your total material order by at least 15% to 20%.
This buffer is specifically meant to cover the high volume of diagonal cuts required at the walls. If you are working with large-format tiles, the waste percentage often needs to be even higher, as a single mis-cut can ruin a significant portion of a tile.
Accounting for Tile Size and Shape
The physical dimensions of your tiles significantly impact the amount of waste you will generate. Smaller tiles, such as traditional mosaic herringbone pieces, often result in less waste per cut because the off-cuts are smaller and easier to repurpose elsewhere in the pattern. Larger planks or tiles produce larger off-cuts that, while substantial, are often difficult to reuse because the remaining piece may not fit the specific geometry required at the opposite wall.
Consider the aspect ratio of your chosen material. Long, thin planks often create more challenging cuts than square tiles cut into rectangles. When you are planning the layout, visualize how the pattern hits the doorway transitions and hearths.
If you have multiple transitions, you will need extra material to ensure the pattern flows correctly across those thresholds without looking disjointed. Always keep in mind that the more complex the perimeter, the higher the waste factor needs to be to avoid running short.
Why the 15 Percent Rule is a Starting Point
Many online resources suggest a flat 15% waste allowance, but this is a broad generalization that can lead to trouble. For a simple rectangular room with minimal obstacles, 15% might be sufficient.
However, for a room with multiple alcoves, fireplaces, or curved walls, 15% will likely leave you short. You should view 15% as the absolute minimum, not the goal.
Think of the extra material as an insurance policy. It is significantly cheaper to pay for an extra box of tiles upfront than it is to pay for expedited shipping or, worse, to find out that the specific dye lot of your tile is no longer available.
When you calculate your order, always round up to the nearest full box. Most suppliers sell tiles by the case, and having a few extra pieces left over for future repairs is a standard best practice in the flooring industry.
Tools and Techniques to Minimize Waste
The quality of your equipment plays a massive role in how much material you end up throwing away. A high-quality wet saw or a professional-grade manual tile cutter allows for cleaner, more accurate cuts, reducing the risk of a tile snapping incorrectly. If you are using a manual cutter, you are more prone to uneven breaks, especially when dealing with dense porcelain or natural stone.
Proper planning also helps. Before you lay a single piece, take the time to dry-lay a section of the pattern to see how the tiles align with the walls. Sometimes, shifting the entire pattern by just an inch or two can save you from having to make dozens of tiny, sliver-sized cuts that are prone to breaking.
By centering the pattern in the room, you often create a more balanced look and reduce the number of awkward, tiny pieces at the edges. You can find more detailed advice on proper installation techniques through the Tile Council of North America for industry-standard guidelines on layout and preparation.
Handling Complex Room Layouts

If your project involves stairs, hallways, or rooms with non-parallel walls, the math changes entirely. Herringbone is unforgiving when walls are not perfectly square.
If you attempt to follow a wall that is slightly bowed, your pattern will quickly drift, leading to increasingly difficult cuts as you progress across the floor. In these scenarios, you should increase your waste allowance to 20% or even 25%.
When you encounter corners, you must decide whether to wrap the pattern around or stop it at a transition strip. Wrapping the pattern requires careful planning and significantly more material because you are essentially extending the herringbone geometry into a new plane.
Always draw your layout on graph paper or use design software before ordering. Seeing the pattern on paper reveals where the difficult cuts will occur, giving you a clearer picture of whether your waste estimates are realistic.
The Role of Material Type and Fragility
The material you choose is just as important as the pattern itself. Natural stone, such as marble or travertine, is prone to fissures and natural variations that make it more fragile during the cutting process. If you are using natural stone, you should increase your waste percentage by an additional 5% to account for pieces that break during the cutting process or contain natural defects you would prefer not to use.
Porcelain and ceramic tiles are generally more consistent, but they can still be brittle. Larger tiles are more susceptible to internal stress fractures during the cutting process.
If you are working with large, thin porcelain panels, you must be extremely careful. These materials are expensive, so while the percentage of waste might seem similar to smaller tiles, the financial impact of every wasted piece is much higher.
Common Mistakes to Avoid
One of the biggest mistakes installers make is failing to account for the “starting point” of the pattern. If you start in a corner rather than the center, you lose the ability to balance the cuts on both sides of the room. This often results in a disproportionate amount of waste because you are forced to make large, complex cuts against one wall while having tiny, unusable slivers on the other.
Another frequent error is forgetting to account for the grout line width. While a single grout line doesn’t seem like much, over the span of a large room, it adds up.
If you ignore the grout width in your initial calculation, your pattern will drift, and you will find yourself needing to trim tiles more frequently than your initial measurements suggested. Always account for the full dimension of the tile plus the intended grout joint when calculating your coverage.
Managing Leftover Material
Once the job is done, you will likely have several boxes of tiles remaining. Many people view this as wasted money, but it is actually a vital asset for the longevity of your floor. If a pipe bursts or a heavy object drops and cracks a tile five years from now, having the exact same dye lot available is invaluable.
Do not be tempted to return all your excess material immediately. Keep at least one full box of tiles stored in a dry, safe place.
If you have significantly more than that, you might choose to return a portion to the supplier, but always confirm their return policy on partial cases before you buy. Having a small stash of matching material ensures that your floor will remain in pristine condition for as long as you own the home.
FAQ
How can I tell if my room is square enough for a herringbone pattern?
You can check for squareness by measuring the diagonals of the room. If the measurements from corner to corner are identical, your room is square. If they differ, you will need to adjust your layout to ensure the pattern doesn’t drift, which may require a higher waste allowance.
Does a diagonal herringbone layout require more waste than a standard one?
Yes, a diagonal layout typically requires even more material than a standard herringbone pattern. Because every single edge is angled, the complexity of the cuts increases, and you should plan for at least 20% to 25% waste to be safe.
Is it better to order all my tile at once or in batches?
Always order all your tile at once. Tiles are manufactured in batches or “dye lots,” and colors can vary significantly between runs. If you run out and have to order more, the new batch might not match your existing floor, which is a common and expensive problem.
What should I do if my tiles are very expensive or fragile?
When working with high-end or fragile materials, you should be even more meticulous with your planning. Practice your cuts on scrap pieces of cheaper material first if you are unsure of your equipment, and consider hiring a professional who has specific experience with the material you have chosen.
Conclusion
Determining the right amount of extra material is the difference between a project that flows effortlessly and one that becomes a source of frustration. By carefully measuring your floor, accounting for the complexity of your room’s geometry, and adding a realistic buffer for cuts and breakage, you set yourself up for success. Remember that 15% is a baseline, and you should always adjust upward for complex layouts or fragile materials.
Taking the time to calculate your needs accurately before you order ensures that your herringbone project maintains its stunning aesthetic without the stress of mid-installation material shortages. With a well-planned order in hand, you are ready to begin your installation with confidence and precision. Feel free to share your project photos or ask further questions about your specific room layout as you get started.