
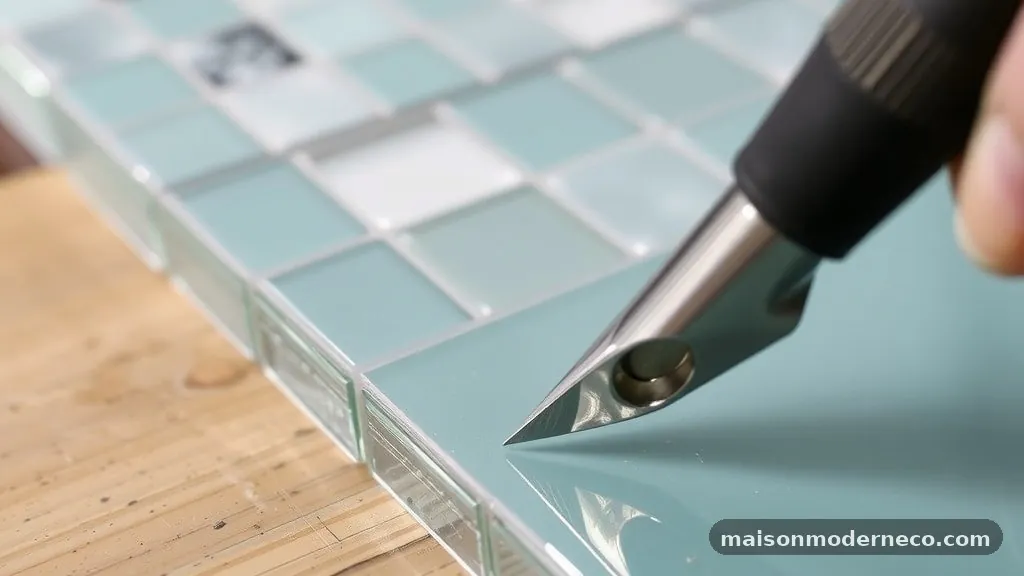
How to Cut a Clean Finished Edge on Glass Mosaic Backsplash Sheets
Achieving professional results when cuting a Clean Finished Edge on Glass Mosaic Backsplash Sheets requires patience and the right equipment. Glass is inherently brittle, and because mosaic sheets consist of many small, individual pieces held together by mesh, they are prone to cracking or chipping if handled improperly. By understanding the specific mechanical properties of glass and employing the correct cutting techniques, you can avoid jagged lines and wasted material.
This process ensures your kitchen or bathroom installation looks intentional and refined, rather than amateurish. Mastering these methods will provide you with the confidence to tackle intricate backsplashes, leaving you with a durable, polished surface that enhances your space for years to come.
Selecting the Proper Cutting Tool for Glass
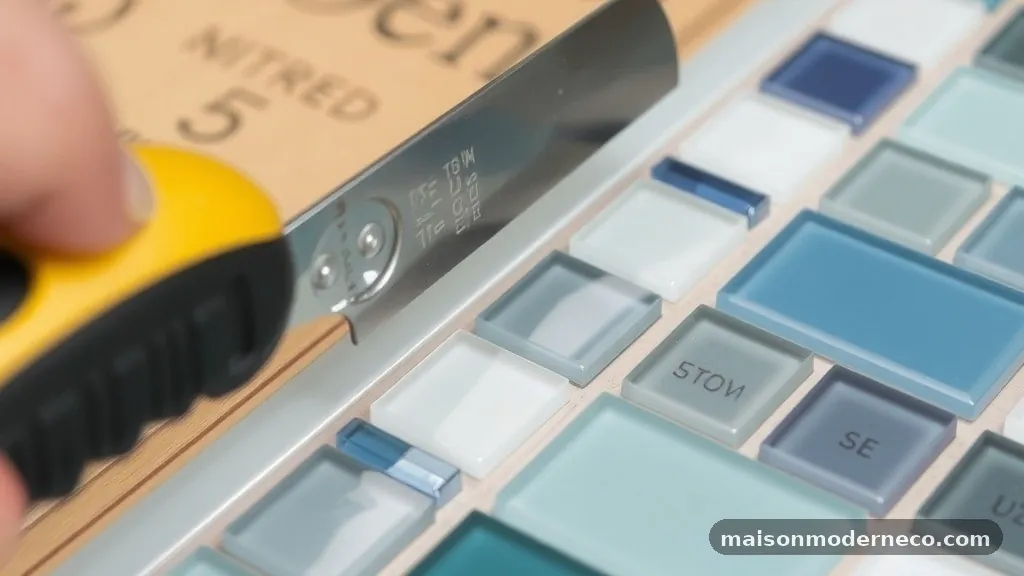
The first step toward success is choosing the right tool. While a standard manual tile cutter might work for ceramic or porcelain, it is rarely the best choice for glass.
Glass tiles require a diamond-tipped blade to avoid shattering the material. For most mosaic projects, a high-quality wet saw is the gold standard because it cools the blade and lubricates the cut, preventing the glass from overheating and cracking under friction.
If you are working with small, individual pieces within a sheet, you might consider glass nippers. These are excellent for making irregular or curved cuts, though they do not provide the perfectly straight, laser-sharp edge that a wet saw produces.
You should always opt for a blade specifically rated for glass. These blades have a finer diamond grit compared to those used for stone or porcelain, which helps prevent the micro-fractures that lead to visible chipping along the cut line.
Preparing the Mosaic Sheet for Precise Cuts
Before you bring the saw to the glass, you must secure the mesh-mounted tiles. Many people make the mistake of trying to cut the entire sheet while it is flimsy and loose.
Instead, lay the sheet flat on a sturdy surface and use a straight edge to mark your cut line with a grease pencil or a wax marker. You want to ensure the line is perfectly perpendicular to the tiles to minimize the risk of a wandering blade.
Check the mesh backing to see if it needs to be trimmed before you start the saw. If the mesh is loose or fraying, it can catch on the saw blade and pull the tiles out of alignment.
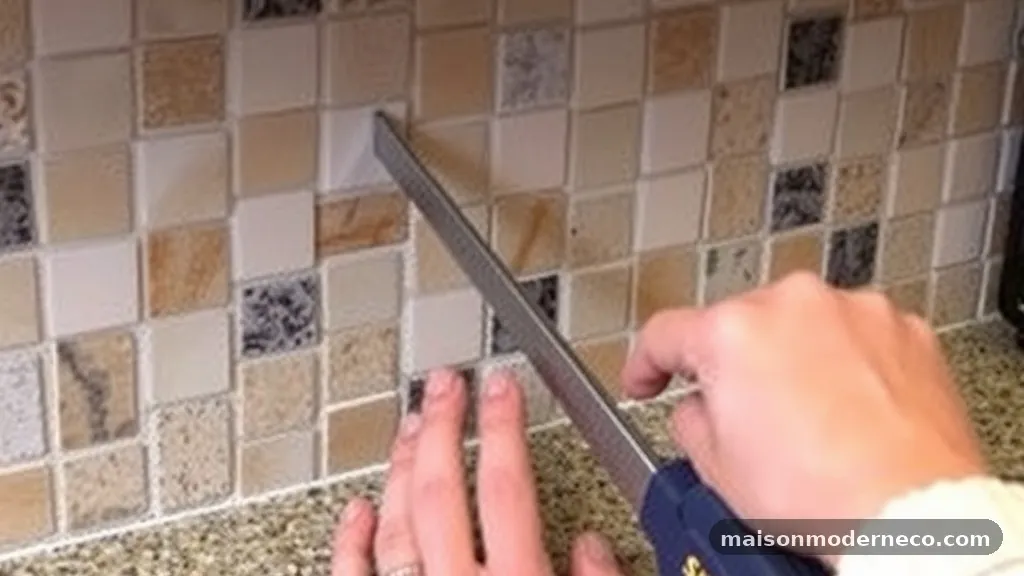
Use a sharp utility knife to slice through the mesh backing along the intended line of the cut. By removing the tension of the mesh, you allow each individual tile to sit firmly against the saw deck, which is essential for getting a clean finish.
Mastering the Wet Saw Technique
When you are ready to start cutting, the flow of water is your best friend. Ensure your wet saw reservoir is full and the pump is circulating water directly onto the blade.
This water serves two purposes: it keeps the blade cool and flushes away glass dust, which otherwise acts as an abrasive that can dull the blade and cause chipping. If the water flow is inconsistent, stop immediately and clear the blockage.
Feed the mosaic sheet into the blade slowly. Do not force the material; let the diamond grit do the work for you. If you push too hard, the pressure will cause the glass to splinter or crack on the underside of the tile.
Keep your hands steady and maintain a consistent speed throughout the entire pass. If you are cutting a long edge, try to support the weight of the sheet so it doesn’t sag, as this tension can cause the glass to snap prematurely.
Managing Chipping and Micro-Cracks
Even with the best equipment, glass is temperamental. Chipping often occurs at the very end of a cut as the blade exits the material.
To prevent this, you can use a piece of sacrificial scrap glass or a stiff board placed behind the tile sheet. This provides a backing that prevents the glass from blowing out as the blade pushes through the final edge.
Another trick involves masking tape. Apply a strip of painter’s tape along the line where you intend to cut. The tape holds the glass surface together, providing a bit of structural integrity that reduces the likelihood of chips migrating into the visible portion of the tile.
Once the cut is finished, simply peel away the tape. This simple addition can drastically improve the aesthetic quality of your finished edges.
Refining Edges with Polishing Stones
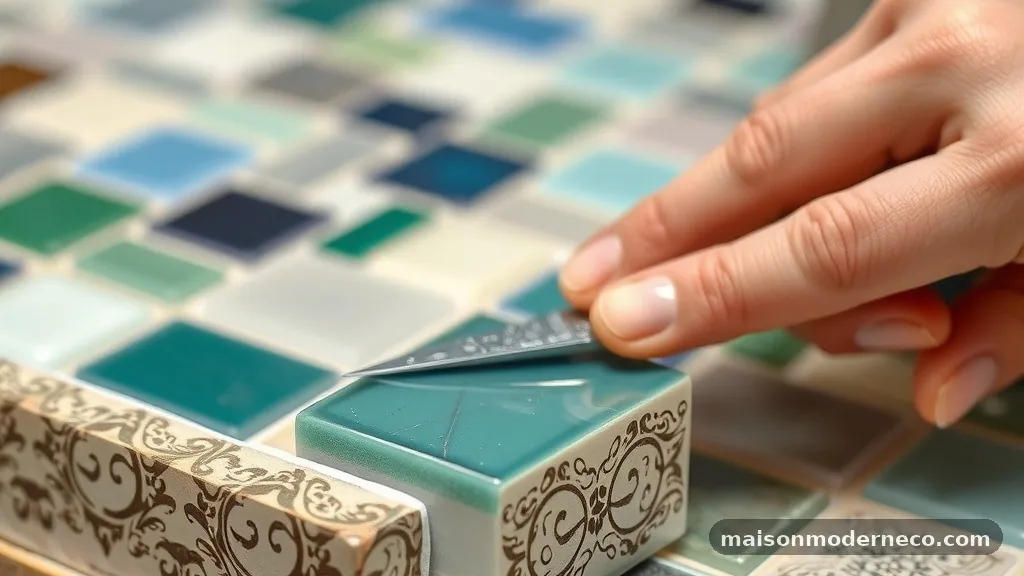
No matter how skilled you are with a wet saw, the cut edge will often feel sharp or slightly uneven. This is where a diamond hand-polishing pad or a rubbing stone becomes essential.
After you have made your cuts, take a fine-grit diamond pad and gently smooth the edge in a circular motion. This removes any microscopic burrs and makes the edge safe to touch.
Be careful not to over-polish, as you can round off the crisp factory corner of the glass tile. Focus on the sharp peaks and valleys left by the saw blade.
A light touch is all that is needed to turn a raw, industrial-looking cut into a professional, finished edge. You can find detailed information on handling glass materials safely through the official safety guidelines for glass and glazing to ensure your workspace remains hazard-free.
Dealing with Nippers for Intricate Shapes
Sometimes, you need to cut around an outlet or a curved feature in the wall. In these cases, a wet saw is too cumbersome. Glass nippers are the go-to tool here, but they require a specific technique to avoid cracking the tile.
Never try to take off too much material at once. Nibble away small, thin slivers of glass until you reach your desired shape.
Think of it like sculpting rather than cutting. If you try to remove a large chunk, the pressure will travel through the glass and cause it to shatter in an unpredictable pattern.
By taking tiny bites, you keep the stress on the glass localized. Once the piece is shaped, use your diamond rubbing stone to smooth out the rough edges created by the nippers.
Proper Installation and Edge Profiles
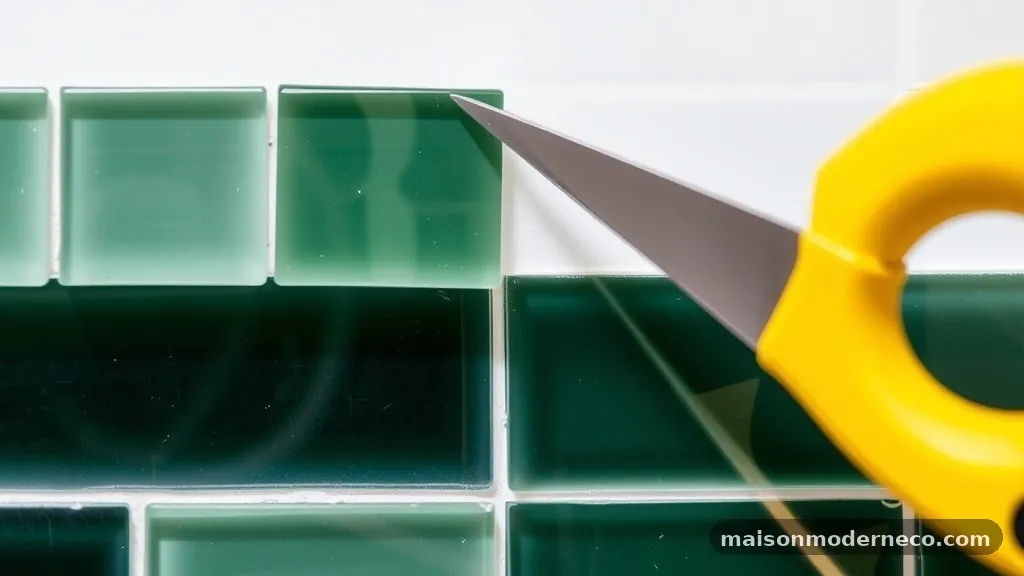
Once your edges are cut and smoothed, the way you finish the transition to the wall is vital. Most DIYers leave the cut edge exposed, which can look unfinished.
Consider using metal tile trim, such as a Schluter edge or a simple aluminum profile. These trims are designed to sit flush against the tile edge, covering the raw cut and providing a clean, architectural transition to the surrounding wall surface.
If you prefer not to use metal trim, you can use a specialized glass tile caulk that matches the color of your grout. Apply a thin, consistent bead along the cut edge where it meets the wall or cabinetry.
This seals the gap and hides any minor imperfections in your cuts. The goal is to make the transition look like a deliberate design choice rather than a necessity.
Troubleshooting Common Cutting Issues
If you find that your tiles are cracking consistently, stop and evaluate your blade. A dull diamond blade is the most common culprit for ruined glass.
If the blade feels smooth to the touch rather than gritty, it is likely worn out. You can sometimes sharpen a diamond blade by cutting into a scrap piece of concrete or a dedicated dressing stone, which exposes fresh diamond grit.
Another issue is blade vibration. If your wet saw has a loose arbor or a wobbly tray, that vibration will translate directly into the glass, causing it to bounce and chip. Check all the mechanical components of your saw before you begin.
Ensure the table is level and the fence is locked securely. Even a millimeter of movement can be the difference between a perfect edge and a ruined mosaic sheet.
Safety First in the Workshop
Working with glass requires a rigorous commitment to safety. Small shards of glass are incredibly sharp and can easily penetrate skin or fly into your eyes during the cutting process.
Always wear ANSI-rated safety goggles. If you are using a wet saw, the water spray can also carry glass dust, so consider wearing a dust mask if the ventilation in your workspace is poor.
Gloves are also a necessity, particularly when handling sheets that have been cut, as the edges will be razor-sharp. Look for cut-resistant gloves that still offer enough dexterity to handle the delicate mosaic sheets.
Keep your workspace clean and sweep up debris frequently. Glass slivers on the floor can be tracked throughout the home, creating a hazard for others long after the project is complete.
Planning Your Layout to Minimize Cuts
The best way to get a clean finish is to avoid difficult cuts whenever possible. Plan your layout before you start gluing the sheets to the wall. If you can start your pattern from the center of the wall and work outward, you may find that the pieces at the ends are larger, which are easier to cut than tiny, fragile slivers.
Try to position your factory edges—the ones that come pre-cut from the manufacturer—at the most visible locations. Use your hand-cut edges in areas that will be hidden by trim, cabinetry, or corner caulking. This strategic placement ensures that your “perfect” edges are on full display, while your custom cuts are tucked away where they won’t be scrutinized.
Frequently Asked Questions
Why do my glass tiles keep cracking when I use a wet saw?
Glass is highly sensitive to pressure and heat. If you are using a dull blade, the glass will resist the cut, leading to heat buildup and eventual shattering. Ensure you are using a high-quality, fine-grit diamond blade designed specifically for glass and that your water flow is sufficient to keep the blade cool throughout the entire process.
Can I use a manual snap cutter for glass mosaic?
Manual snap cutters are generally not recommended for glass mosaic sheets. The pressure required to snap the glass often results in irregular, jagged breaks because the mesh backing prevents the tile from snapping cleanly along the score line. A wet saw is far more reliable for achieving a clean, finished edge on glass materials.
How do I make a curved cut on a glass mosaic sheet?
For curves, you should use glass nippers. Score the desired curve lightly with a glass cutter if possible, then use the nippers to remove small, incremental pieces of glass until you reach the line. Finish the edge by sanding it gently with a diamond polishing pad to remove the sharp, uneven points.
What is the best way to hide the cut edge of a glass tile?
The most professional way to hide a cut edge is to use a metal tile trim profile, such as an L-angle or a bullnose transition. These profiles are designed to fit the thickness of the tile and provide a finished, architectural look. Alternatively, a color-matched silicone caulk can be used to bridge the gap between the tile and the adjacent surface.
Do I need to sand the glass after cutting?
Yes, sanding is a critical step for a professional finish. Even a clean cut on a wet saw will leave a sharp, microscopic burr. Using a fine-grit diamond hand-polishing pad ensures the edge is smooth to the touch and prevents accidental cuts when cleaning the backsplash in the future.
Final Thoughts on Achieving Professional Results
Achieving a professional finish when cuting a Clean Finished Edge on Glass Mosaic Backsplash Sheets is entirely possible if you respect the material and use the right tools. By prioritizing a high-quality diamond blade, maintaining a steady water supply, and using finishing techniques like diamond pads and metal trim, you can transform a standard installation into a high-end feature. Always remember that patience is your greatest asset; rushing the process is the fastest way to ruin a sheet of expensive glass.
Take the time to plan your layout and support your material during the cutting process to ensure consistency. With these methods, you will find that the process becomes much more manageable and the results far more satisfying. Feel free to share your progress or reach out if you have specific questions about your project; I am happy to help you refine your technique and achieve the backsplash you have envisioned for your home.