How to Use Electrical Box Extender Rings (Spacers) After Adding Thick Tile
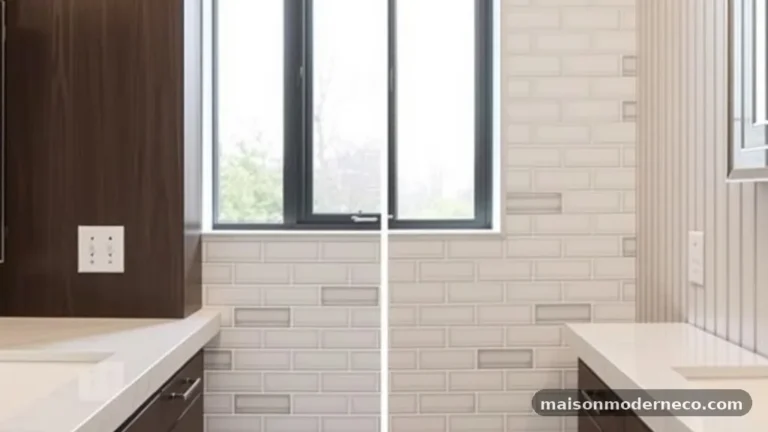
When you renovate a kitchen or bathroom, adding a new stone or ceramic backsplash often leaves your electrical outlets recessed deep behind the new surface. Successfully using Electrical Box Extender Rings (Spacers) After Adding Thick Tile is a critical safety step to ensure your wall plates sit flush against the finished wall.
If you fail to bridge this gap, you risk creating a fire hazard by leaving wire connections exposed or failing to secure the device properly. This process is straightforward for most homeowners, provided you have the right components and follow basic safety protocols to keep your home’s electrical system functioning correctly and safely.
Assessing the Depth of Your Recessed Outlet
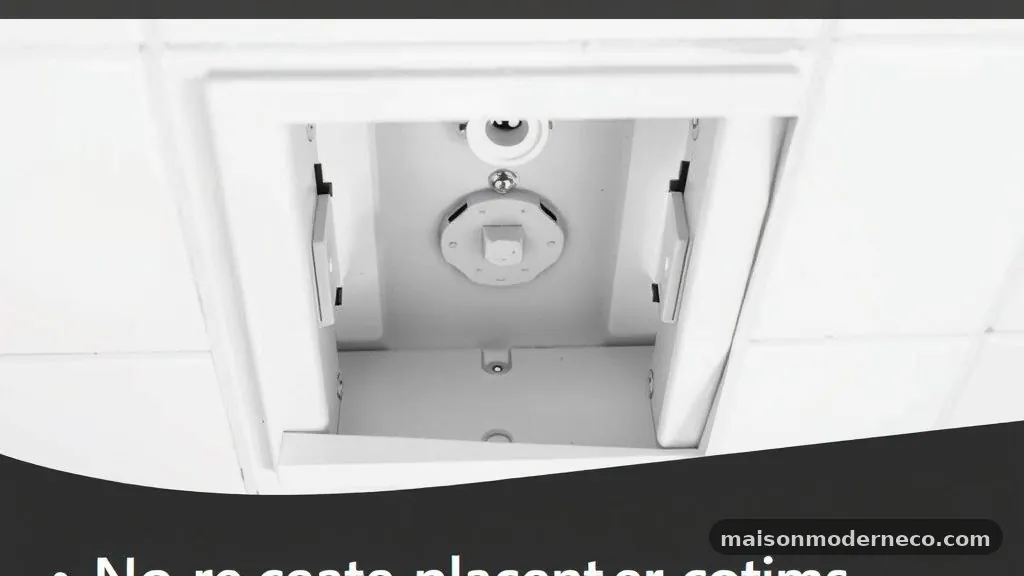
The first step in any electrical adjustment is determining exactly how far back your existing box is buried. Because tile thickness varies significantly—ranging from thin glass mosaics to heavy-duty natural stone—there is no one-size-fits-all solution for every wall. You need to measure the distance from the front edge of the current electrical box to the surface of the new tile.
If the gap is less than a quarter-inch, you might be tempted to simply use longer screws to pull the outlet out. However, this is rarely the best practice.
When an outlet is not firmly supported by the box or a proper extension, it can shift or wiggle when you plug in appliances. A box extender provides the necessary structural support to keep the device rigid.
Grab a tape measure or a simple ruler and place it against the back of the box, extending it out to the plane of your tile. Note this measurement carefully. Most standard extenders are designed for specific depth ranges, and knowing your exact requirements will prevent you from buying parts that are either too short to reach the wall surface or too bulky to fit behind your outlet covers.
Gathering the Correct Materials
Before you touch any wires, ensure you have the correct hardware. You will need the extender ring itself, which is often made of high-impact PVC or metal, depending on your local building codes and the type of box you have installed. Plastic extenders are generally easier to work with for non-professionals because they are non-conductive and can be trimmed if necessary.
You also need longer device mounting screws. The standard screws that came with your outlets will be far too short once you add the thickness of thin-set mortar and tile. It is a good idea to pick up a variety pack of longer 6-32 machine screws, which are the standard size for most residential electrical devices.
If you are working with a metal box, ensure your extender is also metal to maintain proper grounding continuity, or verify that your specific plastic extender is rated for use with metal boxes per the National Electrical Code. You can find detailed safety information at the National Fire Protection Association website regarding proper installation standards.
Cutting Power to the Circuit
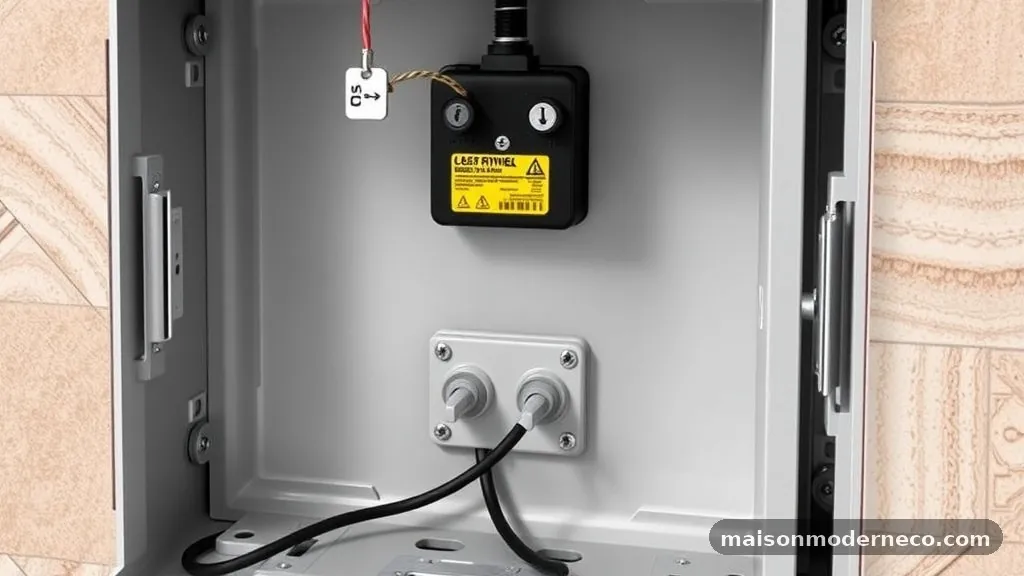
Safety is non-negotiable when dealing with wall outlets. Locate your home’s electrical service panel and identify the breaker that controls the room you are working in.
Switch it to the “off” position. Do not rely on light switches or your own intuition to know which circuit is which.
Once you have flipped the breaker, verify the power is off using a non-contact voltage tester. Touch the tip of the tester to the outlet face, the mounting screws, and inside the box if possible. If the device beeps or lights up, the power is still on.
Repeat this process until you are absolutely certain that no electricity is flowing to the receptacle. A common mistake here is assuming that just because one outlet is dead, the entire wall is dead; always test every individual outlet you plan to modify.
Removing the Existing Outlet
With the power confirmed off, remove the wall plate cover. Use a screwdriver to loosen the mounting screws holding the outlet to the box.
Gently pull the outlet out of the box, taking care not to strain the wires connected to the back. You do not need to disconnect the wires themselves, provided there is enough slack in the cable to pull the outlet out a few inches.
If the wires are very short, you might need to carefully adjust them, but avoid bending them excessively, as older copper wire can become brittle. Inspect the condition of the wires as you pull the outlet forward.
Look for any signs of scorching, loose connections, or damaged insulation. If the wiring looks compromised, this is the perfect time to address it before you seal everything back up with an extender.
Installing the Box Extender
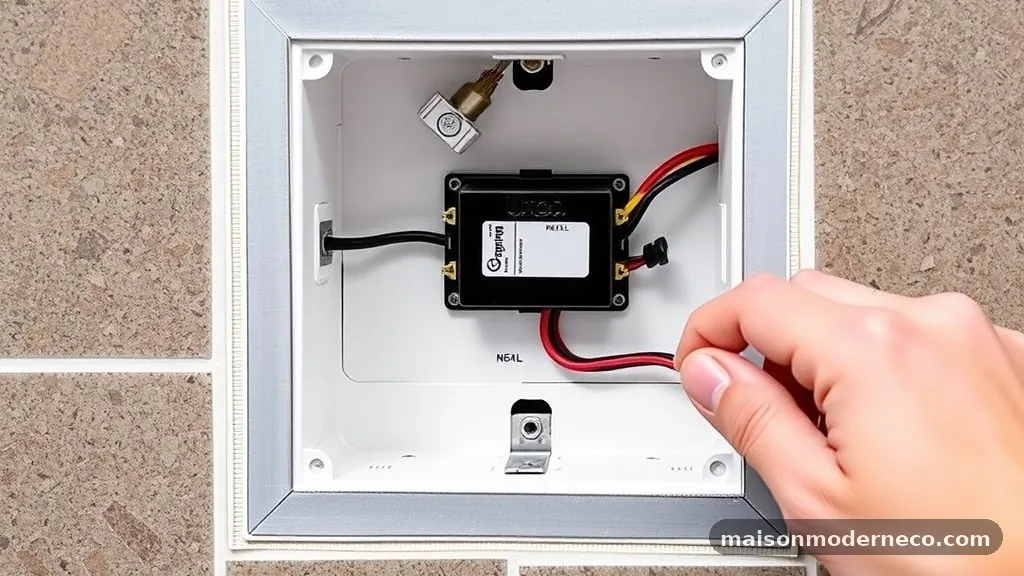
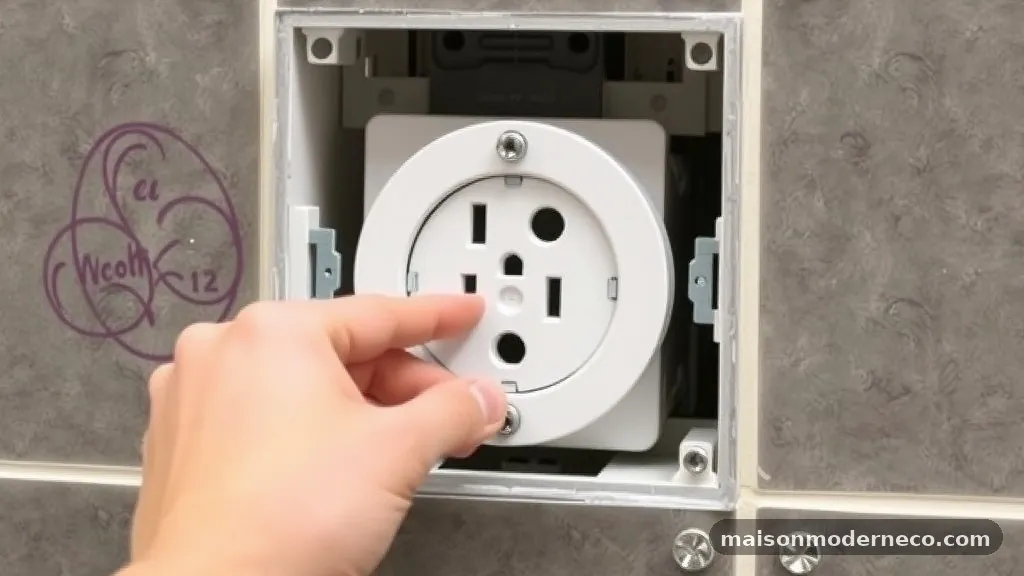
Now that the outlet is clear, position your box extender over the existing box. Most extenders are designed to slide right into the opening. Some models have small tabs that fold over the edges of the box to hold them in place, while others might require you to use the existing screw holes on the box itself.
Align the holes in the extender with the threaded holes in the electrical box. If you are using a plastic extender, ensure it is seated flat against the wall surface. If the tile was cut slightly unevenly, you may need to use a small amount of clear silicone caulk to seal any gaps between the extender and the tile.
This prevents debris from falling into the wall cavity and provides a more finished look. Don‘t force the extender if it doesn’t fit easily; double-check that no mortar or tile grout is obstructing the box opening.
Securing the Device to the Extender
Once the extender is in place, it is time to reattach the outlet. Take your longer 6-32 screws and pass them through the mounting ears of the electrical outlet, through the extender, and into the original threaded holes of the electrical box.
Tighten them slowly. You want the outlet to be snug against the extender, but be careful not to overtighten, especially if you are using a plastic extender, as you could crack the housing.
Check that the outlet is level. Because you are adding thickness to the wall, it is easy for the outlet to end up slightly crooked if the extender isn’t perfectly flush.
Use a small torpedo level held against the front of the outlet to ensure it sits vertically straight. If it feels loose or wobbly, check that the extender is securely attached to the box and that the screws are fully tightened into the metal mounting ears.
Managing Wire Slack and Connections
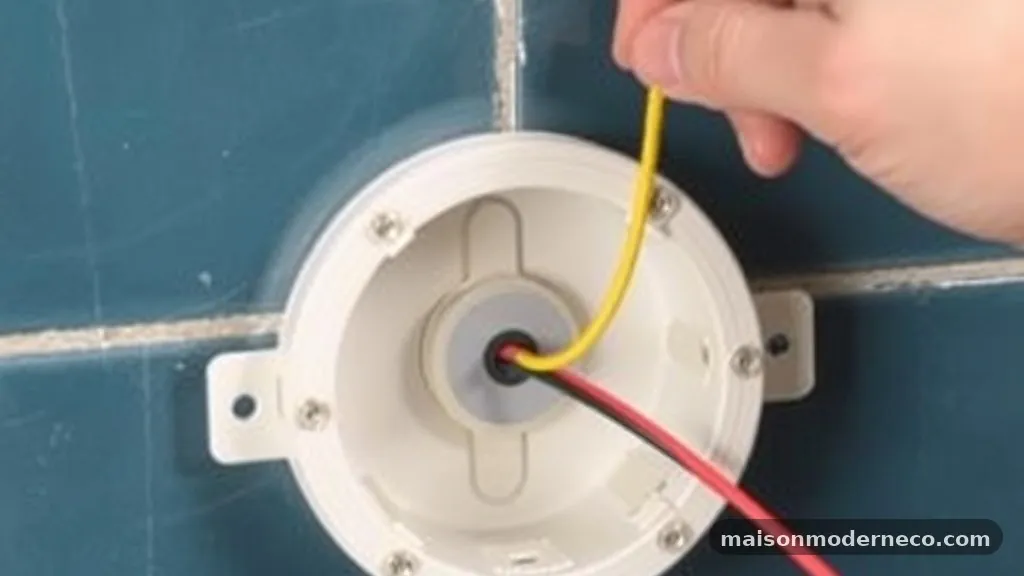
A common issue during this process is having too much wire bunched up behind the outlet. When you add an extender, you create more space, but you must still organize the wires neatly. Push the wires into the back of the box in a “W” or “Z” pattern to keep them from bunching up directly behind the outlet.
If the wires are pushed too hard against the back of the outlet, they can create pressure that makes the receptacle sit unevenly. Take your time to fold the wires carefully. If you find the wires are too short to reach the outlet comfortably once the extender is in place, you may need to add “pigtails.”
A pigtail is a short length of wire connected to the existing circuit wire with a wire nut, giving you a longer lead to connect to the outlet terminals. This is a standard and safe way to gain extra length without compromising the electrical connection.
Testing the Installation for Stability
Before you snap the wall plate on, give the outlet a firm test. It should not move, rock, or feel spongy when you apply pressure. If the outlet feels loose, it is usually because the screws aren’t long enough to bite into the original box or because the extender isn’t providing a solid enough base.
Ensure that no bare wires are exposed outside the box. The extender should effectively bridge the gap created by the tile, leaving no open space between the back of the wall plate and the finished wall surface.
If you see any gaps, you may need to use a deeper extender or adjust the tile cut around the box. A stable, flush-mounted outlet is not just about aesthetics; it prevents the internal components of the outlet from becoming loose over time, which can lead to arcing and heat buildup.
Finalizing the Wall Plate Installation
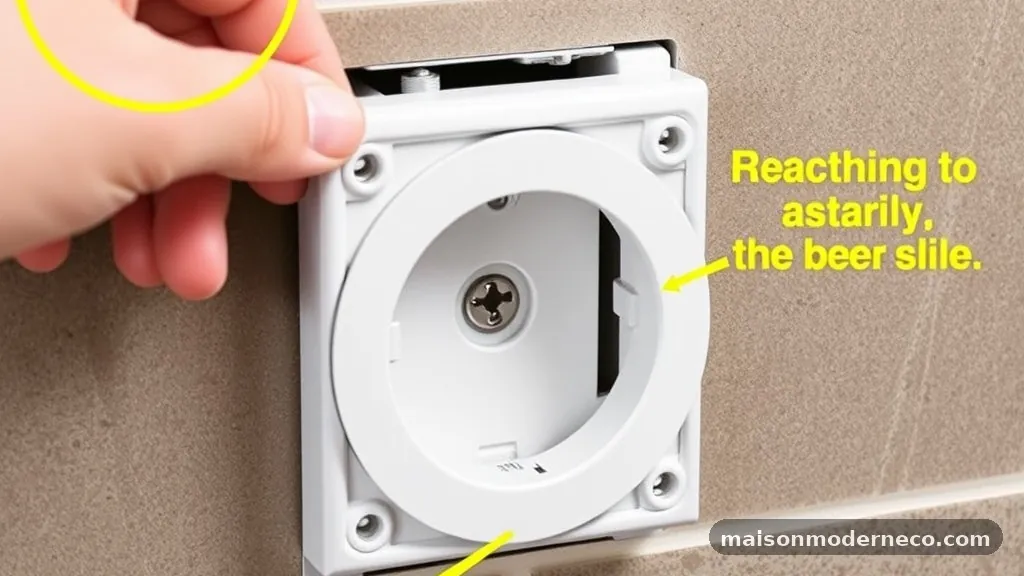
The final step is reattaching the wall plate. Since the outlet is now sitting further out from the wall, you might find that your old wall plate screws are also too short.
Most extender kits come with longer screws specifically for this purpose. If yours did not, you can buy “wall plate extender” kits or simply longer nylon-head screws at any hardware store.
Screw the cover plate on gently. Do not overtighten, as this can crack the plastic plate or pull the outlet out of alignment. If the wall plate doesn’t sit perfectly flat against the tile, check for any dried mortar or grout bumps on the tile surface around the box.
A quick scrape with a utility knife usually solves this. Once the plate is flush and level, you are ready to turn the power back on at the breaker panel.
Common Mistakes to Avoid
Many people make the mistake of using “spacers” (the small plastic sleeves or washers) instead of a proper box extender. While these spacers can help pull an outlet forward, they do not provide the enclosure required by code to protect the wiring. Always use a proper box extender that physically bridges the gap between the box and the wall surface.
Another frequent error is failing to maintain the ground connection. If you are using a metal box, ensure your extender is grounded or that the outlet is properly connected to the grounding wire. Never leave wires loose or use electrical tape to “fix” a connection that should be secure with a wire nut or pressure connector.
Finally, don’t rush the process of turning the power back on. Double-check your connections one last time after the device is secured but before the cover plate is installed. If you notice any buzzing or smell anything unusual, turn the power off immediately and re-inspect your work.
Frequently Asked Questions
Can I stack multiple electrical box extenders if my tile is very thick?
While some manufacturers allow for minor stacking, it is generally discouraged because it can weaken the structural integrity of the mount. If your tile is exceptionally thick, it is better to look for a deep-box extender designed for that specific depth rather than trying to join two separate pieces together.
What if my electrical box is set too deep for standard extenders?
If the box is buried more than an inch deep, you may need to consider installing a “box-in-a-box” solution or, in extreme cases, relocating the electrical box so it is flush with the new wall surface. Always consult with a local electrician if the box is buried so deeply that a standard extender cannot safely secure the device.
Do I need a special type of extender for GFCIs?
GFCI outlets are bulkier than standard receptacles, so you should check that the extender you choose has enough internal clearance to accommodate the larger body of the GFCI. Most universal extenders work fine, but if you have a very compact box, a bulky GFCI might be a tight fit.
Is it okay to use plastic extenders with metal boxes?
Yes, as long as the plastic extender is UL-listed and rated for use in your specific application. However, you must ensure that the grounding path for the outlet is maintained, usually by connecting the ground wire directly to the receptacle’s green grounding screw, regardless of the box material.
What are the “2-6-12” rules for electrical outlets?
These rules generally refer to the spacing of outlets along wall lengths in residential construction to ensure accessibility. They do not specifically dictate how to install extenders, but they are a good reminder that every outlet in your home must be properly enclosed and accessible for safe use.
Ensuring Longevity and Safety
Using Electrical Box Extender Rings (Spacers) After Adding Thick Tile is a fundamental skill for any homeowner looking to finish their tiling project with professional results. By following these steps—carefully measuring your depth, cutting the power, selecting the right hardware, and ensuring a flush, secure fit—you protect your home from potential electrical hazards while achieving a clean, polished look. Proper installation prevents the common issues of wobbly outlets and exposed wiring, ensuring that your new backsplash remains both beautiful and safe.
If you ever feel uncertain about the state of your wiring during this process, do not hesitate to contact a licensed electrician to verify your work. Taking the time to do this correctly once will save you significant effort and worry in the future, allowing you to enjoy your updated space with complete peace of mind.