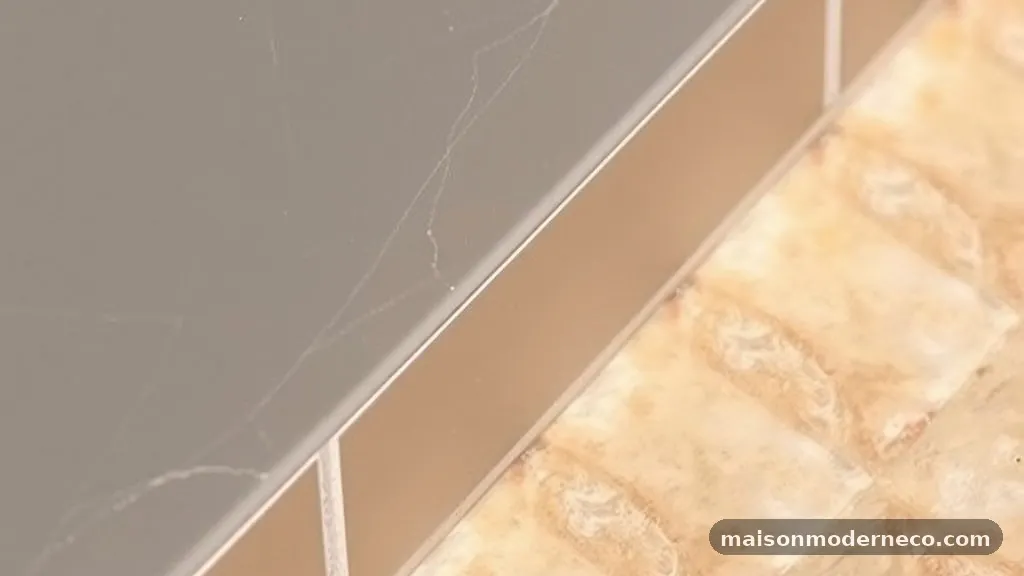
Painting the Exposed Tile Edge vs Using Metal Transition Profiles
Deciding between painting the exposed tile edge vs using metal transition profiles often comes down to balancing your personal aesthetic preferences with the long-term durability requirements of your space. While painting offers a low-cost, flexible solution for light-traffic areas, metal profiles provide a structural, professional finish that stands up to daily wear and tear.
Understanding the trade-offs between these two methods will help you achieve a polished, high-quality look that suits your specific home project. You will gain clarity on which technique best serves your needs by examining the labor, material costs, and maintenance implications inherent in each approach.
Assessing the Durability of Exposed Tile Edges
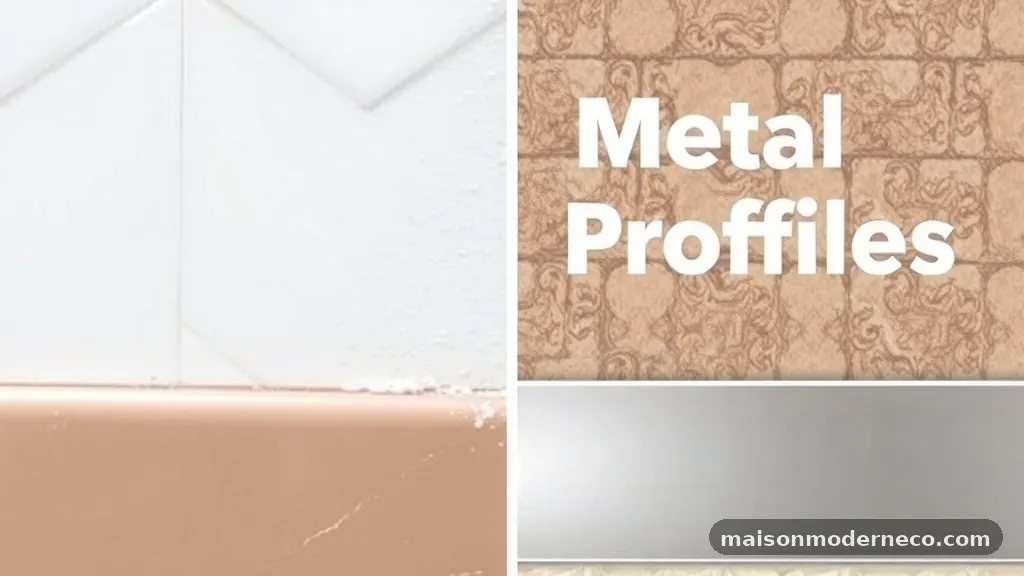
When you leave a tile edge exposed, you are essentially exposing the “biscuit” or the raw body of the ceramic or porcelain. This material is often porous and unfinished, making it susceptible to moisture absorption, chipping, and staining over time.
If you decide to paint this surface, you must realize that paint is a surface-level coating that lacks the physical hardness of the tile itself. In high-traffic zones like kitchen backsplashes or bathroom floors, the constant contact from cleaning cloths, accidental bumps, and water exposure will inevitably cause the paint to flake or fade.
Metal transition profiles, by contrast, are engineered to act as a physical barrier. They protect the fragile edge of the tile from mechanical stress, which is the leading cause of edge crumbling in residential installations. By choosing a metal profile, you are essentially capping the vulnerability of the tile with a material designed to withstand impact.
This choice is particularly vital in areas like shower niches or wall corners where people frequently brush against the tile. Investing in a metal edge trim essentially guarantees that your installation remains intact and visually sharp for decades rather than just a few years.
The Aesthetic Impact of Painted Edges
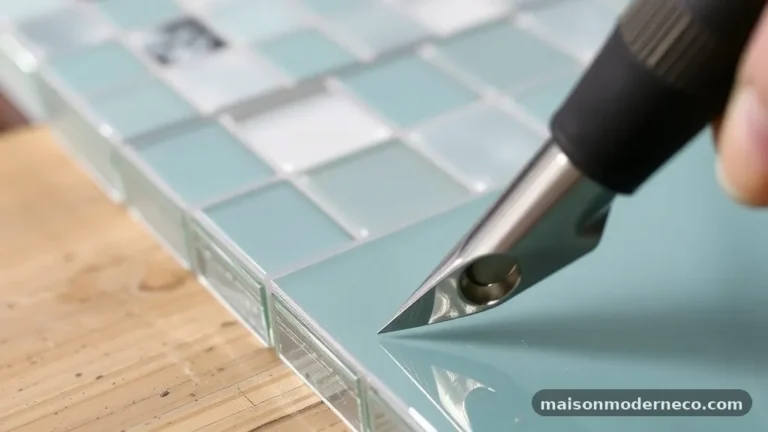
Painting an exposed tile edge is often pursued for a minimalist look, as it allows the tile to blend into the surrounding wall color without the visual interruption of a metal frame. If you have a high-quality, rectified tile with a body color that closely matches the glaze, a simple touch-up with a high-durability epoxy paint can create a subtle, clean transition.
This approach works best in low-impact areas where the edge is not subject to frequent physical contact. It allows you to maintain a continuous, monochromatic surface that feels modern and unobtrusive.
However, the risk with painting is the inevitable lack of a clean, factory-made line. Unless your hand is perfectly steady and you use high-quality masking tape, the paint line can look messy or uneven upon close inspection. Furthermore, paint rarely adheres perfectly to the slick or porous sides of a tile without a specific primer.
You must prepare the surface by lightly sanding it to provide “tooth” for the primer, which adds significant labor to the project. If you choose this route, be prepared for periodic maintenance, as even the best paint will eventually require a touch-up to hide chips or wear.
Technical Benefits of Metal Transition Profiles
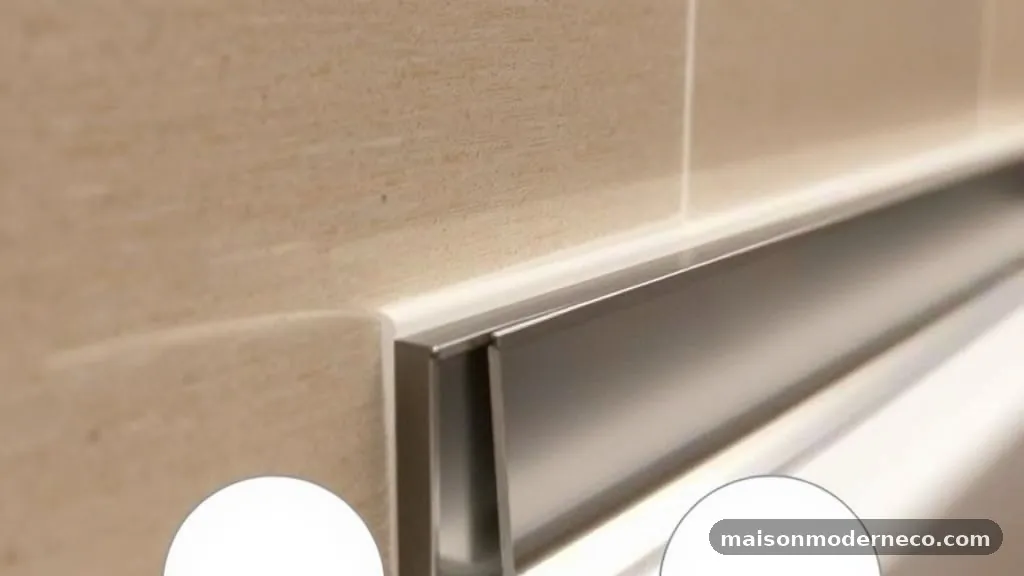
Metal profiles are the industry standard for a reason: they provide a structural anchor that supports the tile while hiding the raw edge. These profiles are available in a variety of finishes, including brushed stainless steel, matte black, oil-rubbed bronze, and anodized aluminum.
This variety allows you to either match your hardware or create a deliberate design contrast. Beyond the visual appeal, the profile acts as a guide during the installation process, ensuring that your tile layout remains perfectly straight and level from start to finish.
Installation of these profiles involves setting them into the thin-set mortar along with the tile, which creates a permanent, integrated bond. This is significantly more stable than any surface-applied finish. Because they are manufactured with precise geometry, they create a uniform gap that is much easier to caulk or grout than the jagged edge of a cut tile.
You can find detailed technical specifications for various installation methods through industry resources like the Tile Council of North America, which provides comprehensive guidelines for long-lasting tile work. Using a profile essentially removes the guesswork from the finishing process.
Preparing the Tile Surface for Painting
If you are committed to the painted look, preparation is the most critical factor for success. You cannot simply apply a coat of wall paint to a ceramic edge and expect it to hold. Start by thoroughly cleaning the edge to remove any dust, mortar residue, or oils from your hands.
Once dry, use a fine-grit sanding sponge to gently scuff the surface of the tile edge. This microscopic roughening is essential; without it, the paint will sit on top of the glaze or ceramic body and peel away within weeks.
After sanding, apply a high-quality bonding primer that is specifically formulated for non-porous surfaces. This step is non-negotiable if you want the finish to last. Once the primer has cured, apply your finish coat in thin, even layers.
Using an artist’s brush or a high-density foam applicator will give you better control than a standard paintbrush. Allow for proper drying time between coats, and consider a clear topcoat of polyurethane if you need extra protection against moisture in a bathroom or kitchen setting. Remember that this process is time-consuming and requires a high level of patience to achieve a professional result.
Choosing the Right Metal Profile for Your Space
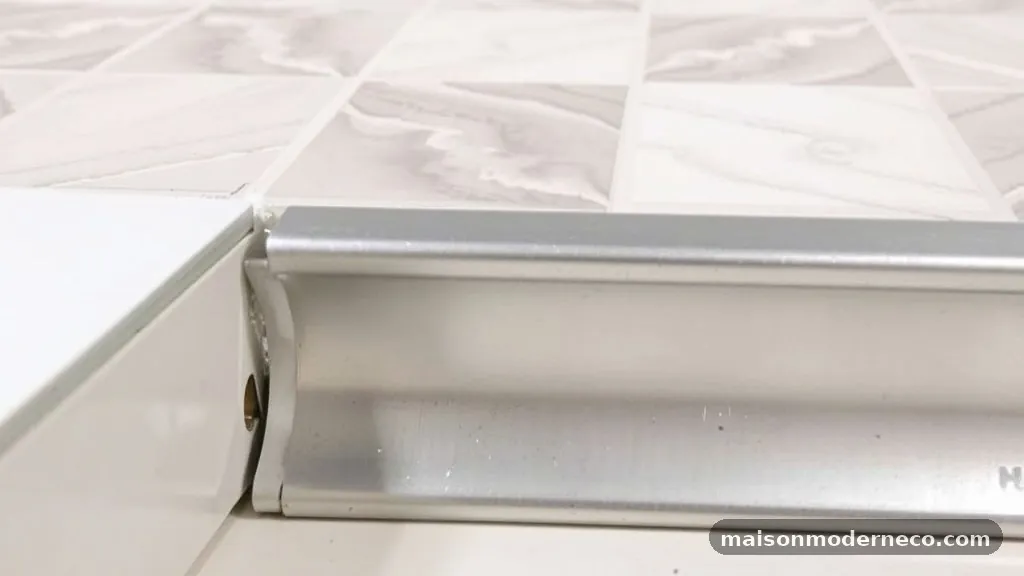
Selecting the right profile involves considering the thickness of your tile and the desired look of the corner. Most manufacturers offer profiles in various depths, typically ranging from 6mm to 12.5mm, to accommodate thin wall tiles and thicker floor tiles.
You must measure the total thickness of your tile plus the mortar bed to ensure the profile sits flush. If the profile is too shallow, you will have an unsightly ledge; if it is too deep, you will have a gap that is difficult to fill with grout.
Consider the shape of the profile as well. Square-edge profiles offer a sharp, contemporary look that is very popular in modern design. Rounded or bullnose profiles are softer and more forgiving, making them a better choice for high-traffic corners where safety is a concern.
For shower niches, consider a “L-angle” profile that provides a clean frame for the internal corners, preventing water from pooling in the grout lines. Taking the time to select the correct profile will make the installation process much smoother and the final outcome much more durable.
Common Mistakes to Avoid During Installation
When working with metal transition profiles, the most common mistake is failing to account for the thickness of the thin-set mortar. Many installers assume the profile sits directly on the substrate, but you must account for the bed of mortar that will hold the tile.
Always perform a dry fit before mixing your mortar to ensure the profile aligns perfectly with the adjacent surface. If you don’t, you may find yourself with a profile that stands proud of the tile, creating a trip hazard or an unsightly bump that cannot be corrected once the mortar sets.
When painting edges, the biggest error is neglecting the transition between the tile face and the painted side. If your paint bleeds onto the finished face of the tile, it can be extremely difficult to clean without damaging the glaze. Use high-quality painter’s tape to mask off the finished surface before you begin.
Additionally, avoid using cheap, water-based interior paints. These are not designed for the rigors of a tiled area and will fail quickly. Always opt for an enamel or epoxy-based paint that offers superior adhesion and moisture resistance.
Cost Comparison and Long-Term Value
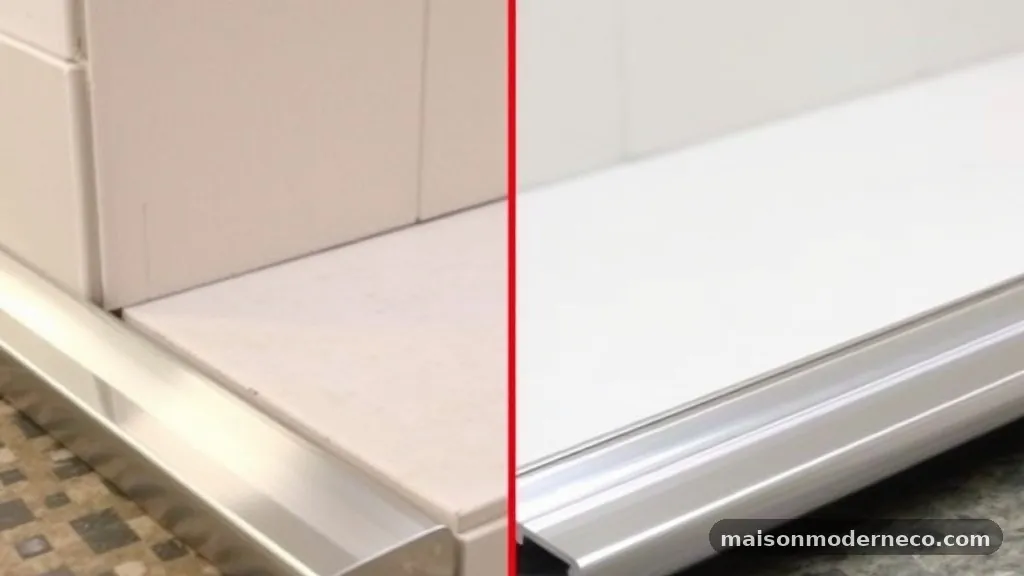
While painting the exposed tile edge seems like the cheaper option, you must consider the total cost of your time. Painting requires multiple stages of prep, priming, painting, and potentially sealing, not to mention the cost of high-quality paint and brushes.
If you factor in the time spent and the potential for future repairs, the cost-benefit analysis often tilts back toward using metal profiles. A metal profile is a one-time investment that lasts as long as the tile itself, requiring zero maintenance beyond standard cleaning.
Metal profiles range in price depending on the material and finish. Basic aluminum profiles are quite affordable, while solid stainless steel or decorative brass options are a bigger investment.
However, when compared to the cost of replacing chipped tiles or re-painting edges every few years, the metal profile is almost always the more economical choice over the lifespan of the installation. When planning your budget, view the profile as a structural component rather than an accessory, and you will see how it adds genuine value to your home.
Maintaining Your Finished Tile Edges
If you choose a metal transition, maintenance is minimal. Regular cleaning with a soft cloth and a mild, non-abrasive detergent is all that is required. Avoid using harsh acidic cleaners or steel wool on colored or anodized finishes, as these can strip the coating or scratch the surface.
If you have chosen a stainless steel profile, you can occasionally use a stainless steel polish to keep it looking brand new. The key is to keep the profile clean so that it doesn’t collect soap scum or grime that can eventually compromise the finish.
For painted edges, maintenance is more intensive. You should inspect the painted areas periodically for signs of lifting or chipping. If you notice a small chip, clean it carefully, lightly sand the area, and touch it up with your original paint.
Because paint fades over time, you may find that your touch-ups are slightly visible unless you have the original batch of paint. This is why many professional designers prefer metal profiles; they don’t require this cycle of constant vigilance and repair, allowing you to enjoy your space without worrying about the integrity of your finish.
Integration with Different Tile Types
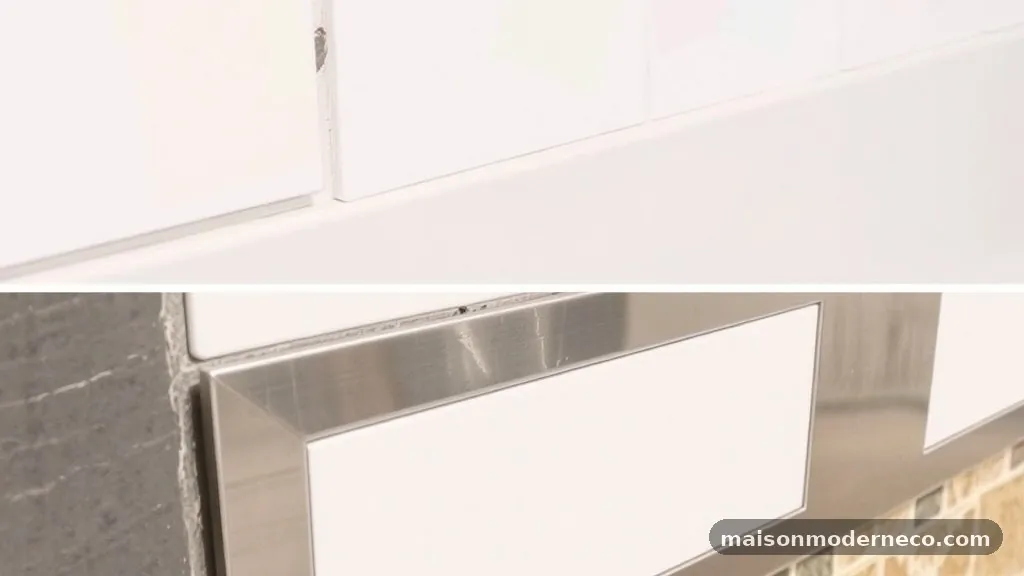
Different tile materials interact differently with both paint and metal profiles. Natural stone tiles, for instance, have a very different edge profile than porcelain.
If you are using a polished marble, painting the edge will almost never look right, as the paint will contrast harshly with the natural veining and finish of the stone. In these cases, a metal profile—perhaps a brushed gold or matte black—can actually enhance the beauty of the stone by framing it.
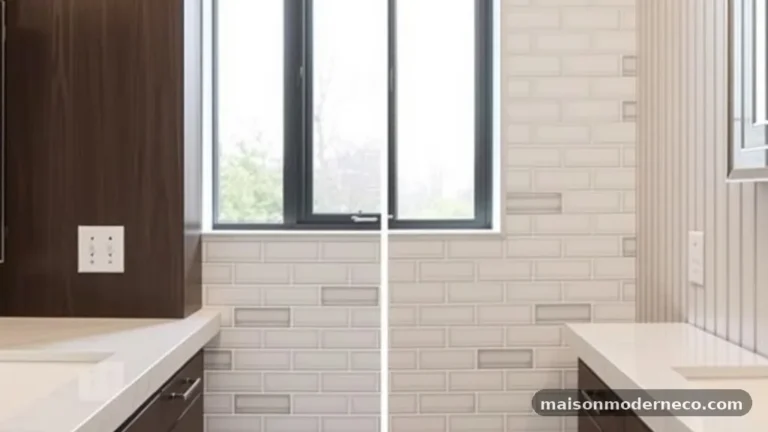
For subway tiles, which are often used in backsplashes, the edges are sometimes finished with a “bullnose” or rounded cap tile. However, if you are using standard square-cut subway tiles, a metal profile is often the only way to achieve a professional result. It creates a clean, architectural line that defines the space.
When working with large-format tiles, the thickness of the tile makes an exposed edge even more noticeable. A heavy-duty metal profile not only hides the edge but also prevents the large, heavy tile from cracking due to stress at the corner.
Designing for Longevity and Style
Ultimately, the choice between painting the exposed tile edge vs using metal transition profiles depends on your vision for the room. If you are aiming for a seamless, “invisible” look in a low-traffic area, painting can be a creative solution if executed with precision.
However, if you are building a bathroom, kitchen, or high-use area, metal profiles offer a level of reliability and professional polish that is hard to beat. They provide a clear, defined boundary that separates your tiled surfaces from the rest of the room, adding a sense of structure and intention to your design.
Think about the long-term use of the space. Will there be children or pets in the area? Will the tiles be subjected to steam or constant water contact?
These factors should guide your decision. A professional installation should look as good in ten years as it does on the day it is finished.
By selecting materials and techniques that prioritize durability, you ensure that your design choices stand the test of time. Whether you choose to highlight the edge with a bold metal profile or hide it with a subtle paint job, make sure your decision is backed by the right materials and careful preparation.
Frequently Asked Questions
Can you paint the exposed edge of a ceramic tile effectively?
Yes, you can paint the edge, but it requires careful preparation. You must sand the edge to create a surface for the paint to grip, use a high-quality bonding primer, and finish with a durable enamel or epoxy paint. Without these steps, the paint will likely peel, especially in areas with moisture or frequent contact.
Are metal transition profiles difficult to install for a DIYer?
They are relatively straightforward, but they require precision. You must cut the metal to the correct length and account for the thickness of the mortar bed when setting your tiles. Using a miter box to cut the corners at 45-degree angles is essential for a clean, professional look at the joints.
What is the best way to finish tile edges if you don’t want a metal look?
If you prefer not to use metal, you can use specialized “cap” or “bullnose” tiles that match your main tile. These pieces have a finished, glazed edge designed specifically for exposed areas. This is often the most durable and aesthetically pleasing alternative to using metal transition profiles.
Do metal profiles rust in shower environments?
High-quality metal profiles, such as those made from solid stainless steel or anodized aluminum, are designed specifically for wet environments and will not rust. However, you should avoid cheap, plated metal trims that can corrode when exposed to constant moisture and cleaning chemicals.
Is it possible to use wood trim instead of metal for tile edges?
Using wood is possible, but it is generally not recommended for wet areas like bathrooms or backsplashes. Wood expands and contracts with humidity, which can break the seal between the tile and the trim, leading to water infiltration and mold growth. Stick to metal or ceramic materials for long-term reliability.
Final Thoughts
Deciding between painting the exposed tile edge vs using metal transition profiles is a fundamental step in achieving a professional finish for your tiling project. While painting offers a custom, low-cost aesthetic that can work in specific, low-impact settings, metal transition profiles provide the structural integrity and clean lines that most high-quality installations require. By carefully considering the traffic, moisture levels, and design goals of your space, you can select the method that ensures your hard work remains protected and visually appealing for years to come.
Take your time with the installation process, prioritize proper surface preparation, and you will be rewarded with a result that elevates the entire room. Feel free to share your project photos or ask further questions about matching profiles to your specific tile selection.