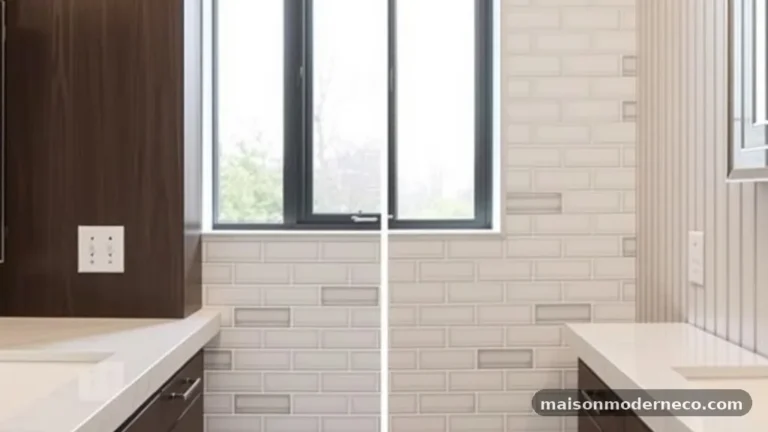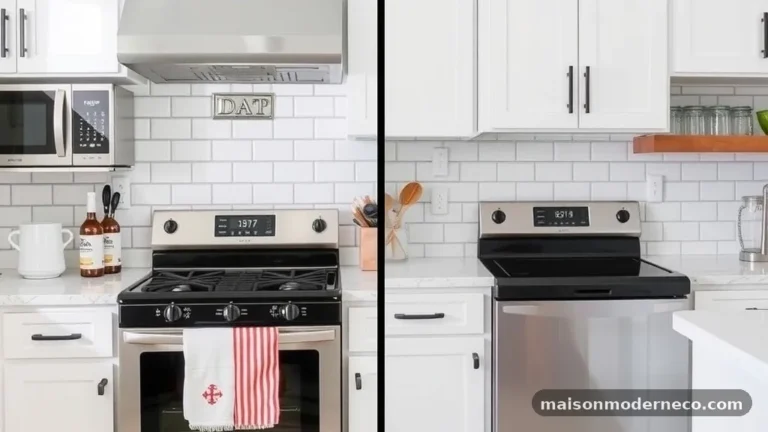
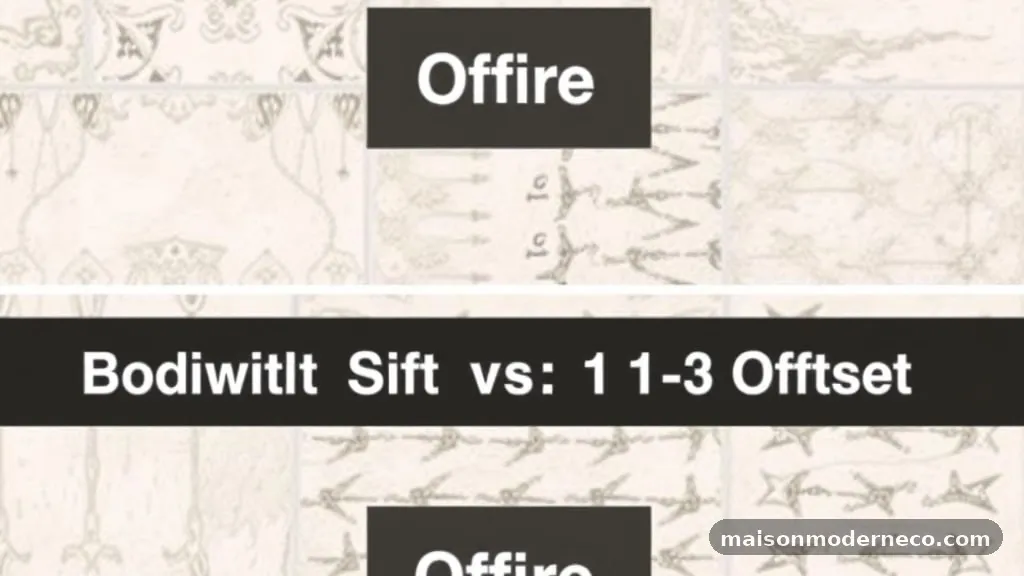
Traditional 50% Offset vs 1/3 Offset: Which Prevents Tile Lippage?
Deciding between a traditional 50% offset vs 1/3 offset pattern is a critical step in any flooring project, as the choice significantly impacts the aesthetic outcome and structural integrity of your floor. When you use large-format rectangular tiles, the way they overlap determines how much height variation you might experience between adjacent edges.
Understanding the mechanics of these layouts helps you avoid the frustration of uneven surfaces, known as lippage. This guide breaks down the technical reasons why specific patterns are recommended for modern tiles, ensuring you achieve a professional finish that stays flat and looks great for years to come.
Understanding the Mechanics of Tile Lippage

Lippage is the technical term for the difference in height between adjacent tiles. When one edge of a tile sits slightly higher than the neighbor, it creates a tripping hazard and a visible shadow line that ruins the clean look of a floor.
While minor variations are sometimes expected with handmade or rustic products, modern large-format tiles are manufactured to tight tolerances. However, even the highest quality tile can suffer from lippage if the installation pattern works against its physical properties.
The primary culprit behind this issue is the inherent warpage found in almost all ceramic and porcelain products. During the kiln-firing process, tiles can develop a slight curve, meaning the center is often higher than the edges, or vice-versa.
When you place the high point of one tile against the low point of another, the discrepancy is magnified. By choosing the right offset, you can effectively hide these manufacturing imperfections instead of highlighting them.
The Risks of the Traditional 50% Offset
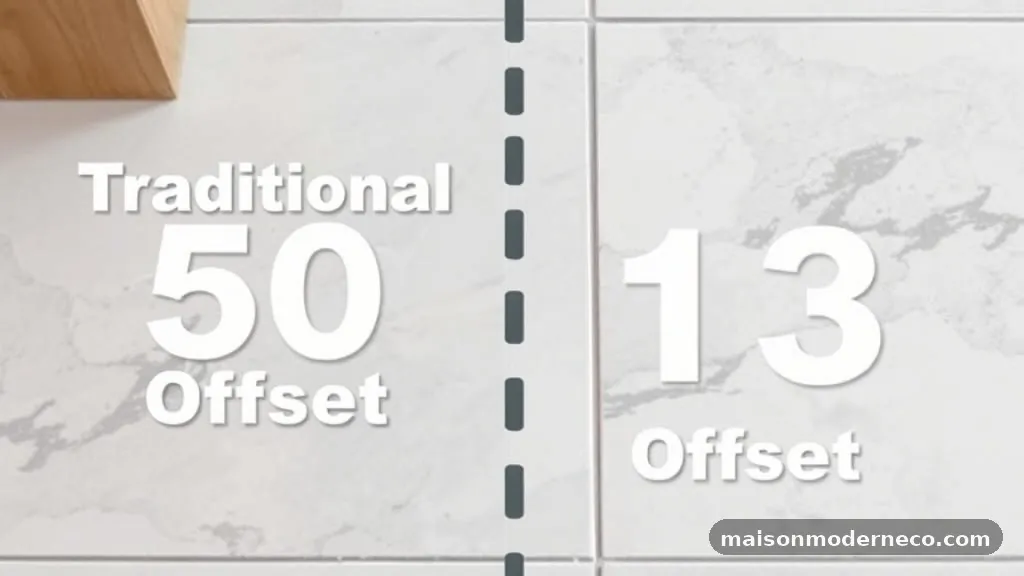
The traditional 50% offset, often called the brick joint, is a classic look that has been used for centuries. In this layout, the end of one tile aligns perfectly with the center of the tile in the row below.
While this pattern is visually appealing for small, square bricks or traditional subway tiles, it is frequently problematic for modern large-format rectangular tiles. Because the center of a long tile is typically its highest point, a 50% offset forces the peak of one tile to sit directly next to the lower, thinner edges of the two adjacent tiles.
This structural clash is why many manufacturers explicitly advise against a 50% layout for tiles exceeding 15 or 18 inches in length. Even a tiny amount of bowing in the tile body becomes glaringly obvious when that peak is centered against a joint. If you are determined to use this pattern, you must use high-quality leveling clips and spacers to force the tiles into alignment, which adds significant time and cost to the labor.
Benefits of the 1/3 Offset Pattern
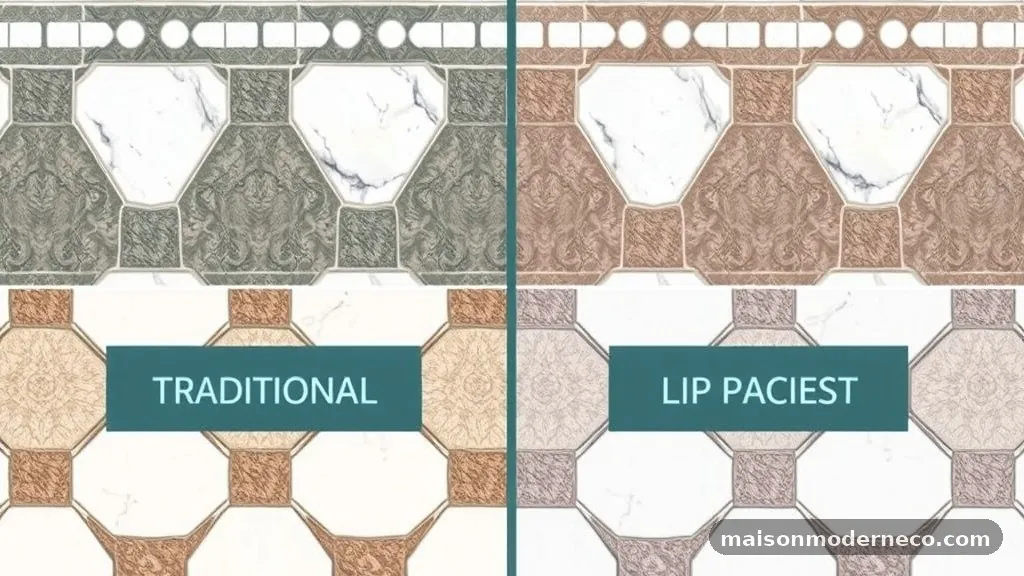
Moving toward a 1/3 offset pattern changes the geometry of the installation significantly. Instead of aligning the center of one tile with the edge of another, the joints are staggered by exactly one-third of the tile’s length.
This shift prevents the highest point of a bowed tile from resting directly against the lowest point of its neighbor. By distributing the pressure and the physical height of the tiles differently, the surface remains much smoother and more consistent.
Many professional installers prefer this layout for 12×24 inch tiles because it provides the visual interest of a staggered bond without the extreme lippage risks associated with a 50% overlap. It creates a more dynamic look that draws the eye across the room while maintaining a flat, safe walking surface. From a technical standpoint, this pattern is much more forgiving of minor manufacturing tolerances, making it the superior choice for DIYers and pros alike.
Industry Standards and the ANSI Guidelines
When planning your installation, it is essential to consult the official Tile Council of North America standards. These guidelines provide the industry benchmarks for acceptable levels of lippage and installation practices.
According to current ANSI standards, manufacturers often include specific instructions on their packaging regarding the maximum allowed offset for their products. Ignoring these recommendations can void your warranty, which is a massive risk if a problem arises later.
The standard industry rule is that if a tile is 18 inches or longer, the offset should not exceed 33% unless the manufacturer explicitly states otherwise. This is not just a suggestion; it is a response to the reality of tile production.
Large-format tiles are more susceptible to tension during cooling, which leads to the warpage mentioned earlier. Following these standards ensures that you are working with the material’s properties rather than trying to force it into a shape it cannot naturally hold.
Preparing the Subfloor for Large-Format Tiles
Even if you choose the perfect 1/3 offset pattern, your floor will fail if the subfloor underneath is not perfectly flat. Large-format tiles do not flex, so they require a rigid, level surface to avoid cracking.
Before you lay a single piece of tile, use a long straightedge to check for high and low spots across the entire room. If you find significant dips, you must use a self-leveling underlayment to create a flat plane.
Common mistakes often involve skipping the floor preparation because it feels like an unnecessary extra step. However, if your subfloor has a slight crown or dip, the tile will follow that contour, and no amount of thin-set manipulation will fix the resulting lippage.
Taking the time to ensure a flat substrate is the most important step in the entire process. A flat floor makes the installation of any pattern easier and significantly more durable.
Selecting the Right Thin-Set and Trowel
The choice of mortar and the size of your trowel notches are just as important as the pattern you choose. When working with large-format rectangular tiles, you need a high-quality medium-bed mortar designed for the weight and size of the material.
These mortars are formulated to support the tile without shrinking as they dry, which helps maintain the height you set during installation. If you use standard thin-set, it may settle as it cures, pulling the tile down and creating uneven edges.
For the trowel, you must use the correct notch size to ensure 80% to 95% coverage on the back of the tile. A common mistake is using a trowel that is too small, resulting in voids underneath the tile.
These voids are weak spots where the tile is not supported, and if a heavy object is placed on a corner, it can lead to cracking or movement. Always back-butter your tiles to ensure a complete bond with the mortar bed.
Using Tile Leveling Systems Effectively
Tile leveling systems have become the gold standard for modern installations, especially for those using a 1/3 offset. These systems consist of clips and wedges that pull adjacent tiles to the exact same height while the mortar is still wet.
They are particularly effective for large-format tiles because they counteract the natural warpage that can cause lippage. Even with a 1/3 offset, these systems provide that extra bit of insurance that your grout joints will be perfectly flush.
However, do not rely on these systems to do the heavy lifting for you. They are designed to hold the tiles in place, not to force them down into an uneven subfloor.
If you try to use the clips to pull a tile into a low spot in the floor, you will likely cause the tile to crack or the clip to snap. Use them as a finishing tool to perfect an already level installation.
Managing Grout Joints for a Professional Finish
The width of your grout joint plays a significant role in how visible any potential lippage becomes. While a tight, hairline joint looks clean, it leaves zero room for error.
If your tiles have even the slightest variation in size or shape, a very narrow joint will make the difference in height painfully obvious. Using a slightly wider grout joint can help hide minor imperfections and provide a more forgiving aesthetic.
Always follow the manufacturer’s recommendations for the minimum grout joint width. For large-format tiles, a 1/8 inch or 3/16 inch joint is often recommended to allow for natural thermal expansion and contraction.
A common mistake is trying to force a look that isn’t suited for the tile’s size. By choosing a grout color that blends well with the tile, you can minimize the appearance of the lines and create a more cohesive look across the entire floor.
Common Installation Mistakes to Avoid

Many installers fall into the trap of rushing the layout process. Before you start, dry-lay a few rows to see how the pattern looks and how the tiles interact with each other.
This is the perfect time to check for any obvious bowed tiles that might need to be discarded or used in areas that will be covered by furniture. If you find a tile that is significantly warped, do not try to force it into the pattern; save it for a cut at the edge of the room.
Another frequent error is failing to maintain a consistent spacing throughout the run. Even if you are using a 1/3 offset, the vertical alignment can drift if you aren’t careful. Use spacers consistently at every intersection to keep the pattern tight.
If you notice the lines starting to wander, stop and realign immediately. Once the mortar begins to set, you cannot move the tiles without risking damage to the bond.
Evaluating the Visual Impact of Different Layouts
The choice between a 1/3 offset and a 50% offset is not just about technical performance; it is also about the visual style of your space. A 1/3 offset creates a more modern, sophisticated look that emphasizes the length of the tiles.
It feels intentional and refined, whereas a 50% offset can sometimes feel a bit dated or overly “brick-like” in certain modern interiors. Consider the scale of your room and the orientation of the tiles.
If you are laying tiles in a long hallway, running them parallel to the length of the hall will make the space feel even longer. If you have a wide, open-concept living area, a 1/3 offset can help break up the vastness and add a sense of direction.
Always look at the tile layout in the context of your furniture and lighting. Natural light coming from a side window can accentuate lippage, so if your room has large windows, you should be extra diligent with your leveling tools.
Frequently Asked Questions
How do I know if my tiles are prone to lippage?
Most large-format tiles, especially those over 15 inches in length, are prone to some degree of bowing. Check the manufacturer’s technical specifications for the “warpage” rating. If you are unsure, lay two tiles face-to-face on a flat surface; if they rock or have gaps, you know you need to be extra careful with your offset choice.
Is a 1/3 offset harder to install than a standard pattern?
It requires a bit more planning because you have to ensure the 1/3 measurement is consistent across every row. However, it is not significantly more difficult. Once you have your starting point and your spacers, the process is very similar to a standard grid or brick pattern.
What amount of tile lippage is generally considered acceptable?
According to industry standards like those from the TCNA, the maximum allowable lippage varies based on the grout joint width. Generally, it is often cited as 1/32 of an inch for joints wider than 1/16 inch. Anything beyond that is usually considered a failure of the installation.
Can I use a 50% offset if I use a high-end leveling system?
While leveling systems help, they do not change the physical reality of the tile’s warpage. Even with the best clips, using a 50% offset with long tiles is a high-risk move that can lead to visible edges. It is almost always better to stick to the 1/3 offset to ensure a smooth, professional result.
Does the type of tile (porcelain vs ceramic) affect the offset choice?
Yes, porcelain tiles are generally denser and more rigid, which can make them slightly more prone to showing lippage if they have any internal tension. Ceramic tiles can be easier to handle, but they are also more likely to have slight variations in size. In both cases, the 1/3 offset remains the safest and most reliable choice for large-format pieces.
Final Thoughts
Choosing the right pattern is the foundation of a successful flooring project. While the traditional 50% offset has its place in history, the 1/3 offset is the modern standard for large-format tiles, effectively mitigating the risk of lippage and ensuring a level, beautiful surface. By preparing your subfloor, using the right mortar, and employing a reliable leveling system, you can achieve a professional-grade finish that stands the test of time.
Remember that the physical properties of your materials should always dictate your installation method rather than just aesthetic preference. Taking the time to follow these technical best practices will save you from future headaches. If you have questions about your specific tile or layout, feel free to reach out to a professional installer or check the manufacturer’s technical data sheets before you begin your project.