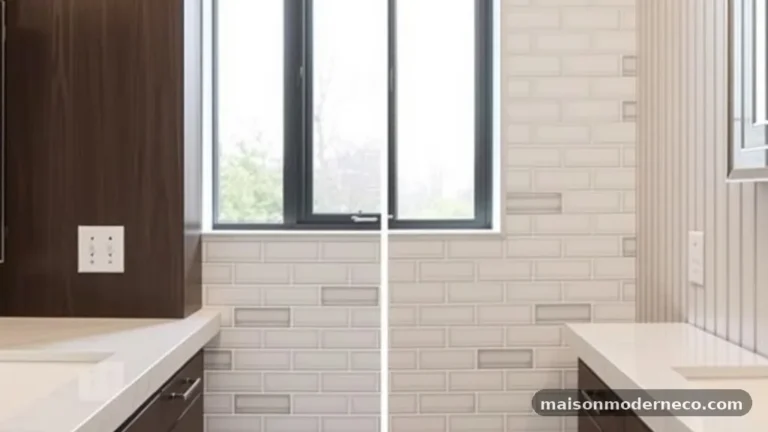
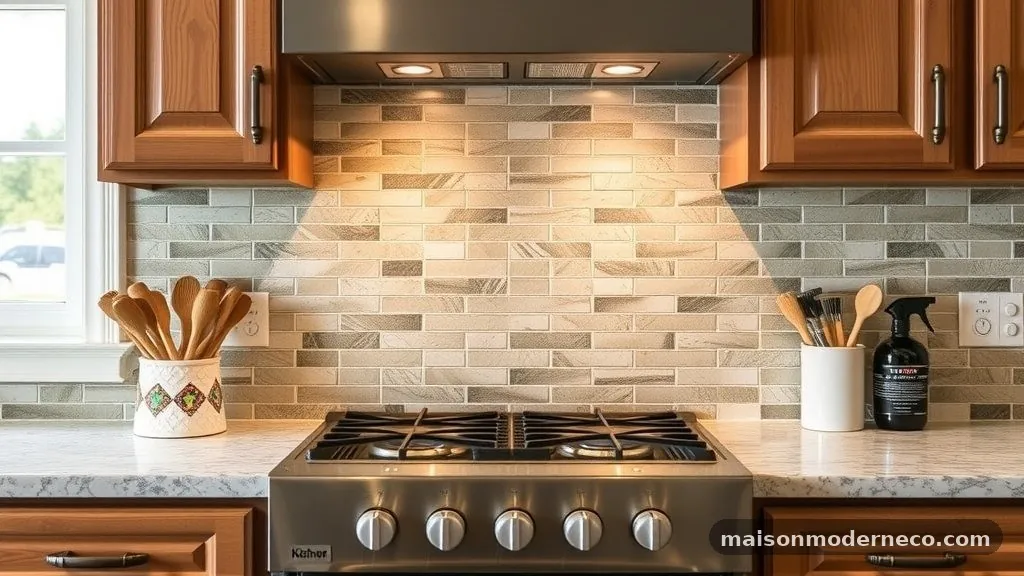
Should Backsplash Tile Line Up with the Upper Cabinet or Lower Countertop?
Deciding whether your kitchen tile should align with the cabinetry or the countertop is a common source of confusion during a remodel. You might wonder if the splash should stop exactly where the upper cabinets end or if it should extend to create a more intentional visual frame. Determining whether you should backsplash tile line up with the upper cabinet or lower countertop depends heavily on your kitchen’s specific architectural geometry and your desired aesthetic.
Understanding these spatial relationships helps you avoid awkward gaps or unfinished edges. This breakdown provides the clarity you need to make a design choice that looks professional and feels intentional in your home.
Assess the Vertical Alignment of Your Kitchen Layout
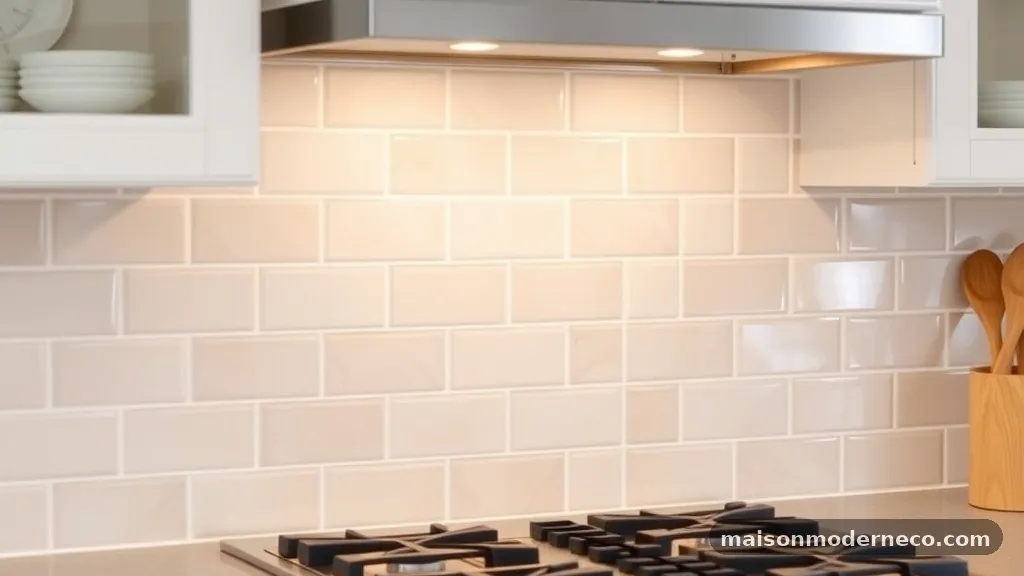
Before purchasing materials, you must look at the vertical lines in your space. Most modern kitchen designs feature upper cabinets that terminate at a specific point, often leaving a vertical wall space between the cabinet edge and a window or a corner.
If you terminate your tile exactly at the edge of the upper cabinet, you create a sharp vertical line that emphasizes the structure of your cabinetry. However, if your cabinets don’t span the entire wall, this can leave a patch of wall exposed that looks disconnected from the rest of the room.
Consider the visual weight of the area. A tile backsplash that stops short of the corner can feel like an afterthought, especially if the wall color behind the tile is significantly different from the tile itself. Aligning the tile with the upper cabinet edge is a safe, standard choice for kitchens where the cabinetry serves as the primary focal point.
Yet, if you want a more modern or expansive feel, extending the tile to the edge of the countertop or even to the ceiling can create a sense of height. Always mark your intended stopping point with painter’s tape before applying any thin-set to see how the line interacts with your eye level.
Evaluate the Horizontal Termination Points
Horizontal alignment is just as critical as vertical placement. When your countertop extends further than your upper cabinets, you face a decision: should the tile follow the cabinet line or the countertop line? If you end the backsplash at the cabinet edge while the countertop continues, you create a “stair-step” effect.
This can look quite busy if not planned carefully. Many designers prefer to carry the tile to the edge of the countertop to create a stable, grounded base for the backsplash.
A common mistake is stopping the tile in the middle of a wall without a natural stopping point, such as a corner or a window frame. If your countertop ends in open space, you must decide how to finish the edge of the tile. Using bullnose tiles or metal trim pieces can provide a clean transition if you choose to align with the countertop.
If you prefer the look of ending with the cabinet, ensure that the exposed wall section is painted in a durable, easy-to-clean finish that complements the tile. This prevents the “unfinished” look that often plagues DIY kitchen projects.
Analyze the Impact of Open Shelving on Tile Placement
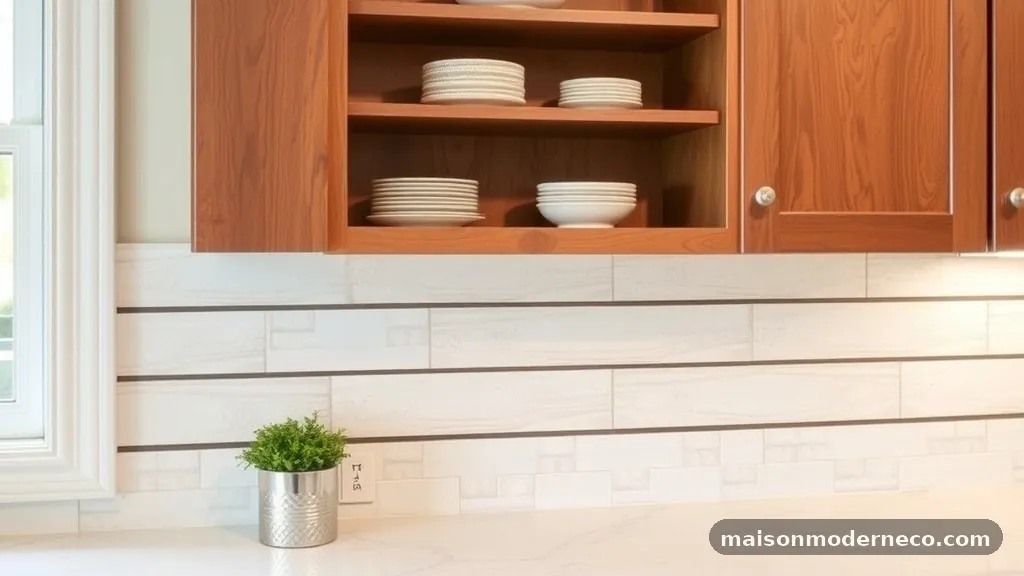
Open shelving changes the rules of the game entirely. Unlike traditional upper cabinets, which provide a clear line for the top of your tile, open shelves are often spaced irregularly or span across windows. When working with shelves, you have more freedom to choose your height.
Some homeowners prefer to run the tile all the way to the ceiling behind the shelves to create a dramatic backdrop. This approach eliminates the question of where to stop, as the ceiling becomes the natural boundary.
If you choose not to tile the entire wall, you need a clear plan for where the tile should sit in relation to the shelf brackets. Mounting brackets through tile requires diamond drill bits and precision, which adds complexity to your installation. Ensure your shelf height is decided before you begin tiling so you don’t end up with a sliver of tile that is impossible to cut or install cleanly.
For a more subtle look, keep the tile at the standard height of a typical upper cabinet, even if you are using open shelves. This maintains a sense of order in a space that might otherwise feel cluttered.
Address the Challenges of Corner Transitions
Corners are the most difficult part of any backsplash project. When the tile reaches a corner, you have to decide if it should wrap around to the adjacent wall or stop on the current plane.
If your cabinetry stops at the corner, it is generally best to stop the tile there as well. Wrapping the tile into a corner where there is no cabinet can sometimes make the kitchen feel smaller or more confined.
However, if you have a continuous countertop that wraps around a corner, the tile should almost always follow the countertop. This creates a continuous flow that guides the eye around the room. Avoid stopping the tile an inch or two short of the corner, as this creates a sliver of wall that is nearly impossible to clean and looks like a measuring error.
If you find your tile layout leaves you with a tiny gap, adjust your grout lines slightly or choose a different tile size to ensure a full-width piece hits the corner. Precision here prevents the need for ugly, thick caulk lines that draw unwanted attention.
Understand the Role of Cabinet Depth and Sightlines
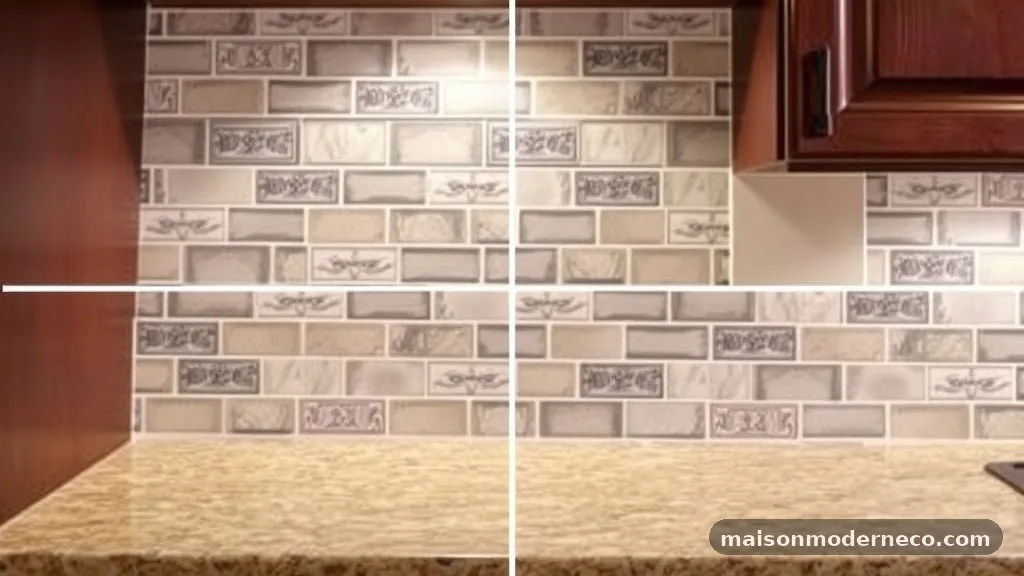
The depth of your upper cabinets influences how the backsplash is perceived from different angles in the room. Deep cabinets can create shadows that make the tile look darker or different in tone than it does on the open wall.
If you are worried about consistency, test a sample board in both the area under the cabinets and the area beyond the cabinets. This allows you to see how the light interacts with the material in both zones.
Sightlines are also vital. When you walk into the kitchen, what is the first thing you see? If the side of your upper cabinet is the primary view, you want a very clean edge.
Using a specialized trim piece here is better than relying on a raw tile edge, even if the tile is glazed on the side. For those who want to study professional layouts in depth, you can find resources at Carla Aston’s design site, which offers detailed insights into how these small architectural details impact the overall success of a renovation. A well-placed edge profile hides the side of the tile and provides a professional finish that stands up to daily wear.
Navigate Window Frames and Backsplash Height
Windows often interrupt the line between cabinets. If your backsplash is meant to align with the bottom of your upper cabinets, but a window sits lower than that line, you have a conflict.
You must decide whether to lower the entire backsplash to the window height or wrap the tile around the window frame. Wrapping the tile can be labor-intensive, requiring many small cuts, but it often results in the most cohesive look.
If you choose to align with the window sill, ensure that the transition to the cabinet side is seamless. Using a continuous horizontal line across the entire kitchen creates a sense of harmony. Avoid having the backsplash jump up and down in height to match various obstacles, as this creates a disjointed, chaotic look.
Instead, pick one height—either the cabinet bottom or the window sill—and stick to it across the entire run. Consistency is the hallmark of a high-end design, even in a small or budget-conscious kitchen.
Select the Right Tile Size for Your Space
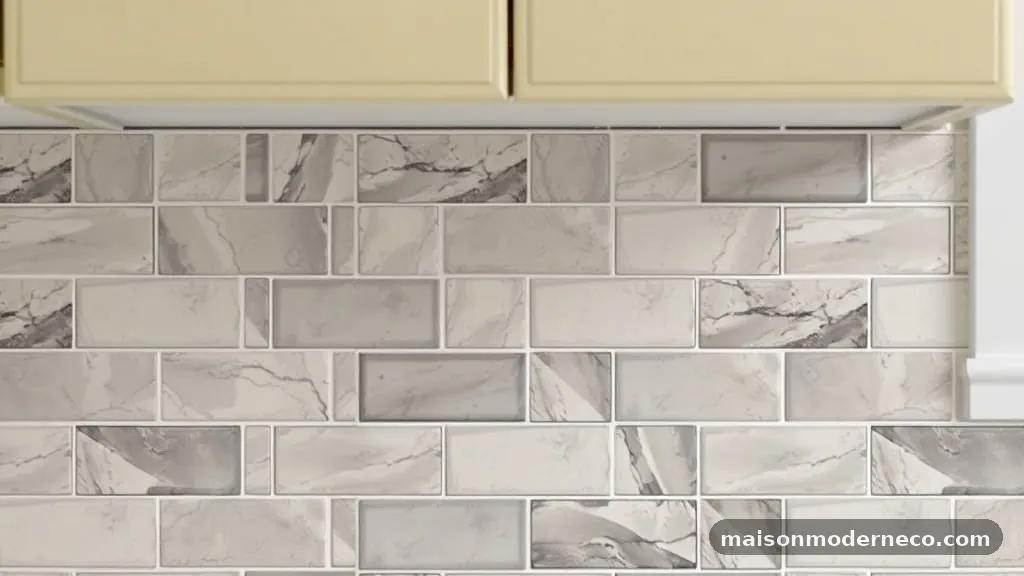
The size of the tiles you choose will dictate how easily they fit into your chosen alignment. Large format tiles can be difficult to align with specific cabinet edges because they often require significant cutting to fit into tight spaces. Smaller subway tiles or mosaics are much more forgiving, as you can adjust the grout spacing or use partial tiles to reach your desired stopping point without it looking obvious.
When planning your layout, consider the “best” look for your specific tile type. If you are using a patterned tile, you want the pattern to remain centered or symmetrical. This might mean that the tile doesn’t perfectly align with the cabinet edge, but instead looks balanced within the wall space.
Prioritize the visual balance of the pattern over a strict adherence to the cabinet edge if the two cannot coexist. A slightly offset tile that looks centered is always better than a perfectly aligned edge that cuts off half of a decorative pattern.
Master the Art of the Edge Treatment
The edge of your tile is the most visible part of your backsplash. Whether you align with the cabinet or the countertop, you need a plan for how that edge will look. Exposed raw edges are unacceptable in a finished kitchen.
You have several options: bullnose tiles, metal transition strips, or matching trim pieces. Metal strips, such as Schluter profiles, provide a modern, thin line that works well with contemporary kitchens.
Bullnose tiles are a more traditional choice and work well with ceramic or stone tiles. Regardless of the material, ensure the edge treatment matches your hardware or the grout color to avoid creating a new visual clash.
If you are DIYing this, take the time to dry-lay your tiles along the edge before you start thin-setting. This allows you to see if your chosen edge treatment will fit correctly or if you need to adjust your layout by a few millimeters to accommodate the thickness of the trim.
Address Common Installation Mistakes to Avoid
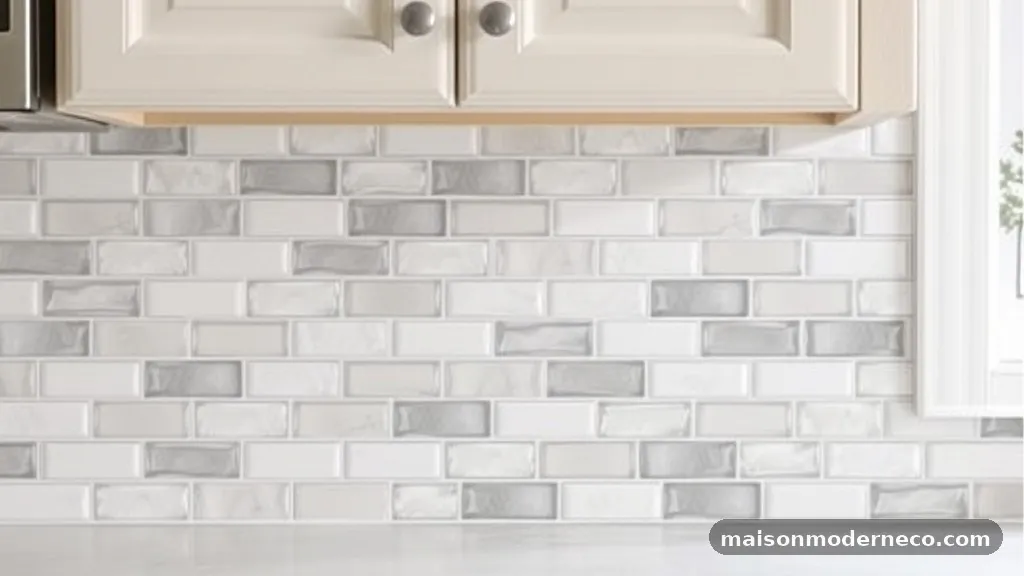
One of the biggest mistakes people make is failing to account for the thickness of the tile and the adhesive. When you measure your space, you are measuring the wall, but your tile will sit slightly proud of that surface.
If you are aligning with a cabinet frame, ensure your tile doesn’t stick out past the cabinet door or interfere with the opening mechanism. This is a common issue with thick natural stone or handmade tiles.
Another frequent error is ignoring the “gap” between the countertop and the wall. Most countertops are not perfectly level or square. If you tile directly onto the countertop, you might find that your grout line becomes wider or narrower as you move across the room.
Always use a flexible silicone caulk at the base where the tile meets the countertop, rather than grout. Grout will crack as the house settles, but silicone will flex, keeping your kitchen looking clean and preventing water from seeping behind the cabinets.
Utilize Planning Tools and Design Mockups
Before you commit to a layout, use digital or physical mockups. You can draw your proposed tile layout on the wall with a pencil or use blue painter’s tape to mark out the dimensions.
This simple step helps you visualize whether you should backsplash tile line up with the upper cabinet or lower countertop in your specific room. Seeing the lines in three dimensions is much more effective than looking at a flat floor plan.
If you are working with a contractor, ask for a layout drawing. While they may not provide a complex file, they should be able to sketch out where the tiles will start and stop. If you are doing the work yourself, consider creating a simple layout on a piece of cardboard to test your cuts.
This prevents you from wasting expensive tile on a layout that doesn’t look right once it’s on the wall. Taking this time during the planning phase ensures that the final result is something you will be proud of for years to come.
FAQ: Common Questions About Backsplash Alignment
Does the tile have to end exactly where the cabinets end?
It is not a strict rule, but it is a common convention for a clean look. If your cabinets stop mid-wall, you can choose to extend the tile to the corner to create a more finished, intentional appearance rather than leaving a small, awkward sliver of wall.
What if my countertop is longer than my cabinets?
If your countertop extends beyond the cabinets, it is usually best to align the tile with the edge of the countertop. This creates a solid base for the backsplash and avoids the “stair-step” look that occurs if you try to follow the cabinets while the counter continues underneath.
Should I tile behind the stove if the height is different?
The area behind the stove is usually treated differently, often featuring a higher backsplash or a different pattern. You don’t need to align this with the rest of your kitchen cabinets, as the stove area is a natural focal point that can handle its own unique design rules.
How do I handle the gap between the wall and the tile?
Never use hard grout at the intersection of the tile and the countertop. Because cabinets and floors settle over time, you should use a color-matched silicone caulk. This allows for movement and keeps the transition looking clean and professional.
Is it better to align with the upper or lower point?
Most designers prioritize the lower alignment with the countertop for stability and visual weight. However, if your kitchen is small, aligning with the upper cabinets can make the space feel more organized and less cluttered. Choose the one that creates the most continuous, uninterrupted lines in your specific room.
Final Thoughts on Achieving a Polished Kitchen Look
Determining whether you should backsplash tile line up with the upper cabinet or lower countertop is a matter of balancing your kitchen’s existing geometry with your personal style. By assessing your sightlines, choosing the right edge treatments, and prioritizing consistent horizontal and vertical lines, you can ensure a professional result. Remember that the goal is to create a sense of order and flow that makes your kitchen feel intentional rather than haphazard.
Whether you choose to follow the cabinets to the ceiling or ground the design with the countertop, the key lies in the planning. Take your time with the layout, test your edges, and don’t be afraid to adjust your plan to suit the reality of your walls.
If you follow these steps, your new kitchen will look clean and well-designed for years to come. Feel free to share your own design challenges or successes in the comments below.