What to Do If the Drywall Corner Is Crooked Where the Backsplash Ends
Dealing with a wall that isn’t square is a common frustration during kitchen renovations, especially when you need to know what to do if the drywall corner is crooked where the backsplash ends. When your tile layout meets an uneven surface, the gap becomes immediately visible and ruins the professional look of your hard work. You don’t have to live with an eyesore or tear out the entire wall to solve this issue.
By understanding how to bridge the gap between irregular drywall and your finish material, you can achieve a clean look that hides the imperfection. This process requires patience, the right tools, and a systematic approach to ensure the final installation looks intentional and precise.
Assessing the Severity of the Wall Irregularity
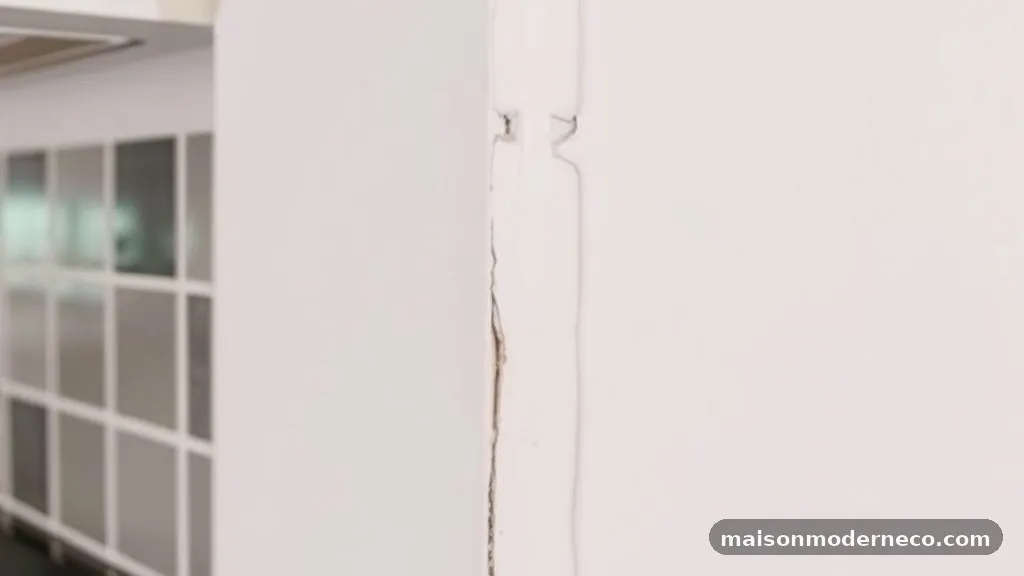
Before you pick up a trowel or a tile saw, you must determine exactly how far out of plumb your wall corner is. A slightly bowed surface might be manageable with a flexible caulk, but a significant lean will require structural adjustment or a creative tile transition.
Use a high-quality level or a straight edge to see where the drywall deviates from vertical. Place the level against the corner and measure the distance between the wall and the tool at the top, middle, and bottom.
If the gap is less than an eighth of an inch, you can often hide it using a color-matched silicone caulk. For gaps larger than that, you will likely need to adjust the drywall surface itself or choose a trim piece that masks the transition.
Document these measurements so you know how much material you need to remove or add. Ignoring this initial step often leads to a backsplash that looks like it is falling off the wall or a tile cut that gets progressively wider toward the ceiling.
Preparing the Drywall Surface for Modification
If the wall corner is severely crooked, you may need to add a layer of joint compound to build up the low spots. Start by clearing away any loose paint or debris from the area.
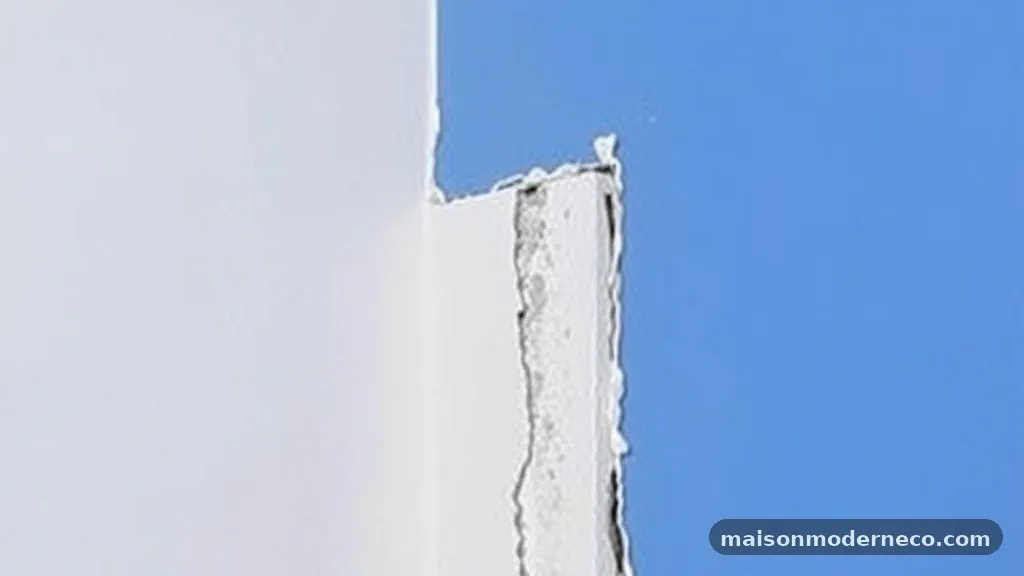
If the corner bead is damaged or improperly installed, you might need to remove it and replace it with a new, straight piece. This is the most labor-intensive part of the process, but it provides the best foundation for your tile work.
When applying mud to straighten the wall, use a wide taping knife to feather the edges out into the room. This prevents a noticeable hump in the wall that would catch the light and reveal the repair. Allow the compound to dry completely before sanding it smooth.
You want the wall to be as flat as possible where the tile will sit, even if the corner itself remains slightly off. A flat surface ensures that your backsplash tiles adhere properly without wobbling or creating uneven grout lines.
Choosing the Right Trim for the Backsplash Edge
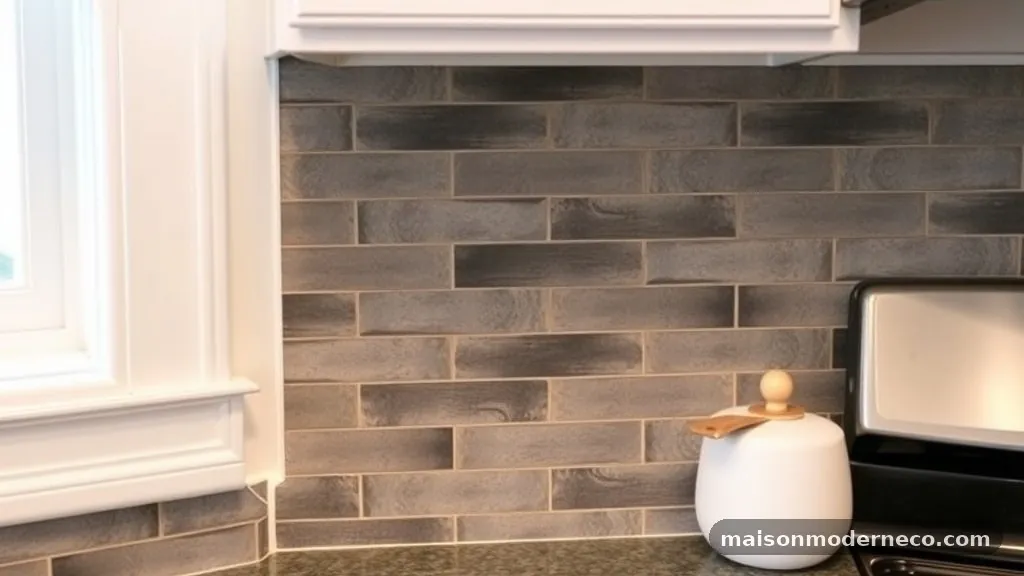
When you cannot fully straighten the drywall, a decorative trim piece is the best way to handle the transition. Metal edge profiles, often called Schluter strips, are excellent for creating a crisp, finished edge that hides the gap between the tile and the wall.
These come in various finishes like brushed nickel, matte black, or white, allowing you to match your kitchen’s hardware. By installing this profile, you create a rigid, straight line that ignores the crooked drywall behind it.
Another option is to use a bullnose tile or a matching trim piece specifically designed for your chosen backsplash material. Bullnose tiles have a rounded finished edge that looks intentional, even if there is a slight gap between the tile and the wall.
If you choose this route, you can use a high-quality paintable caulk to fill the final gap, which will look like a shadow line rather than a mistake. Always dry-fit your trim pieces before applying mortar to ensure they account for the wall’s lean.
Cutting Tiles to Accommodate Uneven Angles
Cutting tiles to follow a crooked corner is a classic test of a tile setter’s skill. Instead of trying to force a straight cut, you may need to scribe the tile to the contour of the wall.
This involves measuring the gap at the top and bottom of the tile and marking the difference on the tile surface. Use a diamond blade on an angle grinder or a wet saw to carefully cut the contour.
This method works best with natural stone or ceramic tiles that have a bit of depth. If you are working with glass tiles, scribing is much harder because they can shatter easily during complex cuts. For glass, it is usually better to leave a slightly larger gap and fill it with a matching caulk.
Remember that your goal is to make the tile edge look deliberate. If the cut is slightly imperfect, a small bead of caulk can often disguise the line between the tile and the wall.
Applying Joint Compound to Fill Gaps
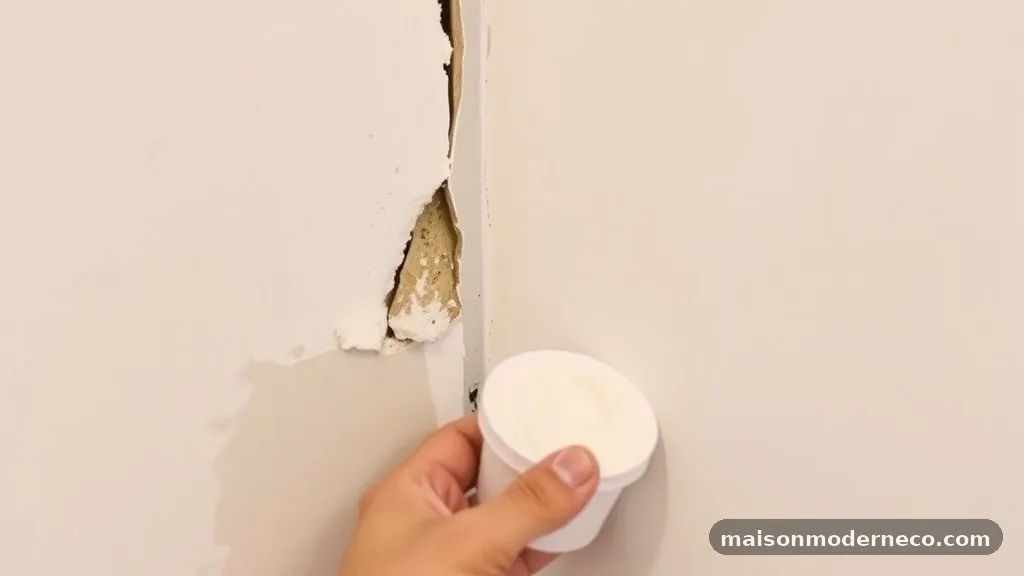
Sometimes the best way to handle a crooked corner is to fill the void behind the backsplash before the tile ever touches the wall. If you have a deep gap, use a setting-type joint compound rather than the pre-mixed bucket variety.
Setting-type mud is stronger and shrinks less, making it ideal for filling gaps that might otherwise crack over time. Apply the compound in thin layers, letting each one dry before adding the next.
Once the gap is filled and the surface is flush with the surrounding wall, sand it down to a smooth finish. You should prime this area before applying thin-set mortar.
If you skip the primer, the drywall paper might absorb the moisture from the mortar too quickly, leading to a weak bond. A solid, primed surface ensures that your backsplash stays secure for years to come.
Installing the Backsplash with a Leveling System
Regardless of how much prep work you do, using a tile leveling system is a game-changer for achieving a professional finish. These systems use clips and wedges to keep the tiles perfectly aligned and flush with each other.
When you are working near a crooked corner, these clips help prevent the tiles from shifting while the mortar sets. Even if the wall behind the tile is slightly off, the tiles themselves will remain perfectly flat and square relative to each other.
This creates a consistent look that draws the eye away from the wall imperfection. If you are concerned about the wall’s lean, start your tile layout from the center of the wall and work your way toward the corners. This ensures that any necessary cuts are symmetric on both sides, which is much more aesthetically pleasing than having one side cut thin and the other side full-sized.
Using High-Quality Caulk as a Finishing Touch
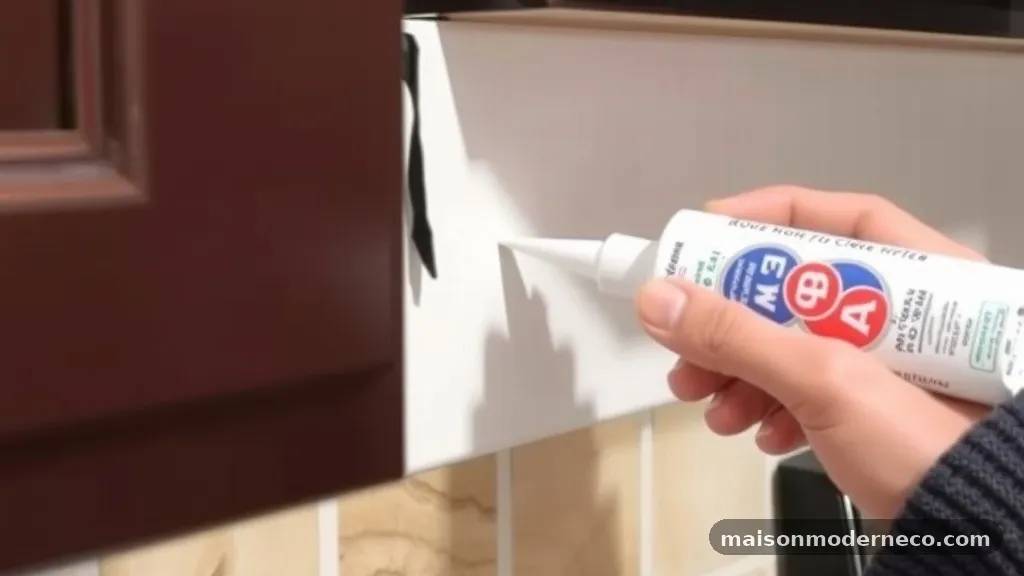
Caulking is not just for waterproofing; it is the final tool in your arsenal for hiding wall defects. When you finish your backsplash, use a color-matched silicone or latex caulk at the intersection of the tile and the wall.
Avoid using grout in this corner, as the different expansion rates of the tile and the drywall will eventually cause the grout to crack. Silicone caulk remains flexible and will withstand the natural movement of your home.
To get a perfect finish, apply painter’s tape to both the tile edge and the drywall. Apply the caulk and smooth it out with a damp finger or a specialized caulk finishing tool.
Remove the tape immediately after smoothing to leave a crisp, clean line. This technique makes the transition look intentional and hides the fact that the drywall corner was ever crooked to begin with.
Managing Drywall Repairs Near Existing Cabinets
When your backsplash ends at a cabinet, you have a natural stop, but the corner can still be problematic if the cabinet isn’t perfectly square to the wall. If there is a gap between the cabinet side panel and the wall, you might need to install a small piece of scribe molding or quarter-round. This is a common practice in cabinetry installation and effectively hides the irregular drywall corner.
If you don’t want to add molding, you can use a paintable caulk to fill the gap and then paint it to match the wall or the cabinet. This creates a monolithic look that blends the two surfaces together.
Always take your time when fitting these pieces, as a sloppy installation will be more noticeable than the original gap. You can find more information on wall finishes and standards at the Gypsum Association website to ensure your repairs meet industry best practices.
Troubleshooting Common Installation Errors
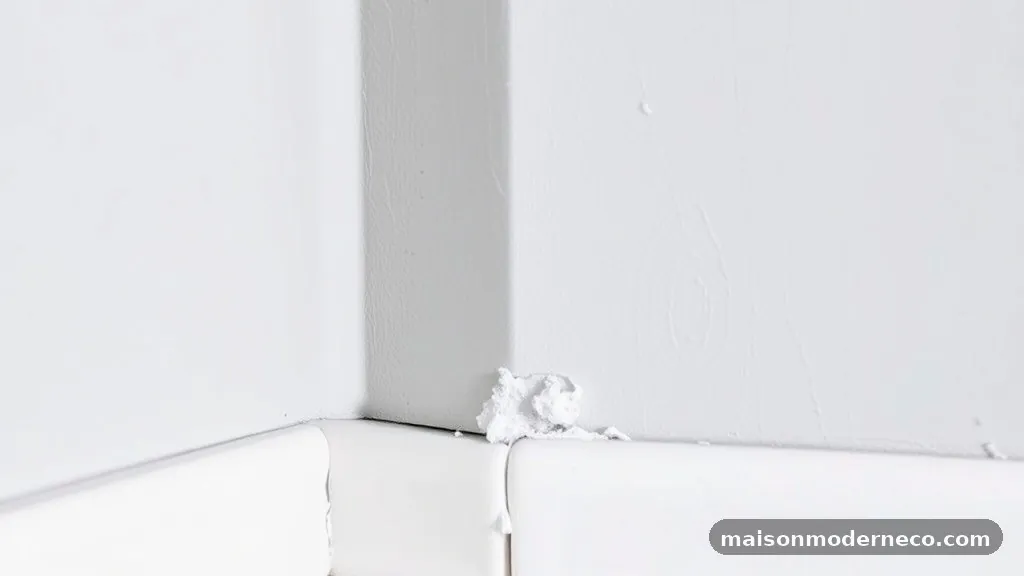
The most common mistake people make is trying to force a tile to fit a crooked corner without any preparation. This usually results in a jagged, uneven grout line that highlights the wall’s defect.
Another frequent error is failing to account for the thickness of the mortar bed. If you build up the wall with too much mud in one spot, the tiles will stick out further than the rest of the backsplash, creating a “proud” edge that looks uneven.
Always dry-fit your tiles and check your alignment frequently. If you notice a pattern developing where the tiles are getting tighter or looser as you move up the wall, stop and adjust your spacers.
It is much easier to fix a spacing issue during the layout phase than it is to remove set tiles. Patience is your best tool when you are faced with a challenging corner.
Preventing Future Issues with Wall Preparation
If you are planning a renovation, address the drywall early in the project. Check every corner with a long level before the cabinets or appliances are installed.
If you find a corner that is significantly out of plumb, you can often fix it by adding a shim behind the drywall or using a thicker corner bead. Addressing these issues before the finish materials go on is always cheaper and easier than trying to fix them after the fact.
If you are already at the tile phase, don’t despair. Most homeowners deal with walls that aren’t perfectly square.
By using the right techniques—like scribing tiles, using metal edge profiles, or applying flexible caulk—you can achieve a result that looks perfect to the casual observer. The key is to manage the transition so it looks like a design choice rather than a structural oversight.
Frequently Asked Questions
Should I use grout or caulk in the corner where the tile meets the wall?
Always use a flexible, color-matched caulk in the corner. Grout is a rigid material and will inevitably crack due to the expansion and contraction of the wall and the tile. Caulk provides a flexible seal that prevents water intrusion and maintains a clean appearance over time.
How do I hide a large gap between the tile and the wall?
If the gap is too large for caulk, use a metal edge profile or a piece of decorative trim. These materials are designed to bridge gaps and provide a straight, finished edge that hides the underlying wall irregularity. You can also use a wider piece of trim or a corner molding if the gap is particularly wide.
Can I just sand down the drywall to fix the corner?
If the corner is only slightly out of plumb, you might be able to sand down high spots, but this is rarely enough to fix a significant lean. It is usually more effective to add joint compound to the low side of the corner to build it out and make it square. Be sure to feather the compound well to avoid a visible hump.
What if my tiles are too thin to cover the drywall gap?
If your tiles are thin, you should use a metal edge profile or a bullnose tile to create a thicker, more finished edge. These profiles are designed to sit flush against the tile and cover the transition to the drywall. This is a standard industry practice that provides a professional look regardless of the tile’s thickness.
Does the backsplash need to be perfectly level?
While the backsplash should look level, the most important thing is that it follows the lines of your kitchen. If your cabinets are level, your backsplash should be level with them. If your wall is crooked, prioritize making the tile look straight by using a leveling system and careful layout, even if the gap behind the tile varies slightly in size.
Final Thoughts on Handling Uneven Corners
Fixing a crooked corner requires a mix of patience and the right materials. Whether you choose to build up the wall with compound, use a metal edge profile, or carefully scribe your tiles, the goal is to create a transition that looks intentional. Remember that most homes have some degree of irregularity, and professional installers deal with these issues every day.
By taking the time to properly prep the surface and finish the edges with high-quality caulk, you can ensure your kitchen backsplash remains a highlight of your home. If you encounter a particularly difficult spot, don’t hesitate to step back, re-evaluate, and try a different approach. With the right care, you will successfully know what to do if the drywall corner is crooked where the backsplash ends, ensuring a beautiful result that lasts for years.